WP Contact Form 7 Default Settings post talks about the default form settings, when you fist install the plugin and more.
Last Updated: May 1, 2025
Latest News: Updated the version number in this page.

Contact Form 7 version 6.0.6 changelog
WordPress has many different contact forms available for you to download. Contact Form 7 is one of the old veteran contact form plugins available in the repository. It has a long history and a well established reputation with millions of active installations worldwide. It is a simple straight forward contact form plugin for you to manage but you can also create some very complex forms for free. You could say that you have a bit of both worlds in a contact form plugin. The ability to create very simple forms and the ability to create very complex forms.
The default form created by the plugin when you first install and activate it, has the following default fields added.
Default Contact Form Fields:
- Your Name
- Your Email
- Subject
- Message
What you need:
- Contact Form 7 plugin
Contact Form Tutorial List:
- Default Settings
- Create a Custom Form
- Insert Custom Tags
- Adding File Upload Tag
- Integration
Recommended Plugins/Extensions
WP Contact Form 7 Default Settings
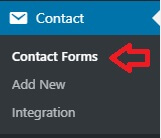
Step 1 ) Go to Contact -> Contact Forms to edit or start adding new forms. The plugin only has 3 admin menus to manage as illustrated in the image below. This makes contact form 7 easy to manage.
Admin Menu Features
- Contact Forms
- Add New
- Integration
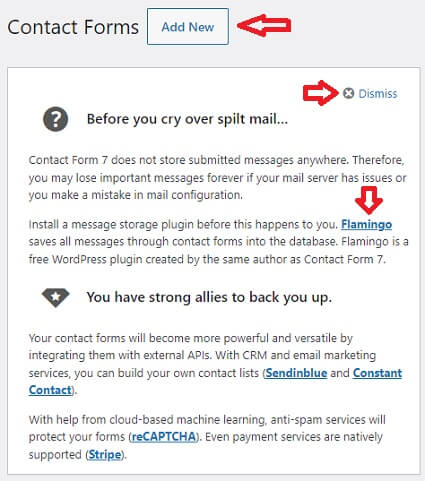
Step 2 ) The following image displays information and instructions to carry out before you begin to edit or add a contact form to your site. This makes contact form 7 an easy plugin to manage.
Documentation and Instructions
- Click on Add New button to create a new contact form.
- Click on Dismiss button once you have read the instructions and don’t need the message displayed anymore.
- It is recommended to use Flamingo if you want to keep a record of all your submitted emails.
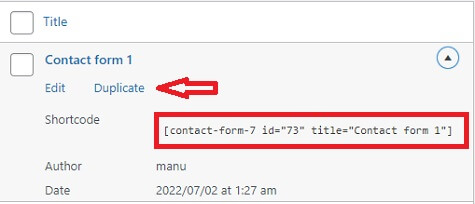
Step 3 ) The following image shows you information about the default contact form created by Contact Form 7 plugin when you first install and activate it. The shortcode used to display the contact form is, [contact-form-7 id="73" title="Contact form 1"].
Note: Your shortcode ID might be different.
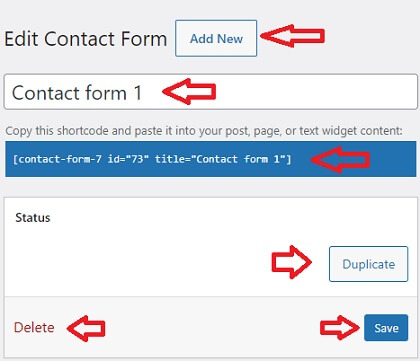
Step 4 ) After clicking on the Edit link above the following information is displayed as illustrated in the image below. The following image allows you to carry out the following options.
Edit Contact Form Options
- Click on Add New button to create a new contact form.
- You can edit the default form Title “Contact form 1”.
- You can copy and past the shortcode highlighted in blue to a post or page of your choice.
- Click on Duplicate button to duplicate the form.
- Click on Save or Delete button.
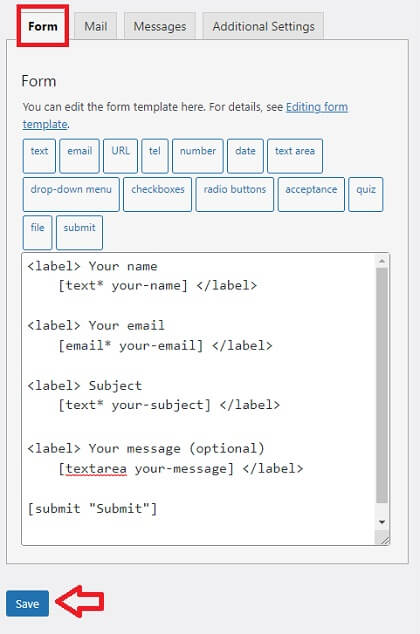
Step 5 ) Go to Contact -> Contact Forms -> Form tab as illustrated in the image below, to view and edit the form fields. It is very straightforward to understand what each field does. The details below provides some information about the following fields. All the fields with a star * are required fields.
Form Fields
- <label> Your name = This is the label field that is displayed in the form.
- [text* your-name] </label> = This is the empty text field required that is displayed in the form. What this means is, anyone submitting the form from your site must fill in this field. Or else they will receive an error message.
- <label> Your email = This is the label field that is displayed in the form.
- [email* your-email] </label> = This is the empty text field required that is displayed in the form. What this means is, anyone submitting the form from your site must fill in this field. Or else they will receive an error message.
- <label> Subject = This is the label field that is displayed in the form.
- [text* your-subject] </label> = This is the empty text field required that is displayed in the form. What this means is, anyone submitting the form from your site must fill in this field. Or else they will receive an error message.
- <label> Your message (optional) = This is the label field that is displayed in the form.
- [textarea your-message] </label> = This is the empty text field that is displayed in the form.
- The form tag [submit “Send”] is a straight forward submit button that is not surrounded by label tags.
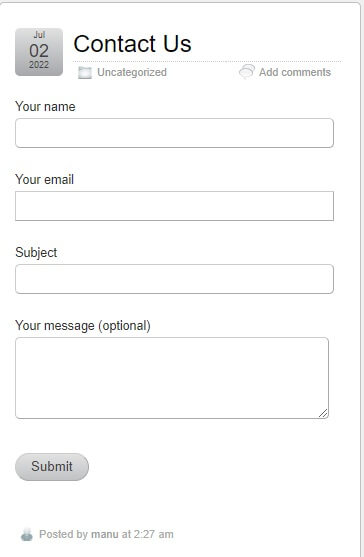
Step 5-a ) The following image shows you the default contact form displayed on the site. These are the fields edited in the previous Step 5 ) above.
Mail Settings
Step 6 ) The mail settings tutorial has moved to the following link wp-contact-form-7-mail-settings.
Messages Settings
Step 7 ) Go to Contact -> Contact Forms -> Messages tab to edit the following messages. You can add any text you want to each message. However the default messages added by the plugin are clear, precise and make sense. So you really don’t have to make any changes here.
Messages Fields Settings
- Sender’s message failed to send
- Validation errors occurred
- Submission was referred to as spam
- There are terms that the sender must accept
- There is a field that the sender must fill in
- There is a field with input that is longer than the maximum allowed length
- There is a field with input that is shorter than the minimum allowed length
- Date format that the sender entered is invalid
- Date is earlier than minimum limit
- Date is later than maximum limit
- Uploading a file fails for any reason
- Uploaded file is not allowed for file type
- Uploaded file is too large
- Uploading a file fails for PHP error
- Number format that the sender entered is invalid
- Number is smaller than minimum limit
- Number is larger than maximum limit
- Sender doesn’t enter the correct answer to the quiz
- Email address that the sender entered is invalid
- URL that the sender entered is invalid
- Telephone number that the sender entered is invalid
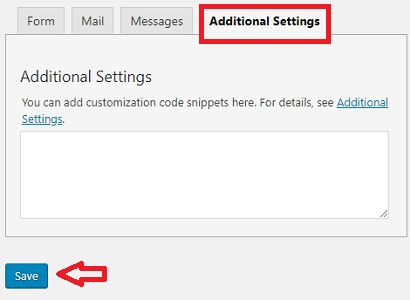
Additional Settings
Step 8 ) The following image Additional Settings allows you to add extra settings to each form separately. Click additional-settings link to learn more. Make sure you click on Save button when you complete the settings.
==============================
That’s how simple it is to set up a contact form in your site using Contact Form 7 plugin.
If you have any questions please let me know.
Enjoy.