Manually Update And Delete Media Files In WP shows you how to replace your media files in a post or page and much more.
Last Updated: July 6, 2020
Latest News: Updated the documentation.
There are times when you want to edit your posts or pages and you probably want to replace some of the old images with new ones.
Imagine your site has a thousand posts, each post has a minimum of 3 images. A site with 1 thousand posts and 3 images per post, gives you a total of 3 thousand images. Remember, WordPress also creates a few more images per image you upload to your site. Now, lets say each image size is 640 x 250 px, weighs around 25 kb compressed. However if these images are not compressed, they can weigh a lot more, for example: 250kb. This represents a lot of images and will become large in size for your backups.
Let’s add the years your site has been online and some of these posts have probably been updated many times with new images. However you have never deleted any of the old images or media files from any of the updated posts. This will increase the size and weight of your site substantially. This can be a burden for your backup system and it will use more server resources. This can be problematic especially if your site is hosted in a shared account.
Deleting unused media files in your site is something that can be easily forgotten. Now you know how important it is to carry out this maintenance step regularly in your site.
This tutorial will show you how to manually replace the images in a post or page and search for the images you want to delete from your media library.
What You Need:
Manually Update And Delete Media Files In WP
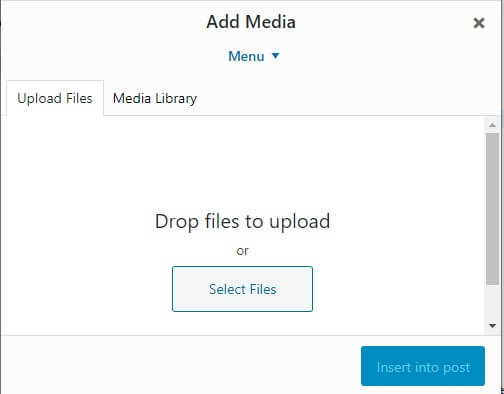
Step 1 ) The following image will be used for this documentation.
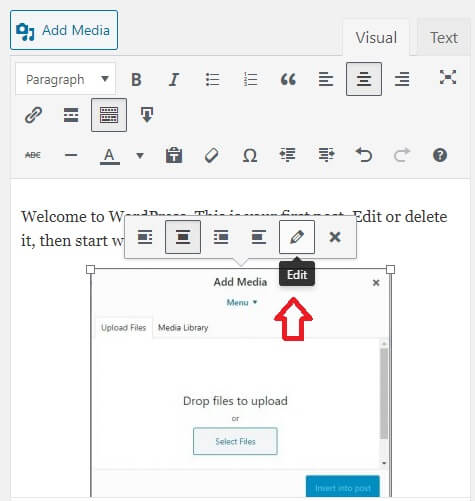
Step 2 ) Go to Posts in the admin sidebar. Select the post you want to replace the image from and click on the image. A menu will be displayed on the image selected as illustrated in the image below. Click on the Edit pencil.
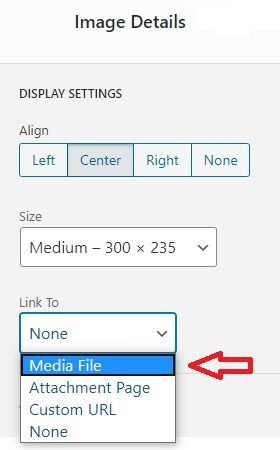
Step 3 ) Go to Link To area and click on Media File from the drop down menu as illustrated in the image below.
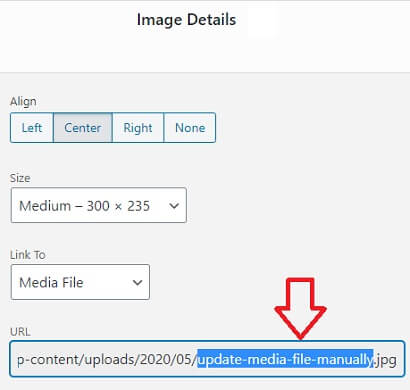
Step 4 ) The following image illustrates the URL of the file you will be searching for. The name of the file is update-media-file-manually. This is the name of the file that is going to be used to search for in the search field and delete it under Media -> Library once the new file is uploaded.
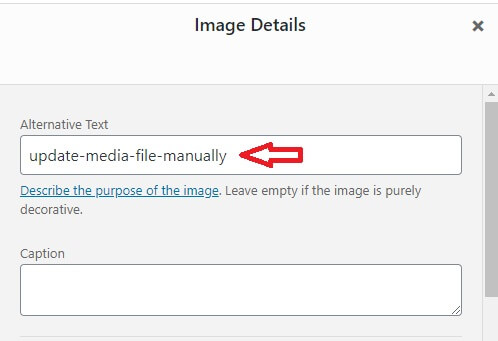
Step 4-a ) You can also use the Alternative Text field as illustrated in the image below to search for the image under Media -> Library. This text can be used if the text is the same as the name of the file mentioned previously.
Delete Media Library Files
This section assumes you have already updated your post with the new images and are ready to delete the old images from the Media -> Library.
Note: As a rule of thumb, it is always a good idea to create a backup of your site. This step is important just in case you accidently delete some images that you are still using in your site.
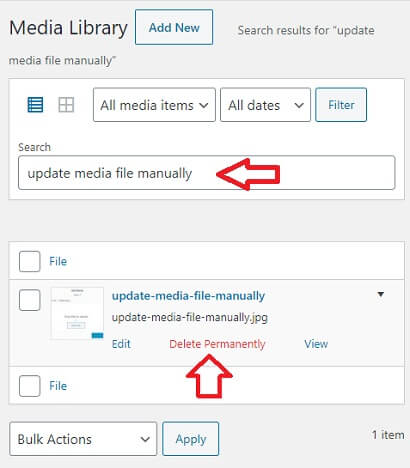
Step 5 ) Go to Media -> Library and locate the Search field as illustrated in the image below.

Step 5-a ) Type the name of the media file “in this post the file name is update media file manually“ in the Search field. Press the Enter key on your keyboard. All the images with the name mentioned above will appear below the search field. In this instance only one image file was found. Click on Delete Permanently link found below the image as illustrated in the image below.
Step 6 ) Alternative if you don’t want to go through the manual process described above you can use the following plugin enable-media-replace. Using this plugin can help you save a lot of time if you have thousands of posts.
Other Media Related Post:
- WordPress Media Cleaner Plugin Scanned Options
- How To Delete Unused Images In WordPress
- How To Manually Optimize Images In WordPress
==============================================
That’s how easy it is to update the images in your posts and delete them from your site.
I will be updating this tutorial from time to time. So keep coming back for the latest update.
If you have any question please let me know.
Enjoy.
Photonic Plugin Tutorial List: