How To Manually Optimize Images In WordPress tutorial shows you how to easily optimizes images without using a plugin and more.
Last Updated: February 6, 2025
Latest News: Updated the documentation.
Everyone knows when you start publishing blog posts and pages in your site, you normally upload images. Images are important and very much needed to illustrate information visually and more. However these images can represent a weight for the posts and pages. When a post has more than 1 image, that post will become heavier and slow when loading in the browser. Reducing the size and weight of each image can improve substantially the speed and loading of a post. This in turn improves the SEO of your site and makes visitors happy.
In this tutorial you will learn how to improve the size and weight of the images using Tiny Png online services. This is a manual action, which means you don’t have to use a plugin.
Note: The less plugins you install in your site, the faster your site will perform and load by using less resources on your server.
Compress JPEG & PNG images 3.4.6 changelog
- Error resolved where Tiny_Helpers was not available
What you need:
- Tiny Png = Online service
- Tiny Compress Image = WordPress plugin
How To Manually Optimize Images In WordPress
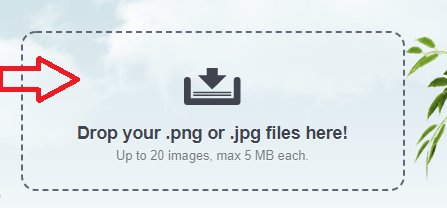
Step 1 ) Once you have the list of images you will use in your site ready, click on tinypng.com link. Drag and drop the number of images you want to optimize as pointed out in the image below. Please make a note, the 20 image and a maximum of 5 MB limit you can optimize each time.
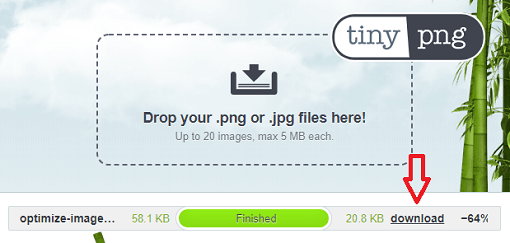
Step 2 ) The following image shows you an image optimized and ready for downloading. The image original size was 58.1 KB and after being optimized it was reduced down to 20.8 KB a total of 64% reduction in size.
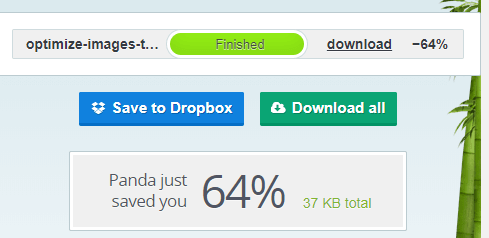
Step 3 ) The following image shows you a the final outcome from Panda. You can also use the following two buttons, Save to Dropbox and Download all. If you are going to upload many images then it makes sense to click on Download all button. This will zip all your images into one folder and download it to your computer or laptop. Then all you have to do, is unzip the folder and voila all the images are ready for uploading into your site.
Note: If you don’t want to manually optimize the images as instructed above, install their plugin tiny-compress-images/.
================================
That is how simple it is to optimize your images for WordPress.
I will be updating this post from time to time. So keep coming back for more. If you have any questions please let me know.
Enjoy.