Nov 272015
Gimp Image Editor Tools Select tutorial will Select menu tools. For example invert, float, by color and many more.
Last Updated: May 22, 2023
Latest News: Updated the links below.
There are many options in Gimp when it comes to selecting different areas of images and layers. This tutorial talks about the different options available in Select tool. More information will be added in the future.
What You Need:
Gimp Image Editor Tutorials:
- Layout
- Tools Menu File
- Tools Edit
- Select
- View
- Image
- Layer
- Colors
- Tools
- Filters
- Filters Part Two
- Filters Part Three
- Windows Help
Gimp Image Editor Tools Select Steps
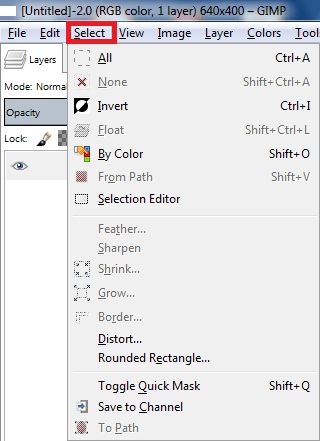
Step 1 ) Click on Select to work with the following tools:
- Select All
- None
- Invert
- Float
- By Color
- From Path
- Selection Editor
- Feather
- Sharpen
- Shrink
- Grow
- Border
- Distort
- Rounded Rectangle
- Toggle Quick Mask
- Save to Channel
- To Path

====================
Click on the following link View to learn more about the menu.
I will update this tutorial from time to time. So keep coming back for the latest. If you have any questions please let me know.
Enjoy.
Check out More Gimp Tutorials.