Gimp Image Editor Layout tutorial will cover the overall layout and tools, filters and more. Gimp runs on different operating systems and it is translated into many languages.
Last Updated: May 22, 2023
Latest News: Updated the links below.
Gimp is a very powerful image editing tool and more. Many know a bit about Gimp but they don’t know how powerful it is. There is so much to learn and it can compete with Photoshop.
This tutorial talks about all the tools it has to offer, the overall layout design and the menu. At first it can be overwhelming but with some patience and practice you will learn to take control.
What You Need:
Gimp Image Editor Tutorials:
- Layout
- Tools Menu File
- Tools Edit
- Select
- View
- Image
- Layer
- Colors
- Tools
- Filters
- Filters Part Two
- Filters Part Three
- Windows Help
Gimp Image Editor Layout:
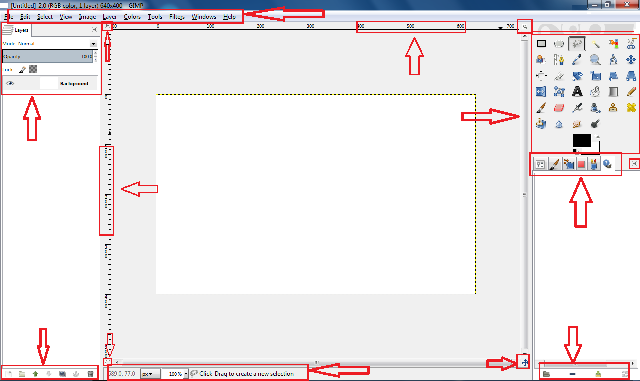
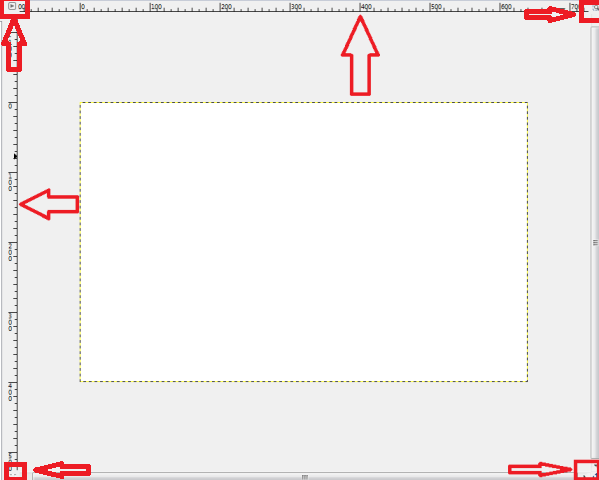
Step 1 ) The following image illustrates the over all Gimp Layout. As you can see there are many menus in hidden areas. I have added a red box and an arrow in all the areas where there is a hidden menu or tools.
Step 2 ) The following image displays the Top Main Menu where you can configure every Gimp option.

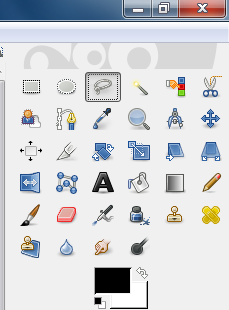
Step 3 ) The following image displays the Tools Box. You have many options here to edit your image. The following image shows Free Select Tool selected.
Step 4 ) The following image displays some information about the Free Select Tool. This can be found on the footer of Gimp.

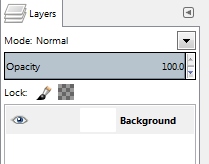
Step 5 ) The following image displays the Layers Tab.
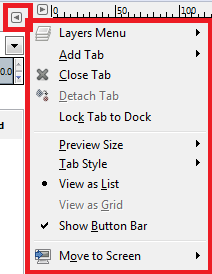
Step 6 ) The following image displays the Layers Tab configuration menu.
Step 7 ) The following image displays many tools to help you manage the Layers.

Step 8 ) The following image displays the Image Menu, Top Ruler, Side ruler, Zoom Image, Current Displayed Image, Toggle Quick Mask on/off and the Image Navigation Tool.
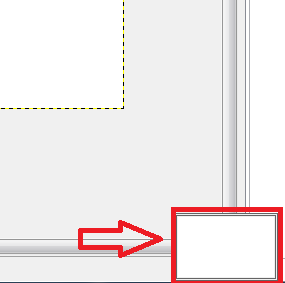
Step 9 ) The following image illustrates the image navigation tool zoomed in. If you have a large size image then this tool is very handy for you to navigate to different areas of the image without having to navigate outside.
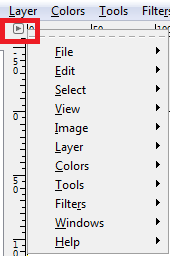
Step 10 ) The following image displays the Image Menu for the Current Displayed Image.
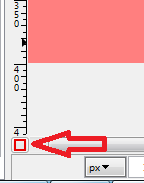
Step 11 ) The following image allows you to Toggle Quick Mask on/off.
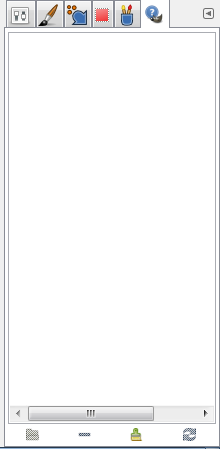
Step 12 ) The following image displays different menus. The following image shows Document History Tab selected.
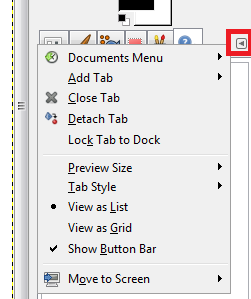
Step 13 ) The following image allows you to configure the current tab highlighted.
====================
Click on the following link Tools Menu File to learn more about the menu.
You can see why Gimp is so powerful and the amount of tools it offers for you to edit your images. It will take you quite some time to learn all it has to offer and use all the tools available.
I will update this tutorial from time to time. So keep coming back for the latest. If you have any questions please let me know.
Enjoy.
Check out More Gimp Tutorials:
I am in a course that makes landing pages on Kompozer. The page is 1900mm x 1250mm with text 60% and picture 40%. The course also proposes that banners be made on Gimp. Your website shows how to make Gimp banners and the question arises why not use Gimp for both jobs? It would save not having to learn Kompozer.
It is envisaged that up to 8 landing pages would be split tested with the picture being the principal variable. Do you see any issues with this proposal that would make it impra
Hi John Martin, thank you for your question. You can use Gimp to create website layouts. Kompozer is simply a tool to create the code using a WYSIWYG editor. I have used Kompozer before and even have a Kompozer tutorial if you would like to read it.
I am not sure about your second question? Can you clarify it further so that I understand what you are asking.
Thank you