Gimp Image Editor Filters Menu tutorial will cover the following filters blur, enhance, distorts, light and shadow, noise and many more.
Last Updated: May 22, 2023
Latest News: Updated the links below.
This tutorial talks about the Filters menu. The following Selection Blur, Enhance, Distorts, Light and Shadow, Noise, Edge-Detect, Generic, Combine and more is a list of filters you can use in Gimp. There are so many filters that I am sure you will probably never get to use all of the them. You will definitely need to spend some time practising using filters. This will be a learning curve for you.
What You Need:
Gimp Image Editor Tutorials:
- Layout
- Tools Menu File
- Tools Edit
- Select
- View
- Image
- Layer
- Colors
- Tools
- Filters
- Filters Part Two
- Filters Part Three
- Windows Help
Gimp Image Editor Filters Menu
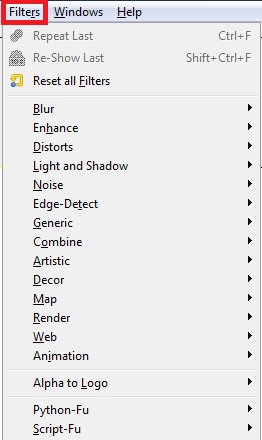
Step 1 ) Click on Filters menu to edit the following:
- Blur
- Enhance
- Distorts
- Light and Shadow
- Noise
- Edge-Detect
- Generic
- Combine
- Artistic
- Decor
- Map
- Render
- Web
- Animation
- Alpha to Logo
- Python-Fu
- Script-Fu
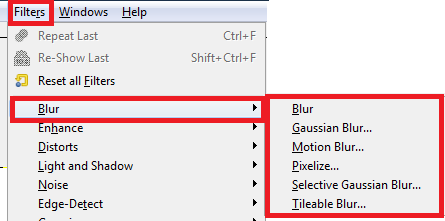
Step 2 ) Click on Filters -> Blur menu to edit the following:
- Blur
- Gaussian Blur
- Motion Blur
- Pixelize
- Selective Gaussian Blur
- Tileable Blur
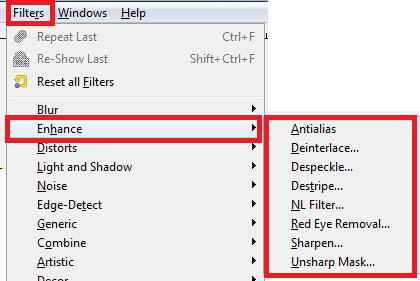
Step 3 ) Click on Filters -> Enhance menu to edit the following:
- Antialias
- Deinterlace
- Despeckle
- Destripe
- NL Filter
- Red Eye Removal
- Sharpen
- Unsharp Mask
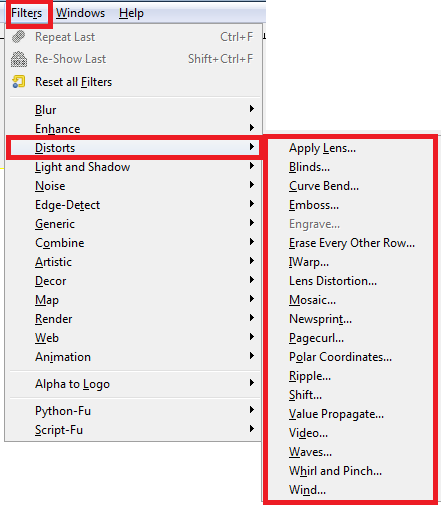
Step 4 ) Click on Filters -> Distorts menu to edit the following:
- Apply Lens
- Blinds
- Curve Bend
- Emboss
- Engrave
- Erase Every Other Row
- IWarp
- Lens Distortion
- Mosaic
- Newsprint
- Page Curl
- Polar Coordinates
- Ripple
- Shift
- Value Propagate
- Video
- Waves
- Whirl and Pinch
- Wind
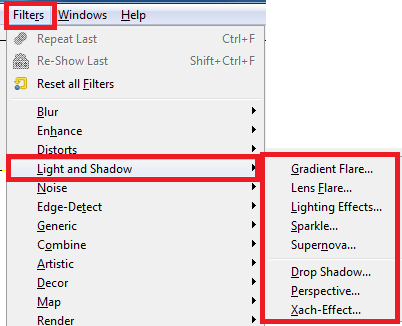
Step 5 ) Click on Filters -> Light and Shadow menu to edit the following:
- Gradient Flare
- Lens Flare
- Lighting Effects
- Sparkle
- Supernova
- Drop Shadow
- Perspective
- Xach-Effect
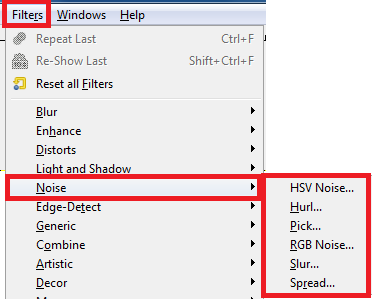
Step 6 ) Click on Filters -> Noise menu to edit the following:
- HSV Noise
- Hurl
- Pick
- RGB Noise
- Slur
- Spread
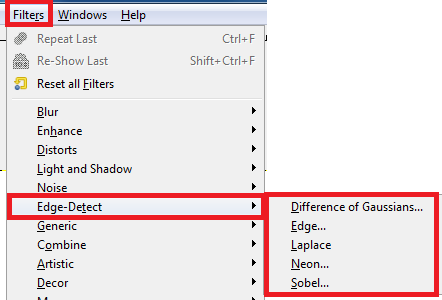
Step 7 ) Click on Filters -> Edge-Detect menu to edit the following:
- Difference of Gaussians
- Edge
- Laplace
- Neon
- Sobel
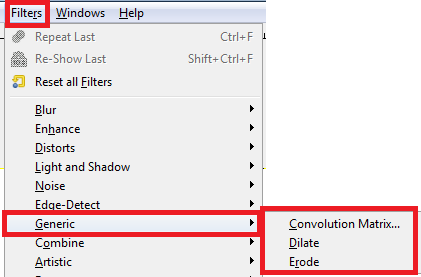
Step 8 ) Click on Filters -> Generic menu to edit the following:
- Convolution Matrix
- Dilate
- Erode
====================
Click on the following link Filters Part Two to learn more about the menu.
I will update this tutorial from time to time. So keep coming back for the latest. If you have any questions please let me know.
Enjoy.
Check out More Gimp Tutorials: