Sell Products Using WP eStore Plugin shows you how to add a simple shopping cart to your website by simply adding a couple of shortcodes.
Last Updated: June 15, 2023
Latest News: Updated the documentation.
Once you have completed setting up the eStore plugin you are ready to start selling products online. In this tutorial you will learn a very simple method of selling goods by inserting shortcodes to your page or post. This is very basic and simple to set up. Anyone should be able to achieve this. There are many more options you can use to sell your products online using different addons available for eStore plugin.
What You Need:
- WordPress eStore (Note: This is an affiliated link = I get a small commission if you make a purchase.)
Sell Products Using WP eStore Plugin
Once you have configured the eStore plugin products settings, you can start selling. Remember to make sure you have covered the following tutorials before you begin selling online.
Step 1 ) Create a new Page, in this example Shop is the name given to the page. Click on the shopping cart icon on the menu as illustrated in the image below.
Note: You can name your page what ever you want.

Shortcode Inserter
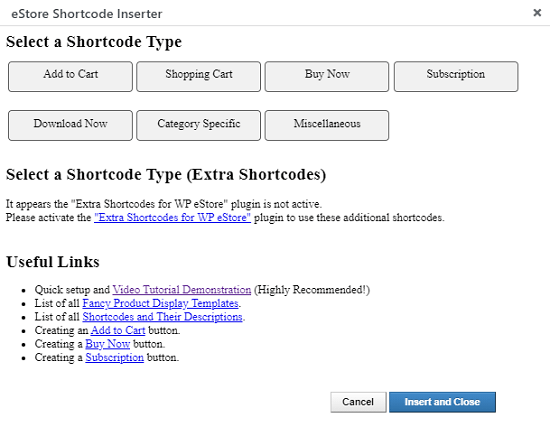
Step 2 ) The following window is displayed after you click on the shopping cart icon from above. This allows you to select from the following buttons.
Shortcode Insert Options
- Add to Cart button
- Shopping Cart button
- Buy Now button
- Subscription button
- Download Now button
- Category Specific button
- Miscellaneous button
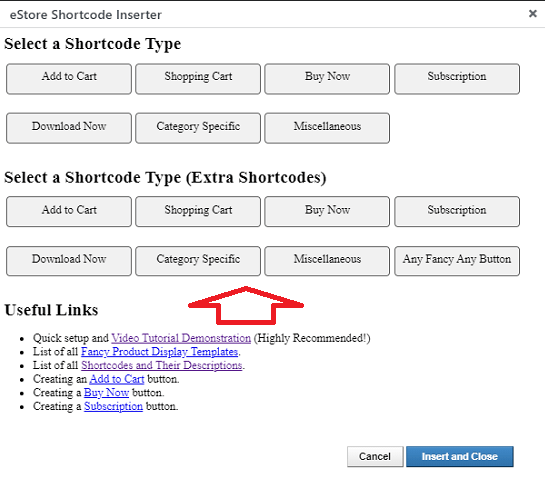
Step 2-a ) There is an addon that adds extra shortcodes to the eStore Shortcode Inserter. Click on the following URL Shortcode and Function reference. The following image shows you the extra buttons displayed in the shortcode inserter window.
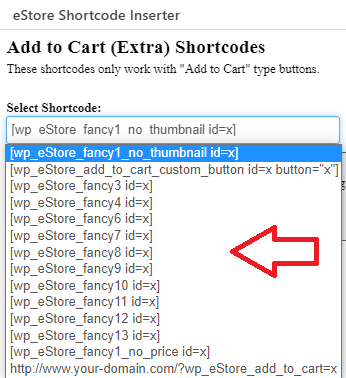
Step 2-b ) The following image displays the extra shortcodes added for the Add to Cart button. As you can see there is a large number of shortcodes added. You probably want to spend a bit of time checking each shortcode.
Note: Not all the buttons have extra shortcodes added.
Step 3 ) The following image shows you the shortcode added to the page from the backend. Notice the id=1. (Important: Your id might be a different number, so make sure you enter the correct id number)
- [wp_eStore_fancy1 id=1] = Note: Remember to add your item id.
- [wp_eStore_cart]

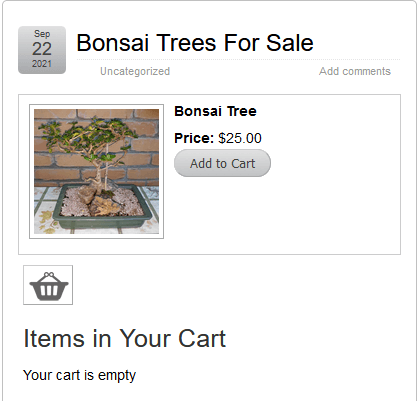
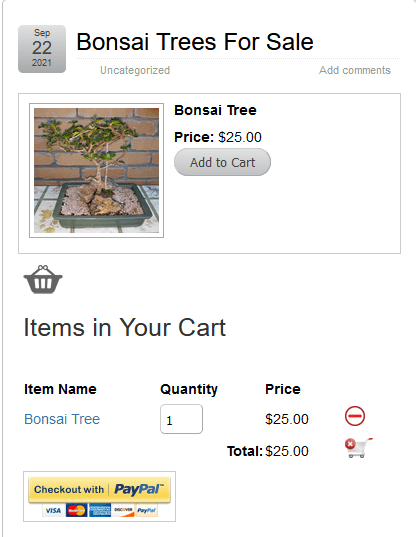
Step 4 ) The following image shows you the end results from the two shortcodes inserted above.
Note: These settings are the most basic settings needed to setup a simple online store. There are more settings you can enable and addons you can install to create a fancy online store.
Step 4-a ) The following image shows you an item added and one quantity to the shopping cart.
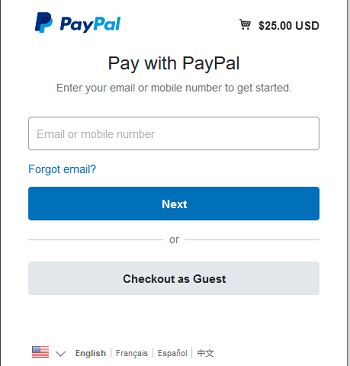
Step 4-b ) The following image shows you the PayPal window displayed ready for payment.
==================================
Click on the following URL Troubleshooting to continue with the tutorial.
I will be updating this post from time to time. So keep coming back for more. If you have any questions please let me know.
Enjoy.
WordPress eStore Plugin Tutorial List: