Create a WordPress plugin or theme translation using poedit shows you how to create or edit a language file for themes and plugins.
Last Updated: July 3, 2020
Latest News: Updated the documentation.
The language file used for editing in this tutorial is Spanish (Spain). The locale for Spain is es_ES. When you create and save the Spanish files in Poedit it creates two files es_ES.po and es_ES.mo. However the po and mo file name in a plugin or theme will have the name of the plugin and theme added to the locale.
Important: Make sure your file name is named correctly or else it will not work. For example: Don’t use the following names classipress_es_ES.po or classipress_es-ES.po because they will not work.
The following is an examples of properly named po and mo files for a theme and a plugin.
Example Theme Name:
- classipress-es_ES.mo
- classipress-es_ES.po
Example Plugin Name:
- all-in-one-wp-security-and-firewall-es_ES.mo
- all-in-one-wp-security-and-firewall-es_ES.po
Note: Remember there are many different Spanish locales, so make sure you are using the correct locale for your Spanish language.
Note: Nowadays plugins and themes can be translated online at translate.wordpress.org/.
What you need:
- And ftp program like filezilla which is free or cPanel File Manager
- Poedit to edit or create new po and mo files.
- Loco Translate is becoming very popular. (Optional but highly recommended)
Create a WordPress plugin or theme translation using poedit
Step 1 ) Before you begin check to make sure you have set up your WordPress site with the correct language. Please check the following documentation Install WordPress In Your Own Language to learn more.
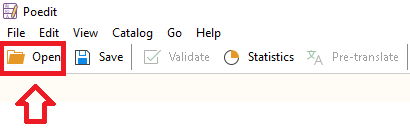
Step 2 ) Open Poedit in your computer or laptop. Click on Open button as illustrated in the image below. Search for the po file in your computer or laptop. In this example I am going to edit es_ES.po from Suffusion theme.
Note: You can also double click using your left mouse button the po file. Poedit should run and open the file for you. If it doesn’t, it means you need to select poedit as the default program to open up po files.
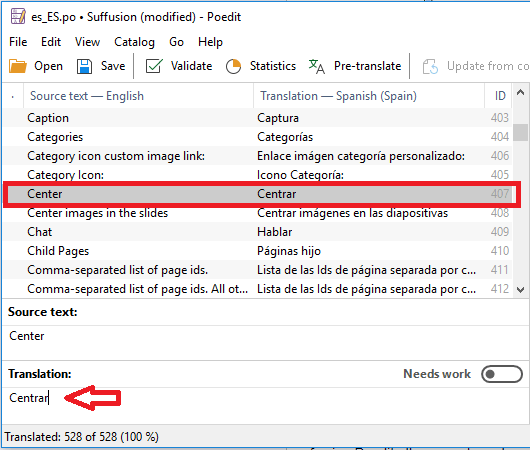
Step 3 ) Once you have opened the es_ES.po file you will see many strings for translation. Each string you select for translation will show up in the field Source text:. The string selected can be translated into your language.
In this tutorial the language is Spanish (Spain). The translated strings will be edited under Translation: field. See image below.
Note: In your case you might be translating a different language.

Step 4 ) In the following image the source text selected is Center. The current Spanish translation word used is Centrar. This will be edited to a different word.
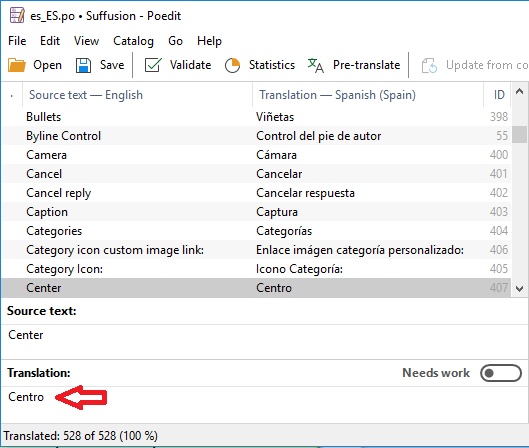
Step 5 ) In the following image you can see the new edited string Centro. Using a program like Poedit allows you to make your translations more personal for your site.
Po File Changes Completed
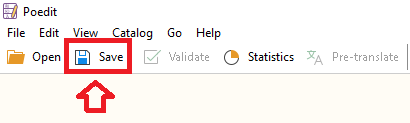
Step 6 ) Once you have completed all the changes, click on Save button as illustrated in the following image. Your new po and mo files will be updated and ready for uploading to your server.
Update Po File
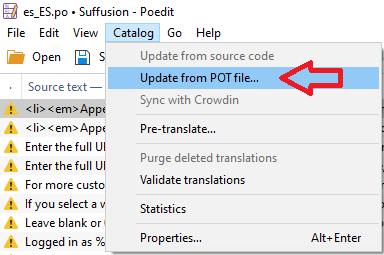
Step 7 ) There are times that you might have to update the po files because it has not been updated for a while. This usually happens when the theme has been updated a few times but the language po file has not. In this case, go to Catalog -> Update from POT file.. as illustrated in the image below. Locate the POT file and click on Open.
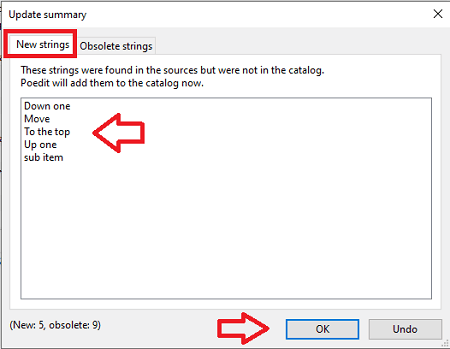
Step 7-a ) The following image illustrates the new strings found in the POT file. These strings need to be added to the po file. Click on OK button. Now all you need to do is translate the new strings found. In this example the following new strings were found.
New Suffusion Strings Found:
- Down one
- Move
- To the top
- Up one
- sub item
Upload Files To Server
Step 8 ) After saving your changes, go back to the location where you opened the file to edit. You should see two files with updated entries.
In this example the files are:
Files created:
es_ES.mo
es_ES.po
The es_ES.mo file is generated automatically by Poedit when you save the changes made to your po file. Once you have completed all your changes and saved your file, you need to upload the new files to your server using FTP.
Nowadays the mo and po files can also be uploaded to the following directory path in WordPress. This is the default path to upload your mo and po files for themes that are translated in wordpress.org. Which can also serve as a way to protect your customize translation whenever you update your theme.
Note: A better way to protect your themes customizations including the language files is by using a child theme.
WordPress Languages Folders
- yoursite.com/wp-content/languages/plugins/
- yoursite.com/wp-content/languages/themes/
The other location is the plugin and theme directory path. When you upload or install a plugin or theme with a language directory, it uploads the language files in the /languages/ folder. The following is an example of a plugin and theme directory path.
Plugin / Theme Language Folders
- yoursite.com/wp-content/themes/theme-name/languages/
- yoursite.com/wp-content/plugins/plugins-name/languages/
Note: Make sure you refresh your browser and delete your cache if you have a cache plugin installed in your site.
Links Of Interest:
- Edit Simple Membership Default English Strings
- How To Translate WordPress Into Another Language
- Install WordPress In Your Own Language
These are very simple and straightforward instructions. I wanted to keep them as simple as possible for you.
I keep updating this tutorial form time to time so come back soon to check the latest.
If you have any questions please let me know.
Enjoy.
WordPress Setup Tutorial List: