All In One Security Settings helps you setup the following options general settings, .htaccess file and much more.
Last Updated: March 6, 2024
Latest News: Updated the documentation.
This documentation helps you create backups, export and import plugin configuration settings, and much more. Keeping a system running in the event of an emergency is important. You know how easy it is for a security plugin to crash due to conflicts with other plugins, themes, and server settings. The settings menu will help you recover “aios” in case something goes wrong.
What you need:
All In One Security Settings
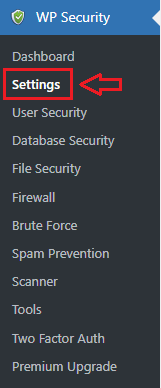
Step 1 ) Go to WP Security -> Settings admin sidebar menu as illustrated in the image below.
Settings
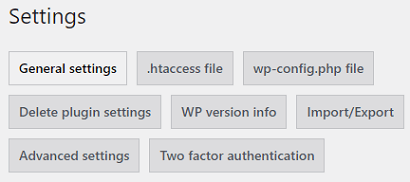
Step 2 ) The following image Settings illustrates the different tabs that allows you to set up and configure the following options.
Settings Options
- General settings
- .htaccess file
- wp-config.php file
- Delete plugin settings
- WP version info
- Import/Export
- Advanced settings
- Two factor authentication
General settings
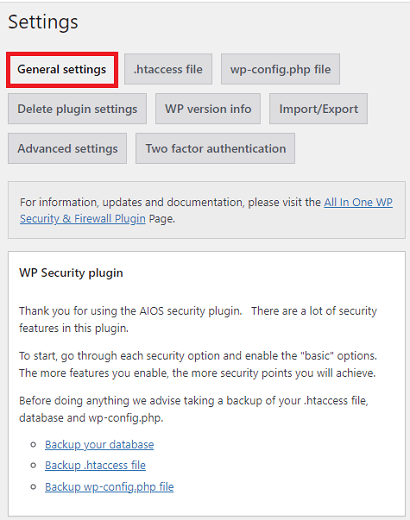
Step 3 ) Go to WP Security -> Settings -> General settings tab to set up the following options.
General settings options part 1
- Backup your database
- Backup .htaccess file
- Backup wp-config.php file
Important: It is important to backup the above files when you install the plugin. They are very important files for the functionality of your website. If they become corrupted you will lose access to your admin site and your website might crash as well.
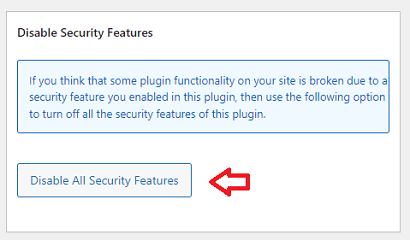
Disable Security Features
Step 3-a ) The following image Disable Security Features allows you to disable all the security features. Click on Disable all security features button to begin disabling all the features.
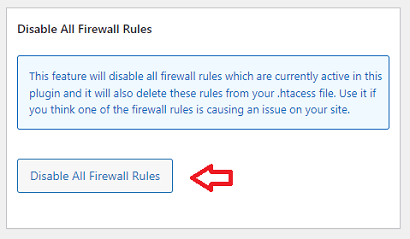
Disable all firewall rules
Step 3-b ) The following image Disable all firewall rules allows you to disable all firewall rules which are currently active in your site. Click on Disable all firewall rules button to begin disabling all the rules.
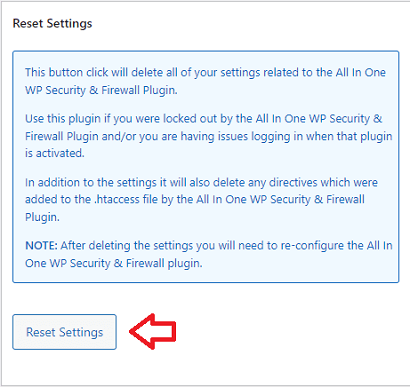
Reset settings
Step 3-c ) The following image Reset settings allows you to delete all the settings in the plugin. Click on Reset settings button to begin resetting the settings.
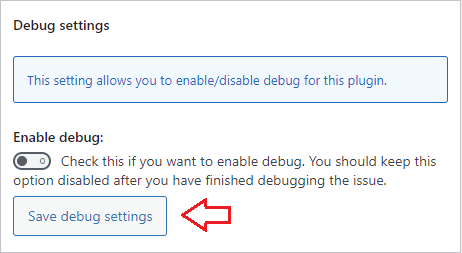
Debug settings
Step 3-d ) The following image Debug settings allows you to enable or disable the debug log files. First check the Enable debug option. Then click on Save debug settings button to save the debug settings.
Note: This new feature controls the following log files wp-security-log.txt and wp-security-log-cron-job.txt. Found in the following folder /plugins/all-in-one-wp-security-and-firewall/logs/.
==============================
.htaccess file
Step 4 ) Go to WP Security -> Settings -> .htaccess file tab as illustrated in the image below to manage the .htaccess file.
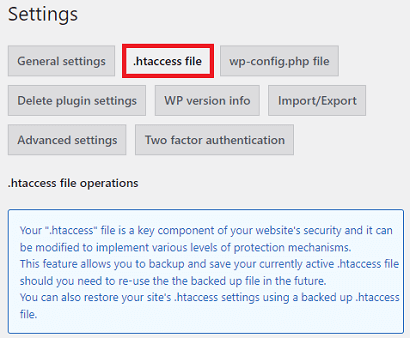
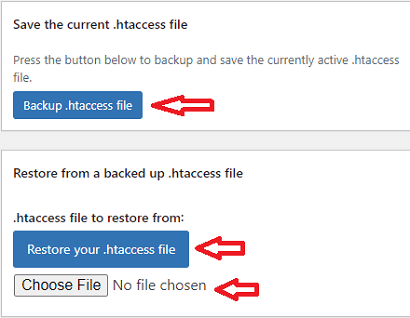
Step 4-a ) The following image allows you to set up the following options.
.htaccess file options
- Click on Backup .htaccess file button to create a backup.
- Click on Choose File button to select your backup file.
- Click on Restore your .htaccess file button to restore the backup file selected.
==============================
wp-config.php file
Step 5 ) Go to WP Security -> Settings -> wp-config.php file as illustrated in the image below to manage the wp-config.php file.
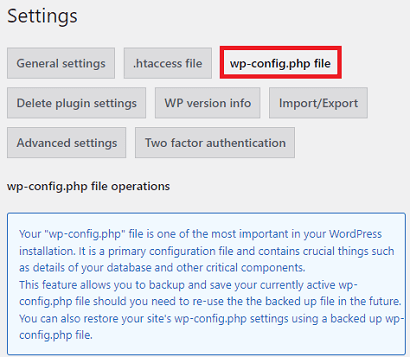
Step 5-a ) The following image allows you to set up the following options.
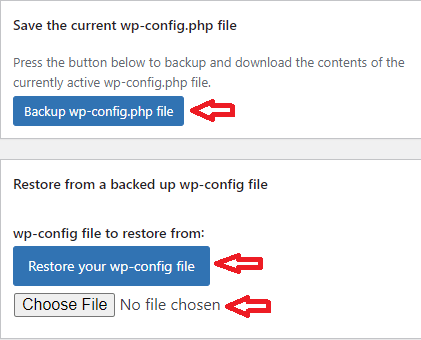
wp-config.php file options
- Click on Backup wp-config.php file button to create a backup.
- Click on Choose File button to select your backup file.
- Click on Restore your wp-config.php file button to Restore the backup file selected.
==============================
Delete plugin settings
Step 6 ) Go to WP Security -> Settings -> Delete plugin settings tab as illustrated in the image below to set up the following options.
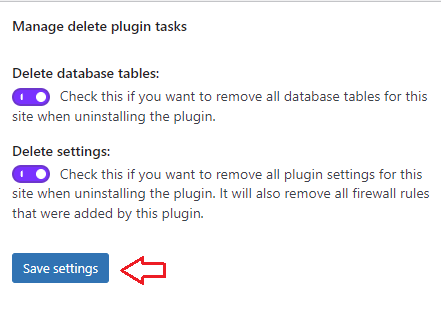
These features allow you to delete the database and plugins settings when you deactivate the plugin. This can help you if you run into all sorts of trouble. By enabling both features you will start from scratch when you activate the plugin again. It is as if you have never installed the plugin at all. This is great for troubleshooting.
Manage delete plugin settings options
- Delete database tables:
- Delete settings:
- Click on Save settings button once you complete this option.
WP version info
Step 7 ) Go to WP Security -> Settings -> WP version info tab as illustrated in the image below to set up the following option.
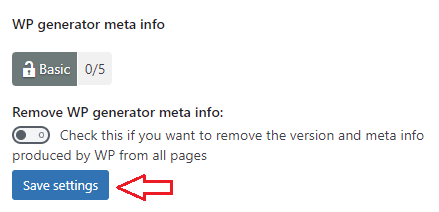
WP generator meta info settings
- Remove WP generator meta info:
- Click on Save settings button once you complete this option.
WP Generator Meta Info adds 5 point score towards your security meter. (Basic Security Level)
FAQ
Q1 What does this feature actually protect when viewing the browser page source code?
Answer: Currently this feature will remove the WP core version info and not other version information such as plugin/theme version.
For example: as well as removing the wp generator tag it will also modify the src links for js and css files to remove wp version. Example:
when feature is turned off the src link might look like this:
<link rel=’stylesheet’ id=’jquery-ui-style-css’ href=’//ajax.googleapis.com/ajax/libs/jqueryui/1.11.0/themes/smoothness/jquery-ui.css?ver=5.2.3′ type=’text/css’ media=’all’ />
And when the feature is turned on the wp version will be obscured as follows:
<link rel=’stylesheet’ id=’jquery-ui-style-css’ href=’//ajax.googleapis.com/ajax/libs/jqueryui/1.11.0/themes/smoothness/jquery-ui.css?ver=74b65cd810ffdedc651b19fd8155b772′ type=’text/css’ media=’all’ />
Import/Export
Step 8 ) Go to WP Security -> Settings -> Import/Export to set up and manage the importing and exporting of the settings in the plugin. Refer to the following link aiowps-import-export-settings to learn more.
==============================
Advanced settings
Step 9 ) Go to WP Security -> Settings -> Advanced settings tab as illustrated in the image below to manage the advanced settings.
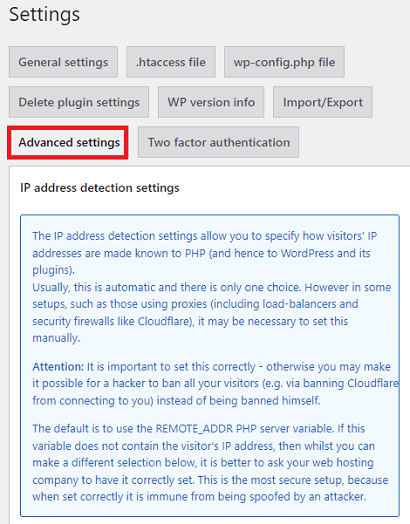
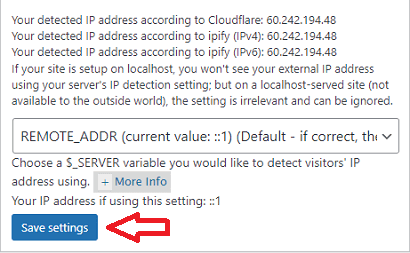
Step 9-a ) The following image allows you to set up the following options.
IP address detection settings
- Choose a $_SERVER variable you would like to detect visitors’ IP address using.
- Click on Save settings button once you complete this option.
==============================
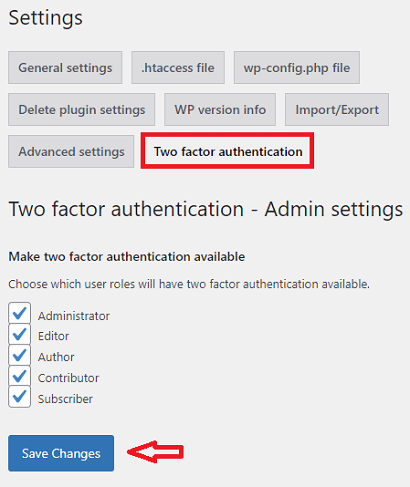
Two factor authentication
Step 10 ) Go to WP Security -> Settings -> Two factor authentication as illustrated in the image below to set up the following options.
Two factor authentication user roles options
- Default WordPress User Roles
- Administrator
- Editor
- Author
- Contributor
- Subscriber
- Other Plugins User Roles (Note: In your site you might have different user roles available from other plugins.)
- FDP Manager
- FDP Viewer
- Click on Save Changes button once you complete this option.
XMLRPC requests
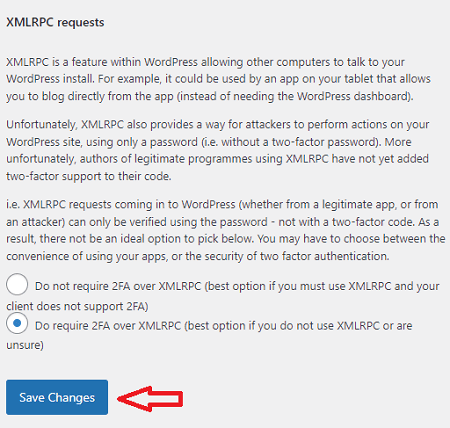
Step 10-a ) The following image XMLRPC requests allows you to configure the following options.
Two Factor Authentication XMLRPC requests Options
- Do not require 2FA over XMLRPC (best option if you must use XMLRPC and your client does not support 2FA)
- Do require 2FA over XMLRPC (best option if you do not use XMLRPC or are unsure)
- Click on Save Changes button once you complete this option.
XMLRPC requests
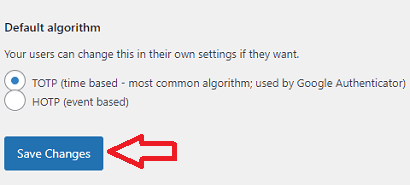
Step 10-b ) The following image XMLRPC requests allows you to configure the following options.
Two factor authentication XMLRPC requests options
- TOTP (time based – most common algorithm; used by Google Authenticator)
- HOTP (event based)
- Click on Save Changes button once you complete this option.
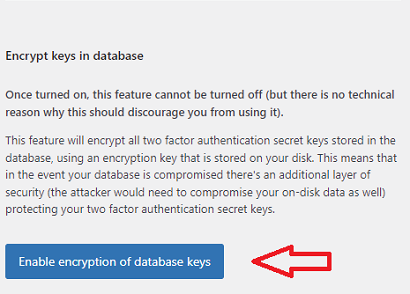
Encrypt keys in database
Step 10-c ) The following image Encrypt keys in database allows you to configure the following options. Click on Enable encryption of database keys button to enable encryption.
Note: Once turned on, this feature cannot be turned off (but there is no technical reason why this should discourage you from using it).
============================
That’s how simple it is to manage the security settings for your site using AIOS.
Click on the following link User Accounts to continue configuring the plugins settings.
If you have any questions please let me know.
Enjoy.
All In One Security (AIOS) Plugin Tutorial List
hi, when i activated “rename page of login” on wp-admin/admin.php?page=aiowpsec_brute_force&tab=tab1 , i get 500 error (site works ok, but
http://site.com/NEWPAGE_LOGINreturn 500 error. when i deactivated NEWPAGE_LOGIN, its all ok.whats problem? =)
Hi, if you activated the Rename Login Page feature you need to enter the following yoursite.com/secretword to log into your site. You cannot use /wp-login.php or /wp-admin.php any more. Is this what you are referring too?
Regards