WP Easy Pricing Table Content Settings tutorial, shows you how to manage the content settings in the plugin for a new pricing table.
Last Updated: February 3, 2025
Latest News: Updated the documentation.

This tutorial is based on the following plugin Easy Pricing Tables. This plugin lets you create a beautiful, responsive and highly converting pricing table. There are many templates for you to choose from. However the free version only has one template. If you want to use any of the other templates you need to purchase the pro version.
Easy Pricing Tables 4.0.2 Changelog
- Added custom shortcode block to allow shortcodes within block patterns
- Removed adding inlne links to button – use side panel field instead to preserve design
- Fix conflict with Astra theme causing replicated comparison fields
What you need:
Other Pricing Tables:
- The following URL WordPress Tables Plugins provides you with a list of pricing table plugins to choose from.
WP Easy Pricing Tables Tutorial list:
WP Easy Pricing Table Content Settings
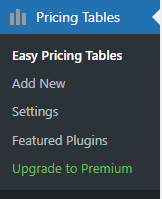
Step 1 ) Go to Pricing Tables -> Add New as illustrated in the image below to add a new table.
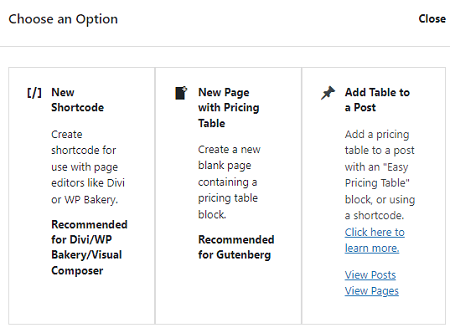
Step 2 ) The following image Choose an Option, allows you to select from the following options.
Choose an Options
- New Shortcode
- New Page with Pricing Table
- Add Table to a Post
Note: If you are still not ready for Gutenberg and are still using the traditional TinyMCE editor, check Step 3 ) below.
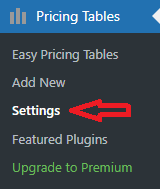
Step 3 ) Go to Pricing Tables -> Settings as illustrated in the image below.
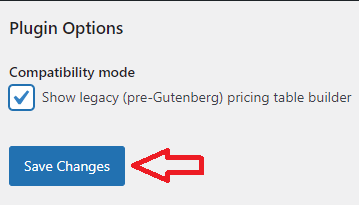
Step 4 ) Then check Compatibility mode as illustrated in the image below. Click on Save Changes button once you have selected this option.
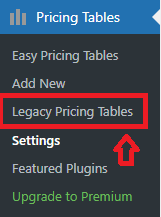
Step 5 ) Go to Pricing Tables -> Legacy Pricing Tables as illustrated in the image below. This will allow you to use the legacy editing style.
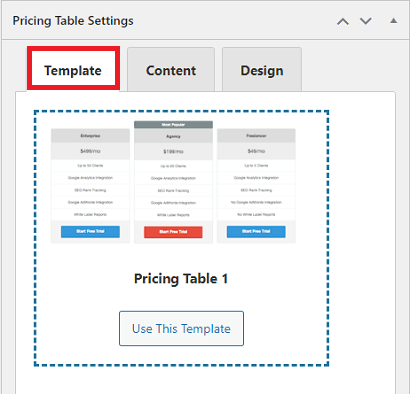
Step 6 ) The following image Template, allows you to select a template for your pricing tables. There are many templates for you to choose from. In this tutorial the Pricing Table 1 is selected because it is the free plugin version.
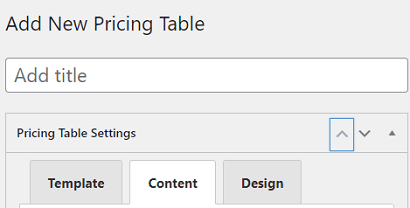
Step 7 ) The following image Add New Pricing Table, allows you to set up the following options.
Add New Pricing Table Options
- Enter the title name
- Template
- Content
- Design
Important: It is recommended that you don’t add more than 4 columns. This will allow the table to shrink for small devices allowing for full responsive capabilities.
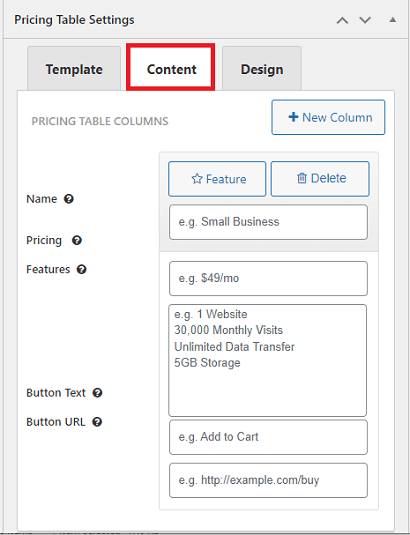
Step 8 ) The following image Content allows you to configure the following options.
Table Content
- Add New Column = Note: Make sure you carry out some test if you add more than 3 or 4 columns.
- Feature
- Delete
- Name
- Pricing
- Features
- Button Text
- Button URL
- Save & Preview
- Save
- Deploy (Get Shortcode)
=======================
Click on the following URL Design to continue setting up the table plugin.
If you have any questions please let me know. I will be updating this tutorial from time to time so come back for the latest news.
Enjoy.