WP Affiliate Platform Settings tutorial shows you how to setup an Affiliated service on your website and includes Affiliated Language settings and more.
Last Updated: August 30, 2021
Latest News: Updated the documentation.
This documentation shows you how to setup and manage the general settings tab.
Important Links:
- Documentation page = Contains all the documentation for the WP Affiliate Platform plugin.
- WordPress Affiliate Platform Features = A list of features available in the plugin.
What You Need:
- WP Affiliate Platform (Note: This is an affiliated link = I get a small commission if you make a purchase.)
WP Affiliate Platform Settings
General Settings
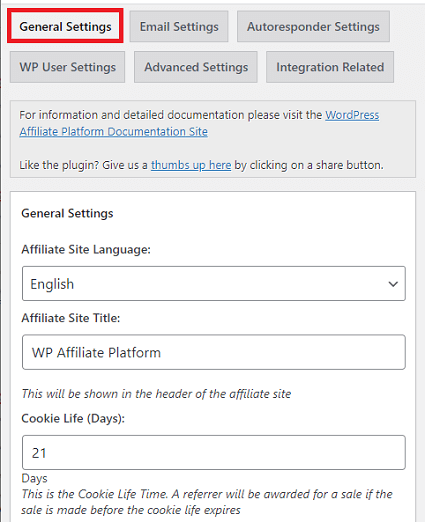
Step 3 ) Go to WP Affiliate -> Settings -> General Settings tab to set up the following options. See image below.
General Settings Part 1
- Affiliate Site Language:
- Affiliate Site Title:
- Cookie Life (Days):
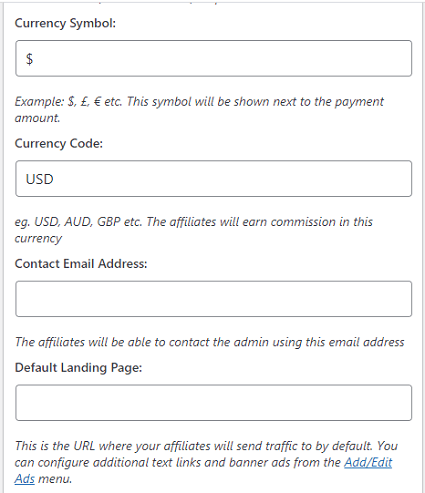
Step 3-a ) The following image allows you to set up the following options.
General Settings Part 2
- Currency Symbol:
- Currency Code:
- Contact Email Address:
- Default Landing Page:
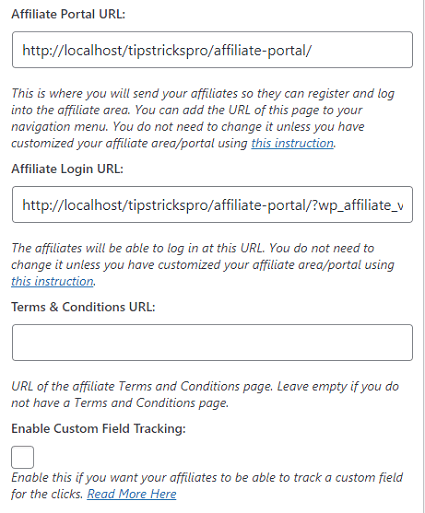
Step 3-b ) The following image allows you to set up the following options.
General Settings Part 3
- Affiliate Portal URL:
- Affiliate Login URL:
- Terms & Conditions URL:
- Enable Custom Field Tracking:
Step 3-c ) The following image allows you to set up the following options.
General Settings Part 4
- Show Buyer Details to Affiliates in the Affiliate Area:
- Show Buyer Name
- Show Buyer Email Address
- Show Transaction ID
- Your Tips & Tricks HQ Affiliate ID:

Affiliate Signup/Registration Specific Settings
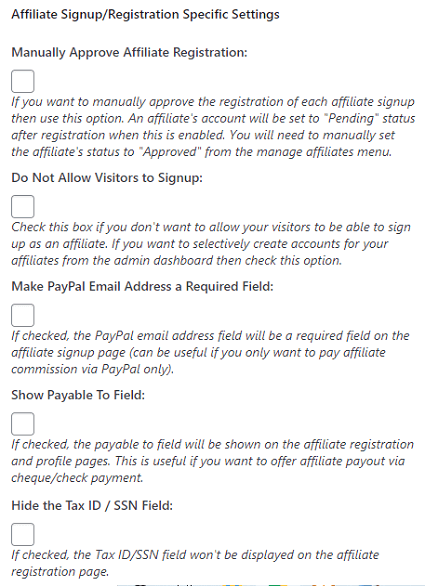
Step 4 ) The following image Affiliate Signup/Registration Specific Settings allows you to set up the following options.
Affiliate Signup/Registration Specific Settings Part 1
- Manually Approve Affiliate Registration:
- Do Not Allow Visitors to Signup:
- Make PayPal Email Address a Required Field:
- Show PayPal To Field:
- Hide the Tax ID / SSN Field:
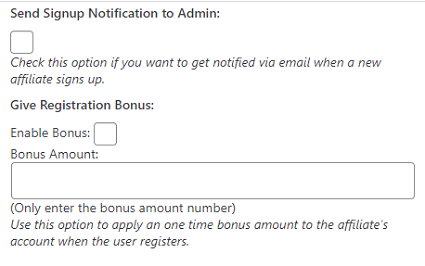
Step 4-a ) The following image allows you to set up the following options.
Affiliate Signup/Registration Specific Settings Part 2
- Send Signup Notification to Admin:
- Give Registration Bonus:
- Enable Bonus:
- Bonus Amount:
Commission Settings
Step 5 ) The following image Commission Settings allows you to set up the following options.
Commission Settings
- Use Fixed Commission Amount
- Commission Level
- Use Automatic Commission Reversal

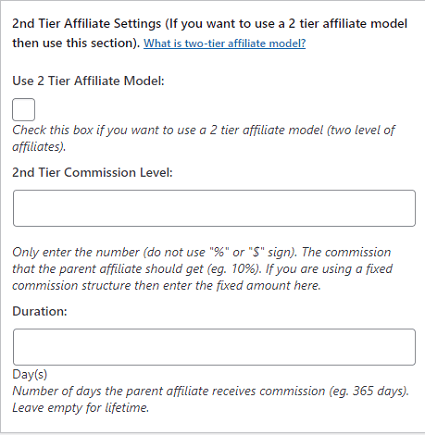
2nd Tier Affiliate Settings
Step 6 ) The following image 2nd Tier Affiliate Settings allows you to set up the following options.
2nd Tier Affiliate Settings
- Use 2 Tier Affiliate Model:
- 2nd Tier Commission Level:
- Duration:
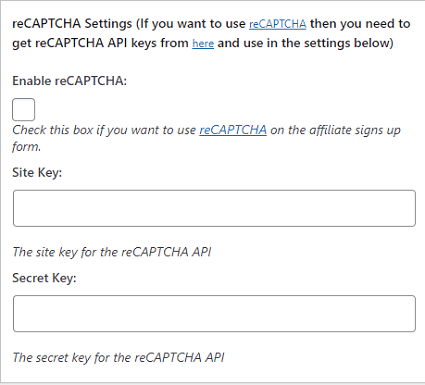
reCAPTCHA Settings
Step 7 ) The following image reCAPTCHA Settings allows you to set up the following options.
reCAPTCHA Settings
- Enable reCAPTCHA:
- Site Key:
- Secret Key:
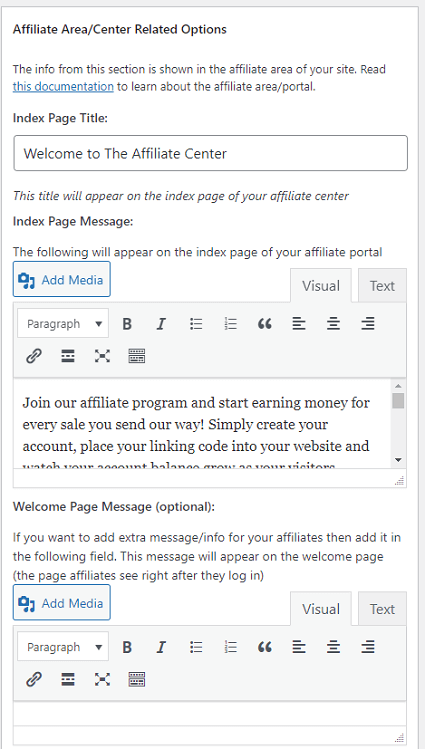
Affiliate Area/Center Related Options
Step 8 ) The following image Affiliate Area/Center Related Options allows you to set up the following options.
Affiliate Area/Center Related Options
- Index Page Title:
- Index Page Message:
- Welcome Page Message (optional):
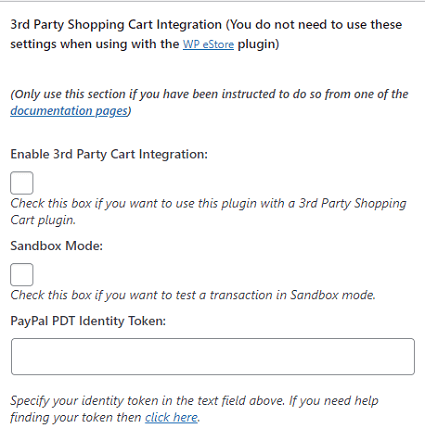
3rd Party Shopping Cart Integration
Step 9 ) The following image 3rd Party Shopping Cart Integration allows you to set up the following options.
3rd Party Shopping Cart Integration
- Enable 3rd Party Cart Integration:
- Sandbox Mode:
- PayPal PDT Identity Token:
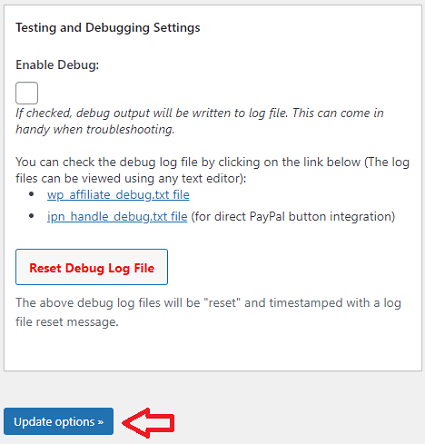
Testing and Debugging Settings
Step 10 ) The following image Testing and Debugging Settings allows you to test the following options.
Testing and Debugging Settings
- Enable Debug:
- Reset Debug Log File button
- Click on Update Options button when you are finished configuring all the options.
====================================
Click on the following link Email Settings to complete the Second Part of the tutorial.
I will be updating this post from time to time. So keep coming back for more.
If you have any questions please let me know.
Enjoy.
WP Affiliate Platform Tutorials: