WordPress Media Cleaner Admin Settings post shows you how to manage and configure the plugins admin settings and more.
Last Updated: February 26, 2023
Latest News: Updated the changelog.
In this post you will learn how to configure Media Cleaner plugin. There are only a few settings you need worry about. There are also premium settings you can configure as well if you are running the paid version.
What you need:
Media Cleaner Tutorials:
- Admin Settings
- Scanned Options
WordPress Media Cleaner Admin Settings
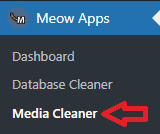
Step 1 ) Go to Meow Apps -> Media Cleaner as illustrated in the image below to begin setting up the plugin.
Media Library Scan
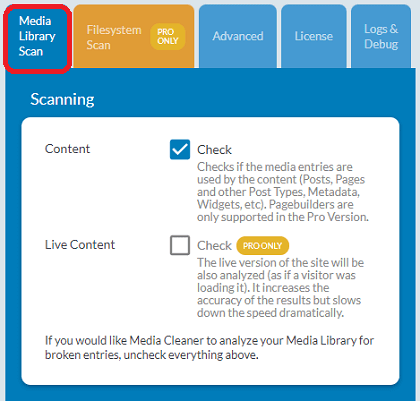
Step 2 ) The following image Media Library Scan allows you to enable or disable the scanning of your media library.
Media Library Scan Part 1
- Content
- Live Content
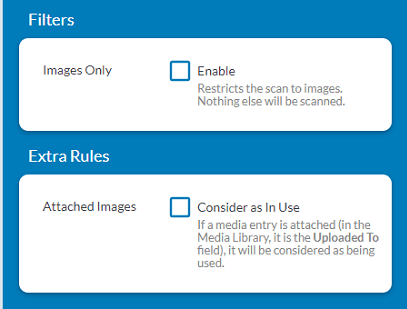
Step 2-a ) The following image allows you to enable or disable the following options
Media Library Scan Part 2
- Filters
- Images Only
- Extra Rules
- Attached Images
Advanced
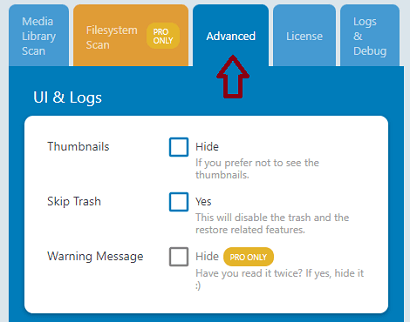
Step 3 ) The following image Advanced allows you to enable or disable the following options.
Advanced Options
- UI & Logs
- Thumbnails
- Hide
- Skip Trash
- Yes
- Warning Message (Pro Only)
- Thumbnails
On Uninstall
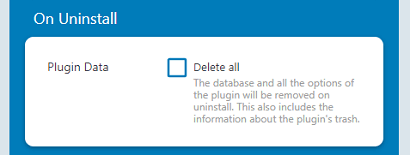
Step 3-a ) The following image On Uninstall allows you to enable or disable the following options.
On Uninstall Option
- Plugin Data
- Delete all
For Advanced Users & Developers
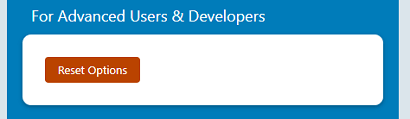
Step 3-b) The following image For Advanced Users & Developers allows you to enable or disable the following options.
For Advanced Users & Developers Option
- Click on Reset Options button to reset the settings configured in the plugins admin panel.
Advanced Settings
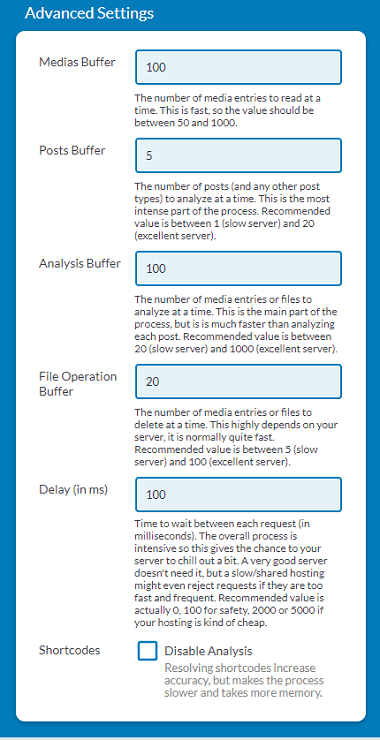
Step 3-c ) The following image Advanced Settings allows you to configure the following options.
Advanced Settings Options
- Medias Buffer
- Posts Buffer
- Analysis Buffer
- File Operation Buffer
- Delay (in ms)
- Shortcodes
Logs & Debug
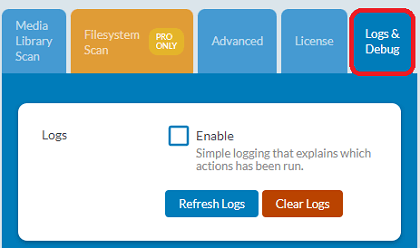
Step 4 ) The following image Logs & Debug allows you to enable or disable the following option.
Logs & Debug Option
- Logs
- Click on Refresh Logs button or Clear Logs button.
=========================
That is how simple it is to configure the plugin Media Cleaner.
I will be updating this post from time to time. So keep coming back for more.
Enjoy.