Latest WordPress Changes Image Editing post talks about the changes made to WordPress inserting of an image into a post or page.
Last Updated: July 30, 2019
Latest News: I added another image.
There are constant changes made to WordPress versions to improve the functionality in the admin backend. In this post I will illustrate the different changes made over the years when inserting an image into a post or page.
I am sure many of you are happy with the changes made over the years when inserting images. As you can see from the images below, WordPress has made many changes and implemented a more user friendly way to insert and manage images. They have made it much easier to edit images, the colors are more vivid and the option settings are much clearer and easy to follow. In this post the following versions are mentioned.
WordPress Versions:
- Versions 3.6, 3.7 and 3.8
- Versions 3.9.1 and 4.0
- Version 5.0
WordPress Image Editing Tutorials:
- Latest WordPress Changes Image Editing
- WordPress Image Editing Advanced Settings
Latest WordPress Changes Image Editing
Step 1 ) The following images illustrate the different options available after you have inserted an image to a post or page.
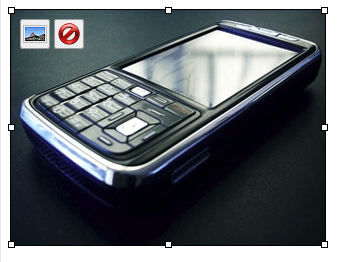
Step 1-a ) In version 3.8 the layout is visible and easy to follow. As you can see from the edit button, delete button and drag and expand the size of the image option is easy to understand and carry out.
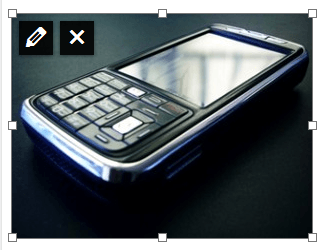
Step 1-b ) In version 3.9 they have gone further by adding a more user friendly buttons to better explain what each button does. A pencil button for editing, an X button for deleting and the drag boxes are much larger in size and more visible.
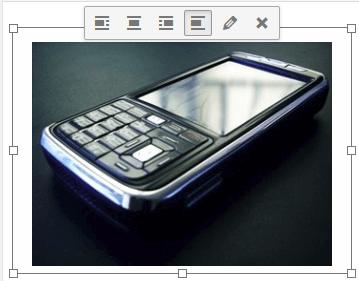
Step 1-c ) In version 4.1 and 5.0 they added more user friendly buttons to better explain what each button does. A pencil button for editing, an X button for deleting and the four different alignment buttons.
Step 2 ) The following images illustrate the difference when you edit an image after the image has been inserted into your post or page.
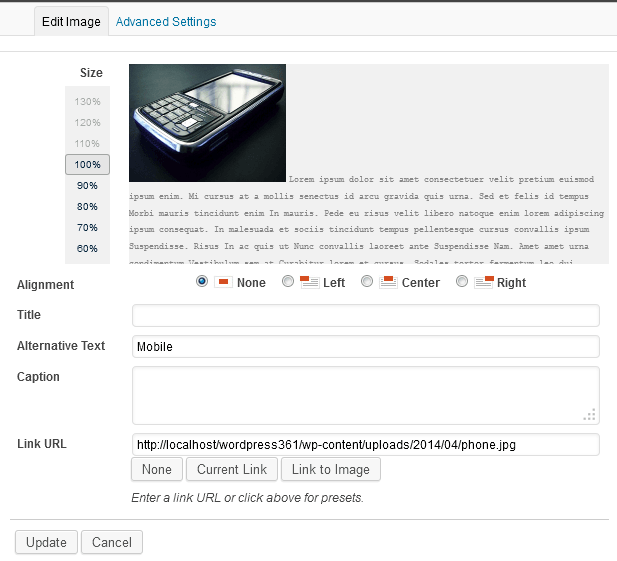
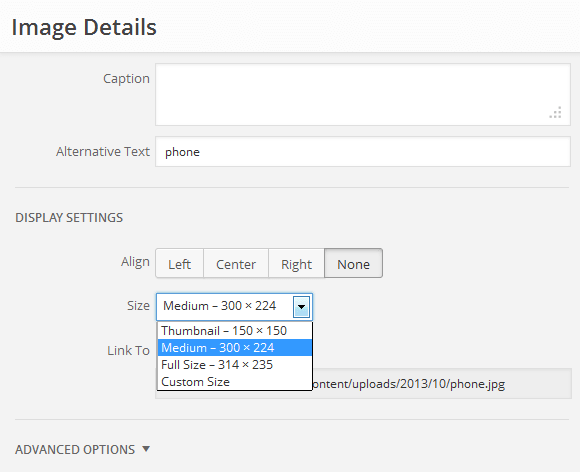
Step 2-a ) In version 3.8, which is very similar if not the same as version 3.6.1 and 3.7.1. It is a bit challenging for many novice to edit the settings. The titles for each field does help you understand what part of the image or information you are about to edit. However the layout could be improved further. Lucky for us, this is what WordPress has been doing all along.
Step 2-b ) In version 4.1 and 3.9.1, it feels like a complete settings overhaul. It is very easy to follow and edit your images. There is more space between each option with less obstruction. The layout of each field makes it easy to edit and make changes to your images.
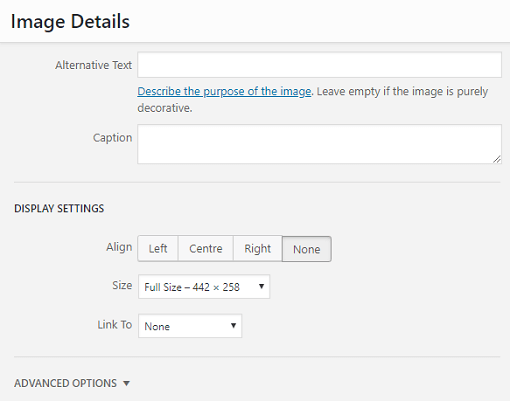
Step 2-c ) In version 5.x, Alternative Text field has been moved above Caption as illustrated in the image below.
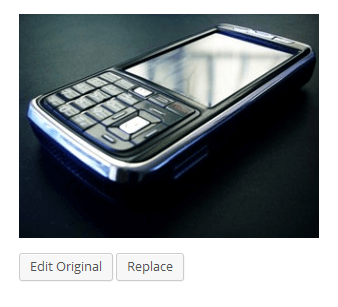
Step 3 ) In versions 3.9.1, 4.1 and 5.0 when you click on the pencil as illustrated above in step 1 ) an image appears. This image is located on the right hand side. You have two buttons underneath the image, Edit Original or Replace the image all together. It is much better to understand and easy to edit.
 Click on the following URL WordPress Image Editing Advanced Settings, to continue.
I will be updating this post from time to time so keep coming back for the latest.
If you have any questions please let me know.
Enjoy.