The following Easy WP SMTP Plugin Settings tutorial shows you how to set up and configure the SMTP plugin in your site for outgoing emails.
Last Updated: April 3, 2025
Latest News: Updated the documentation.

There are times that your server might not work well with your outgoing emails. That is when you need Easy WP SMTP plugin. This little but powerful plugin will help you get all your outgoing e-mails to their destination. This plugin will also help you to prevent your emails from going into the junk/spam folder of the recipients.
Note: These tutorials are based on version up to 2.10.0.
Easy WP SMTP 2.10.0 changelog.
- Fixed: Emails queue runner Action Scheduler task deadlock issue.
- Fixed: Undefined array key “easy_wp_smtp_reports_widget_lite” warning in the dashboard widget.
What You need:
- Easy WP SMTP plugin.
Easy WP SMTP Tutorials:
- Plugin Settings
- Additional Settings
- Test Email Settings
- Troubleshooting Tips
- FAQ
Easy WP SMTP Plugin Settings
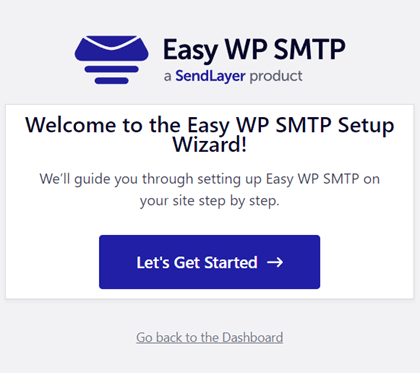
Step 1 ) When you install and activate the plugin, you will see the Wizard setup option as illustrated in the image below. This allows you to get started setting up the plugin. However, if you don’t wish to use the wizard you can click on Go back to the Dashboard.
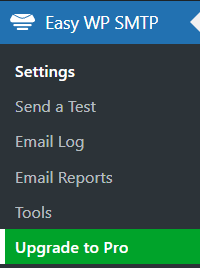
Step 2 ) Go to Easy WP SMTP as illustrated in the following image to start setting up the plugin.
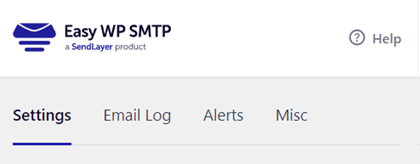
Step 3 ) The following image shows you three tabs available in the plugin listed below.
Easy WP SMTP Admin Settings Tabs
- Settings
- Email Log
- Alerts
- Misc
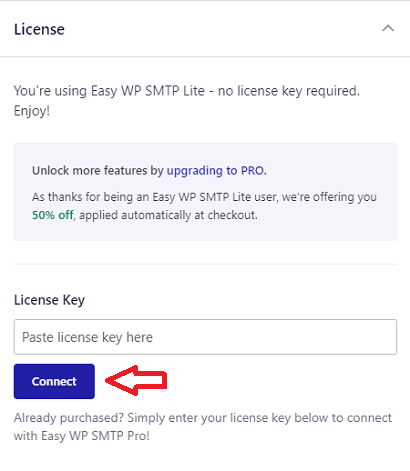
License
Step 4 ) The following image License allows you to enter a license key if you have purchased the pro version. Once you have entered the license key, click on Connect button.
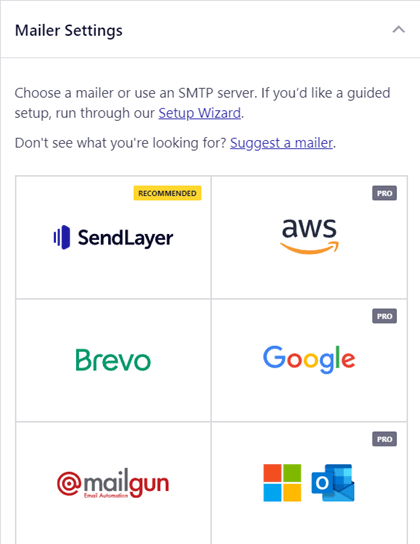
Mailer Settings
Step 5 ) The following image Mailer Settings illustrates the different Mailers you can choose from. Make sure you spend some time testing each one to make sure you choose the correct one that works best for you.
Note: You can also click on the Setup Wizard link illustrated in the image below.
Mailer Settings Options Part 1
- SendLayer
- aws (Pro)
- Brevo
- Google (Pro)
- @mailgun
- Outlook (Pro)
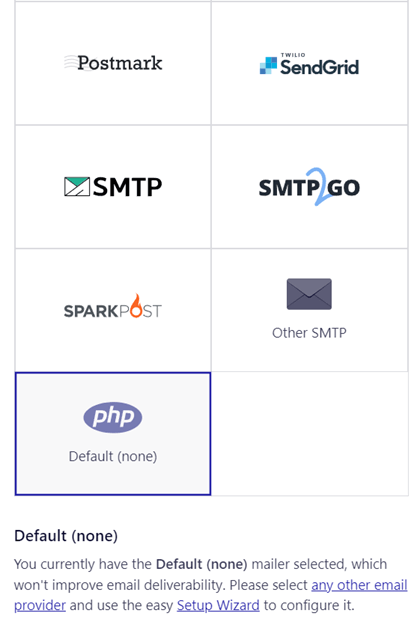
Step 5-a ) The following image allows you to setup the following options.
Note: You can also click on the Setup Wizard link illustrated in the image below.
Mailer Settings Options Part 2
- Postmark
- SendGrid
- SMTP
- SMTP2GO
- SPARKPOST
- Other SMTP
- Default (none)
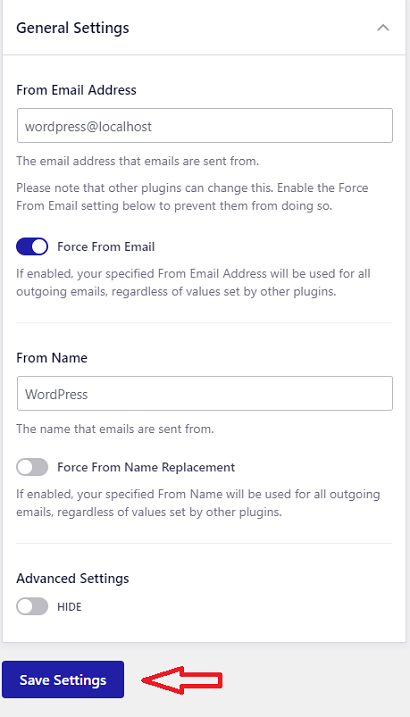
General Settings
Step 6 ) The following image General Settings allows you to setup and configure the following settings in the plugin. These settings are applied to any of the Mailer you choose from the list above.
General Settings Configuration
- From Email Address = This email address will be used in the From field.
- Force From Email
- From Name = This text will be used in the From field.
- Force From Name Replacement = You can enable the following feature Force From Name Replacement. When enabled, the plugin will set the From Name for each email. Disable it if you’re using contact form plugins, it will prevent the plugin from replacing form submitter’s name when contact email is sent. If email’s From Name is empty, the plugin will set the above value regardless.
- Advanced Settings = See Step 6-a ) below for more information.
- Click on Save Settings button once you are finish with your settings.
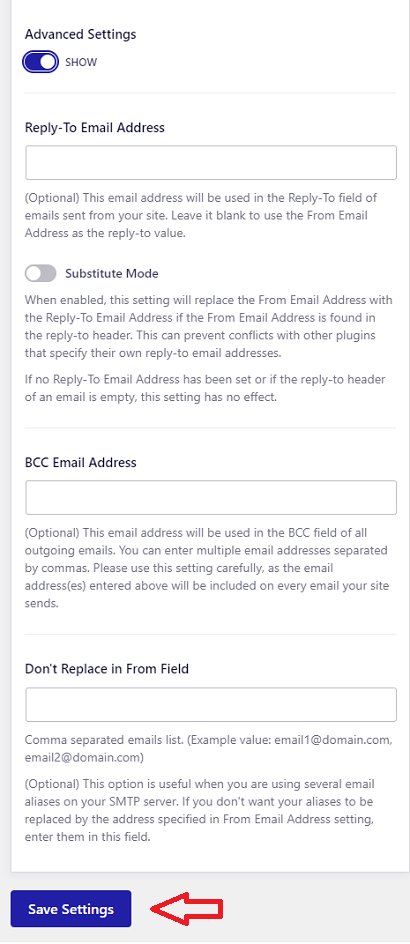
Advanced Settings
Step 6-a ) The following image displays the Advanced Settings if enabled. This allows you to setup and configure the following settings in the plugin.
Advanced Settings Configuration
- Reply-To Email Address
- Substitute Mode
- BCC Email Address = Note: Optional. This email address will be used in the ‘BCC’ field of the outgoing emails. Use this option carefully since all your outgoing emails from this site will add this address to the BCC field. You can also enter multiple email addresses (comma separated).
- Don’t Replace in From Field
- Click on Save Settings button once you are finish with your settings.
=======================
That is all you need to do to set up an SMTP server for the outgoing emails in your site.
I will be updating this post from time to time. So keep coming back for more.
Enjoy.
Why it Easy SMTP WP keeps asking for an email. I was trying to use it with valid emails
this is the error message:
Please enter a valid email address in the ‘FROM’ field. Settings are not saved.
I have used mails from yahoo and from 1and1
Hi Alex, have you done some testing? Please check the following URL https://mbrsolution.com/wordpress/easy-wp-smtp-test-email-settings.php
Let me know how you go.
Regards