All In One Security Advanced Settings helps you setup or downgrade the php based security settings in the plugin for your site.
Last Updated: March 11, 2024
Latest News: Updated the document and fixed a broken link to an image.
This post provides information about the php-based security settings. Setting up the php-based security provides extra security protection for your site. However you choose whether you want to set up this feature or not. There is an option available to downgrade the php-based security settings. I recommend that you setup a dev site and play around with these settings to understand how they work.
Important: Steps you should take before you decide to downgrade this feature just in case something goes wrong. Create a backup first and make sure you have access to your site via FTP or Control Panel in your server. Then click on downgrade button. Downgrading should not cause any issues however as everyone knows there is always a chance of something going wrong. The instructions below should help you to recover your site if it crashes.
What you need:
All In One Security Advanced Settings
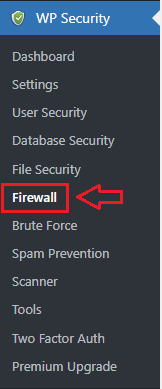
Step 1 ) Go to WP Security -> Firewall admin tab as illustrated in the image below.
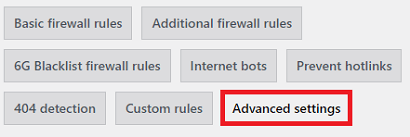
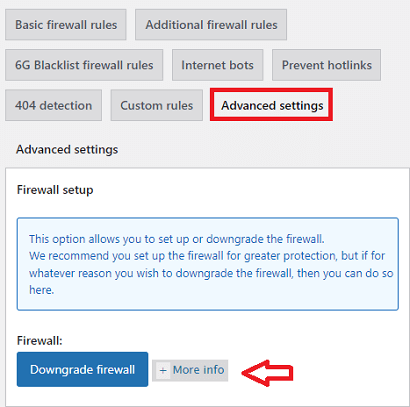
Step 2 ) Click on Advanced settings tab as illustrated in the image below to begin to setup the php based security or downgrade this feature.
Step 3 ) The following image Dashboard is displayed when you first install and activate the security plugin. This allows you to setup this feature or dismiss it.
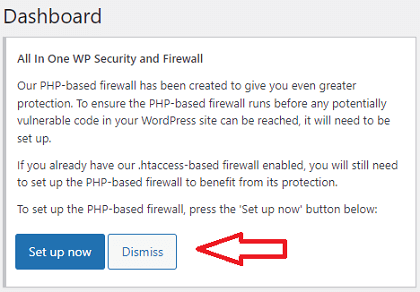
Step 4 ) If you click on Set up now button, it will add the following file “aios-bootstrap.php” to your WordPress root folder. An entry to this file will also be added to the following files wp-config.php, .htaccess and or user.ini file (depending on the server type).
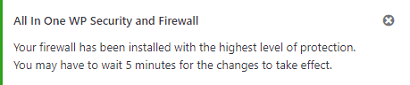
The following image displays the following message: Your firewall has been installed with the highest level of protection. You may have to wait 5 minutes for the changes to take effect. This message lets you know that the settings are getting applied to the corresponding files.
Step 4-a ) The following image illustrates the content added to the “aios-bootstrap.php” file. It is important that you read the following warning message. If you don’t follow the instructions stated in the message your site will probably crash and or display error messages.
WARNING: Please do not delete this file. This will cause PHP to throw a fatal error and render your site unusable. To safely delete this file, please check both your .user.ini file and your php.ini file and ensure this file is not set in the auto_prepend_file directive. Please ask your web hosting provider if you need guidance with executing the aforementioned steps.

Step 5 ) Below is an example of the user.ini file adding a dynamic path to “aios-bootstrap.php“.
Begin AIOWPSEC Firewall

auto_prepend_file=’..{path}./aios-bootstrap.php’

End AIOWPSEC Firewall
Step 6 ) The following image shows you the Downgrade firewall button. This means that the firewall has already been setup and now it gives you the option to downgrade the firewall. To revert the PHP-based firewall setup press the “Downgrade Firewall” button.
Note: This will not delete the following file “aios-bootstrap.php” from your site.
=============================
The instructions above should help understand how this feature functions. It should also help you to recover your site if something goes wrong.
Click on the following link Brute Force to continue configuring the plugins settings.
If you have any questions please let me know.
Enjoy.
All In One Security (AIOS) Plugin Tutorial List