Adding Blocks In WordPress Gutenberg post talks about the different tools you can use when adding blocks, titles, images, galleries and other blocks.
Last Updated: July 14, 2023
Latest News: Updated the information.
The following tutorial shows you the different tools you can use and different settings you can configure when adding blocks, images, galleries and other blocks.
The following shows you a small list of tools and settings you will learn about.
Tools , Settings For Blocks
- H2
- H3
- Bold
- Italic
- Align left
- Align center
- Align right
- and more
What you need:
WordPress Gutenberg Editor Tutorials:
- Gutenberg Editor
- Top Left Editor Options
- Top Right Editor Options
- Adding Blocks
- View Post
- Post Settings
Adding Blocks In WordPress Gutenberg
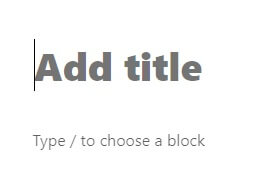
Step 1 ) The following image shows you the title and content block when adding a new post.
Gutenberg New Post Editor
- Add title field
- Text block
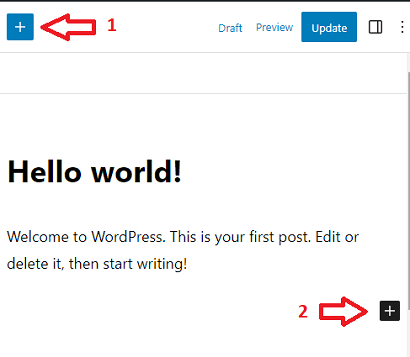
Step 2 ) The following image shows you two plus signs you can click on to start adding blocks to the post. There is a difference between number 1 and number 2. number 1 refers to the Toggle block inserter and number 2 refers to add block.
Adding Block Options
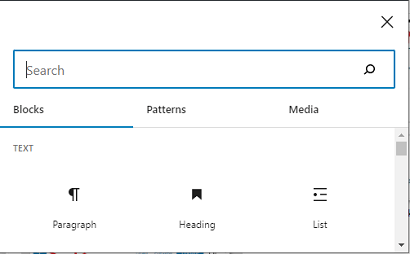
- Toggle block inserter (number 1) = Allows you to search for different blocks available in Gutenberg. Note: Check Step 2-a ) below.
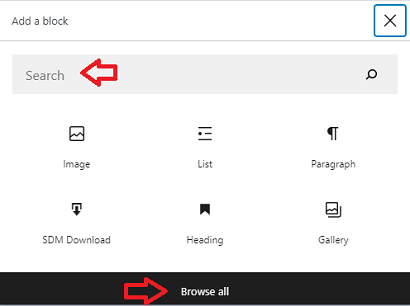
- Add block (number 2)= Allows you to insert one of the six blocks available but you can also search for other blocks. Note: Check Step 2-b ) below.
Step 2-a ) The following image refers to the Toggle block inserter. You can see many different options to search for a block using this method. You can also check through Blocks, Patterns and Media tabs.
Step 2-b ) The following image refers to add block. You can see the number of blocks available straight away because you are inserting a block below a paragraph. You also have the option to Search for other blocks or Browse all.
Change Permalinks
Step 3 ) The following image shows you how to edit the permalink structure.
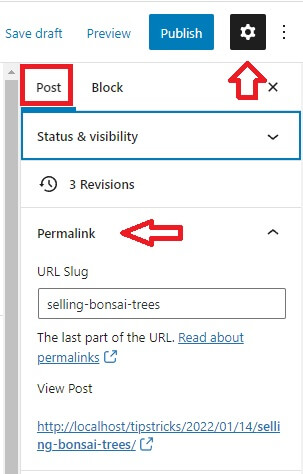
Add Heading Tools
Step 4 ) The following image shows you the different tools you see when adding a heading to the content of a post.
Add Heading Tools
- Heading: Change block type or style
- Change heading level
- Change text alignment
- Bold
- Italic
- Link
- More
- Options

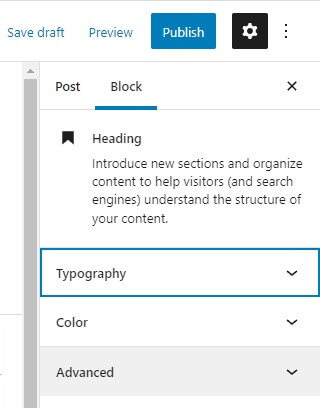
Step 4-a ) The following image shows you the block settings in the top right editor options.
Heading Block Settings
- Typography
- Color
- Advanced
Add Image Tools
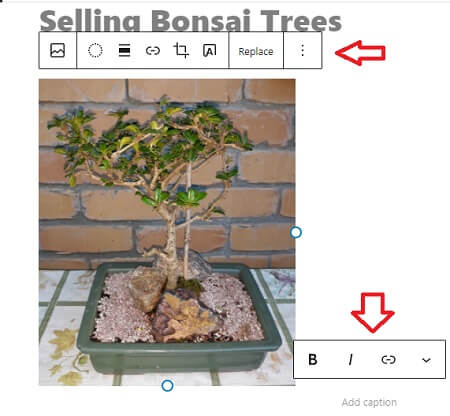
Step 5 ) The following image shows you different tools you can use when adding an image to the content of a post.
Note: When adding a gallery the procedure is the same as adding an image.
Add Image Tools
- Image: Change block type or style
- Apply duotone filter
- Change alignment
- Insert link
- Crop
- Add text over image
- Replace
- Options
Add Caption
- Bald
- Italic
- Link
- More
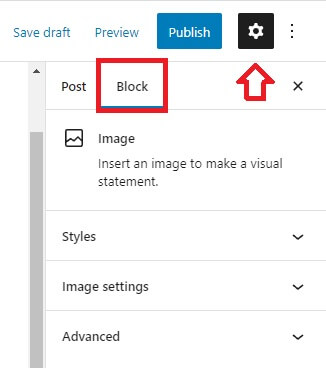
Step 5-a ) The following image shows you the block settings in the top right editor options.
Image Block Settings
- Styles
- Image settings
- Advanced
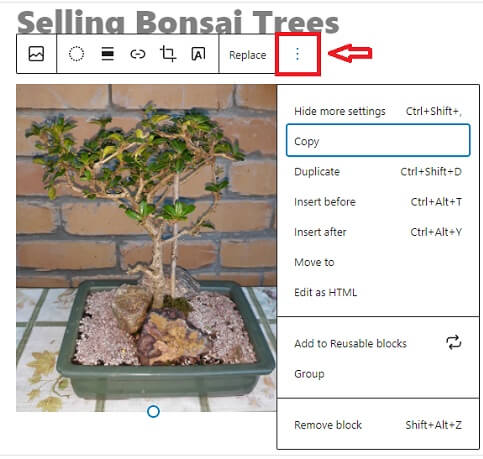
Content Editor More Options
Step 6 ) The following image More Options allows you to manage and set up the following options when adding an image, gallery and other blocks to the content in a post.
Content Editor More Options
- Hide more settings
- Copy
- Duplicate
- Insert Before
- Insert After
- Move to
- Edit as HTML
- Add to Reusable Blocks
- Group
- Remove block
==============================
That is how simple it is to add blocks to the content in a post and page.
If you have any questions please let me know. I will be updating this tutorial from time to time.
Enjoy.