WordPress Gutenberg Top Right Editor Settings post talks about the different settings and options you can manage in the editor and more.
Last Updated: July 14, 2023
Latest News: Updated the information.
The following tutorial shows you how to manage Gutenberg top right editor options. There are a lot of options for you to manage but are self explanatory. If you are used to managing the posts and pages using the TinyMCE editor then you should also find this easy to manage. There are a few extra tools at your disposal. You just need to spend a bit of time getting to know them all.
The following shows you a small list of tools, options and settings you will learn about.
Tools, Options and Settings
- Visibility
- Publish
- Move to trash
- Categories
- Tags
- Featured Image
- Excerpt
- Discussion
- and more….
What you need:
WordPress Gutenberg Editor Tutorials:
- Gutenberg Editor
- Top Left Editor Options
- Top Right Editor Options
- Adding Blocks
- View Post
- Post Settings
WordPress Gutenberg Top Right Editor Settings
Step 1 ) The following image shows you the top right hand side options for the editor. Here you manage the following options.
Gutenberg Top Right Side Editor Options
- Save Draft
- Preview
- Publish…
- Settings
- More

Right Side Editor Settings
Step 2 ) The following image shows you the drop down menu for the Settings. Under the settings you can manage the following tabs. Each tabs has a list of options for you to manage.
Right Side Editor Settings
- Status & Visibility
- Revisions = Note: Revisions will show up if you save your post or page more than once.
- Permalink
- Categories
- Tags
- Featured image
- Excerpt
- Discussion

Status & Visibility Settings
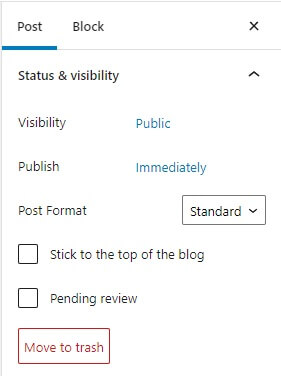
Step 2-a ) The following image Status & Visibility allows you to manage the following options.
Status & Visibility Settings
- Visibility
- Publish
- Post Format
- Stick to the top of the blog
- Pending review
- Click on Move to trash button if you want to delete the post.
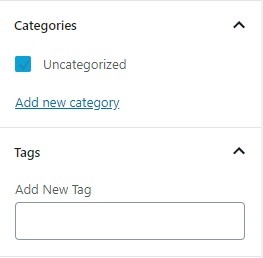
Categories and Tags Settings
Step 2-b ) The following image Categories and Tags allows you to manage and add new categories and tags to the post.
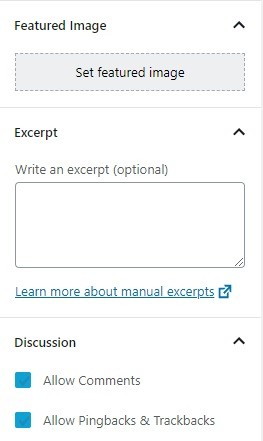
Featured Image, Excerpt, Discussion Settings
Step 2-c ) The following image Featured Image, Excerpt and Discussion allows you to manage the following options.
Featured Image
- Set featured image
Excerpt
- Write an excerpt (optional)
Discussion
- Allow Comments
- Allow Pingbacks & Trackbacks
Options
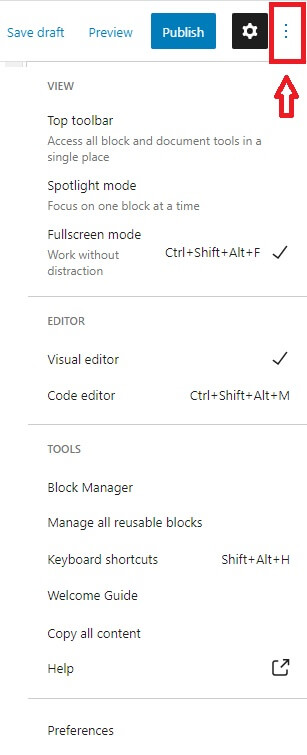
Step 3 ) The following image Options allows you to manage and set up the following settings.
View
- Top toolbar
- Spotlight mode
- Fullscreen mode
Editor
- Visual editor
- Code editor
Tools
- Block Manager
- Manage all reusable blocks
- Keyboard shortcuts
- Welcome Guide
- Copy all content
- Help
Preferences
- All the preferences are listed below in 3-a, 3-b, 3-c and 3-d.
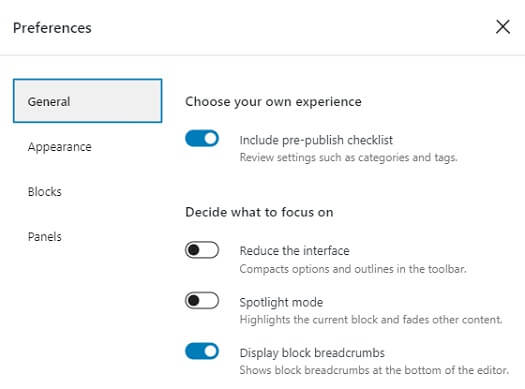
Preferences – General
Step 3-a ) The following image Preferences – General allows you to enable the following options.
Preferences – General
- Choose your own experience
- Include pre-publish checklist
- Decide what to focus on
- Reduce the interface
- Spotlight mode
- Display block breadcrumbs
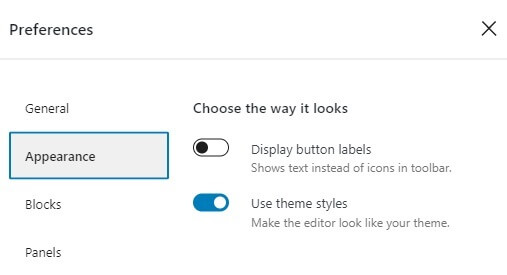
Preferences – Appearance
Step 3-b ) The following image Preferences – Appearance allows you to enable the following options.
Preferences – Appearance
- Choose the way it looks
- Display button labels
- use theme styles
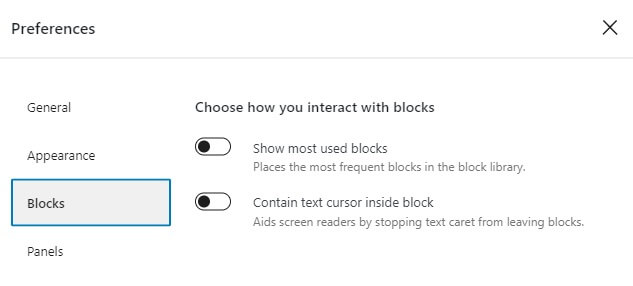
Preferences – Blocks
Step 3-c ) The following image Preferences – Blocks allows you to enable the following options.
Preferences – Blocks
- Choose how you interact with blocks
- Show most used blocks
- Contain text cursor inside block
Preferences – Panels
Step 3-d ) The following image Preferences – Panels allows you to enable the following options.
Preferences – Panels
- Documents settings
- Permalink
- Categories
- Tags
- Featured image
- Excerpt
- Discussion
- Additional
- Custom fields

==============================
That is how simple it is to manage, control the tools and options used in the editor top right hand side.
If you have any questions please let me know. I will be updating this tutorial from time to time.
Enjoy.