WordPress Redirection Plugin Redirects Settings shows you how to set up and manage all redirects in your site by configuring a few settings.
The following instructions shows you how to enable some of the features to allow new redirections in your site using WordPress redirection plugin. Make sure you pay attention to the functionality for each option you select or enable. Carry out some tests before you finalize each redirection to add to your site.
Note: Always try to avoid adding too many redirections in your site.
What You Need
- Redirection plugin.
Redirection Plugin Tutorials
- Redirects Settings
- Add New WP Redirection To Your Site
- Options Settings
- Create Redirect URL
Add New WP Redirection To Your Site
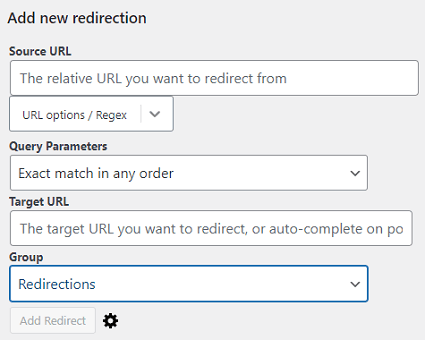
Step 1 ) The following image Add new redirection shows you how to manually create new redirection for your site. The following is a list of options you can enable.
Add new redirection options
- Source URL
- URL options / Regex = Note: Check 1-a ) below for more information.
- Query Parameters = Note: Check 1-b ) below for more information.
- Target URL
- Group = Note: Check 1-c ) below for more information.
- Click on Add Redirect button when you finish with the settings.
- Click on the cog wheel to view advanced settings.
URL options / Regex
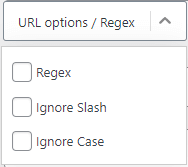
Step 1-a ) The following image URL options / Regex allows you to select from one of the following options.
URL options / Regex
- Regex
- Ignore Slash
- Ignore Case
Query Parameters
Step 1-b ) The following image Query Parameters allows you to select from one of the following options.
Query Parameters Options
- Exact match in any order
- Ignore all parameters
- Ignore & pass parameters to the target

Group
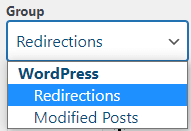
Step 1-c ) The following image Group allows you to select from one of the following options.
Group Options
- WordPress
- Modified Posts
Advanced Options Displayed
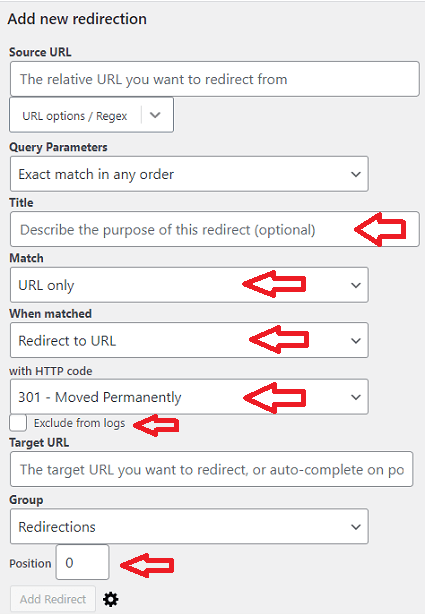
Step 2 ) When you click on Show advanced options cog icon as illustrated in the following image, you will see the following advanced options.
Advanced Options Displayed
- Title
- Match = Note: Check 2-a ) below for more information.
- When matched = Note: Check 2-b ) below for more information.
- with HTTP code = Note: Check 2-c ) below for more information.
- Exclude from logs
- Position
Match
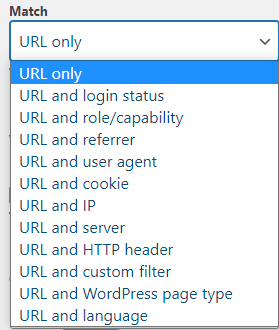
Step 2-a ) The following image Match allows you to select from one of the following options.
Match Options
- URL only
- URL and login status
- URL and role/capability
- URL and referrer
- URL and user agent
- URL and cookie
- URL and IP
- URL and server
- URL and HTTP header
- URL and custom filter
- URL and WordPress page type
- URL and language
When matched
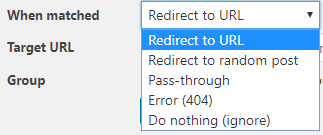
Step 2-b ) The following image When matched allows you to select from one of the following options.
When Matched Options
- Redirect to URL
- Redirect to random post
- Pass-through
- Error (404)
- Do nothing (ignore)
with HTTP code
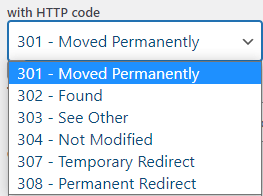
Step 2-c ) The following image with HTTP code allows you to select from one of the following options.
with HTTP Code Options
- 301 – Moved Permanently
- 302 – Found
- 303 – See Other
- 304 – Not Modified
- 307 – Temporary Redirect
- 308 – Permanent Redirect
=================================
I hope the above information helps you create new website redirections.
Important: It is very important that you monitor your site on a regular basis for 404 broken links and your redirects. If you don’t you could be loosing visitors and money for your business if you are selling products online.
Click on the following URL Options Settings to learn more.
I will be updating this tutorial from time to time. So keep coming back for the latest.
If you have any question please let me know.
Enjoy.