Last Updated: March 01, 2015
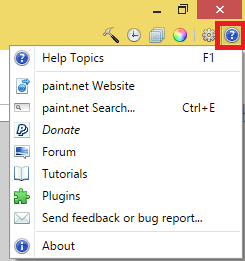
Paint Net Image Editor Top Right Menu will display the following Tools, History, Layers, Colors, Settings and Help.
Latest News: I have added another link to the menu below.
The Top Right Menu displays the tools on your window for quick and easy access. The settings for the tool you display will be shown under the Top Menu.
Paint Net Image Editor Tutorials:
- Paint Net Image Editor
- Paint Net Image Editor Top Menu Tools
- Paint Net Image Editor Top Right Menu
- Paint Net Image Editor Effects
- Paint Net Image Editor Top Right Menu Layers
Paint Net Image Editor Top Right Menu Steps
1 ) Click on the Top Right Hand Menu to manage Tools, History, Layers, Colors, Settings and Help. Every time you click on one of the following buttons the tools menu will be displayed.

2 ) Click on Tools button to show or hide the menu.

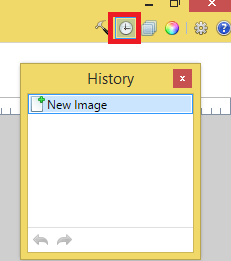
3 ) Click on History button to show or hide the menu.
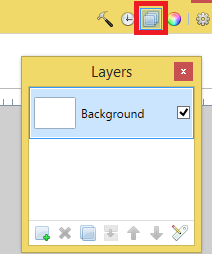
4 ) Click on Layers button to show or hide the menu.
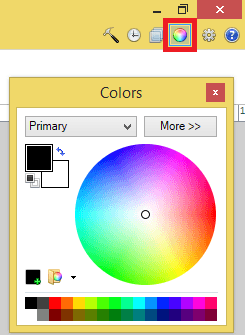
5 ) Click on Colors button to show or hide the menu.
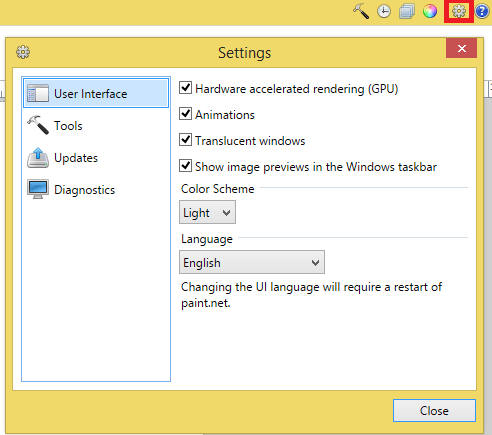
6 ) Click on Settings button to show or hide the menu.
7 ) Click on Help button to show or hide the menu.
Click on the following URL Paint Net Image Editor Effects to learn more.
I will update this tutorial from time to time. So keep coming back for the latest. If you have any questions please let me know.
Enjoy