Joomla Restore tutorial teaches you how to restore Joomla using Akeeba Backup. In a few steps you will have your Joomla back.
Last Updated: December 9, 2019
Latest News: Fixed a broken link.
Important: Please remember that the latest Akeeba Backup version 4.0.5 (Released 30 September 2014) requires PHP 5.3, 5.4, 5.5 or 5.6 and Joomla! 2.5, 3.2, 3.3, 3.4 are supported.
Joomla Tutorials:
- Joomla Back Restore
- Joomla Restore
Joomla Restore Steps
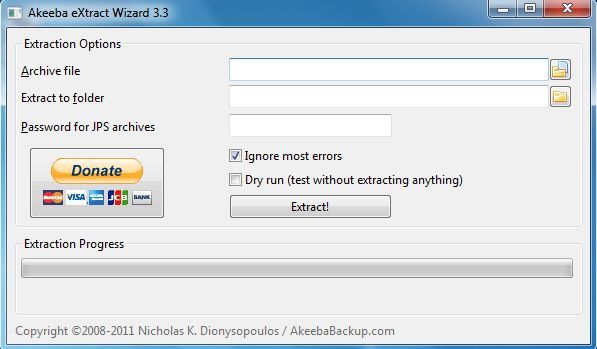
Step 8 ) Unzipped the file you downloaded in Step 6) using akeeba extract wizard. You now need to zip back the whole content from the file you unzipped using a format that your server can read i.e. .zip format.
Important: Zipping back the content to upload to your server is much simpler and safer than uploading individual files and folders to your server.
Note: Akeeba wizard has been discontinued, your can read more in the following link akeeba wizard discontinued.
Step 9 ) Log into your server and delete your old website files from the root of your site. If you have added other folders or files please make sure that you delete them as well. See images below.
Important: Delete only joomla files and joomla folders, no other files. You can keep a copy of .htacess but rename it to something like htacess.txt and after the success of the installation make sure that you rename it back to .htaccess only if the zipped .htaccess is corrupted for some unknown issue.
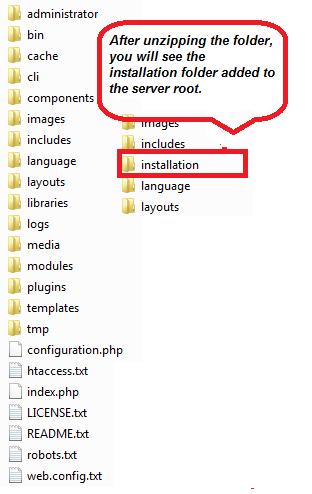
- Upload the zipped file to your server and unpack the content to the root of your website where you deleted the joomla folders and files.
- After unpacking make sure that all the folders and files are there including the installation folder. You can also see a list of all your Joomla folder’s and files in the image below.
Step 10 ) Now open your web browser and type the URL of your website. Follow the onscreen instructions.
Important: Make sure you select to remove the installation directory after the installation is complete. See images below.
I am installing Joomla locally so my path is different to your path. Your path might be something like i.e. www.yourdomain.com/installation/index.php.
![]()
You have 3 options here, Start over, check again or Next.
![]()
Steps you will be taking to complete restoring Joomla from a backup folder. You can Read the documentation page or simply Watch the tutorial video.

Before you begin you will see a Pre-installation check list, Recommended settings list, Backup information and Site information. If there are any discrepancies you will see them here. This should be the same as when you first installed Joomla.
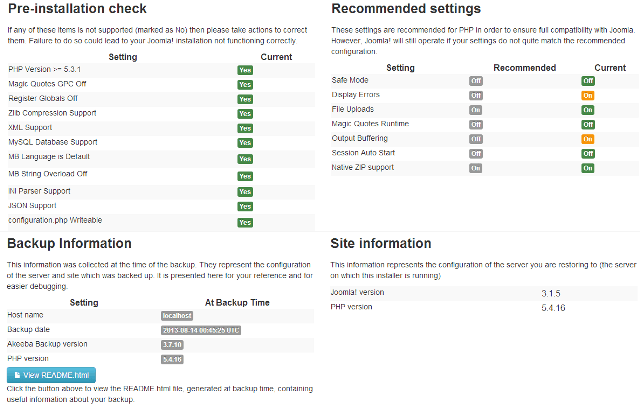
If you have made any mistakes or you are not sure, you can always go back by clicking on Previous. You can Skip Restoration of the database or simply click on Next.

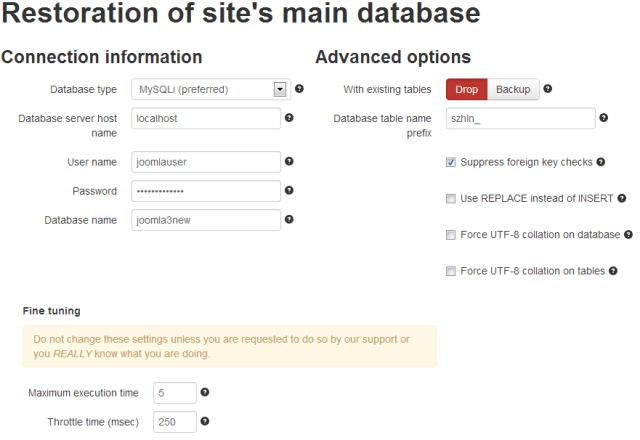
The following Restoration of site’s main database information displays all the necessary settings for your database. You can choose a few settings here. If you thought your database was corrupted you can select to Drop the database or even Backup your database before you go ahead and restore your website. I will simply leave it as it is and click Next as mentioned above.
Important: If you are restoring joomla to a new server, you must remember to create a new database and assign a new user. You can either create the same database name and user name or create a new database name and user name. If you are creating a new database and user name, you must remember to make the correct changes below or else you receive an error.
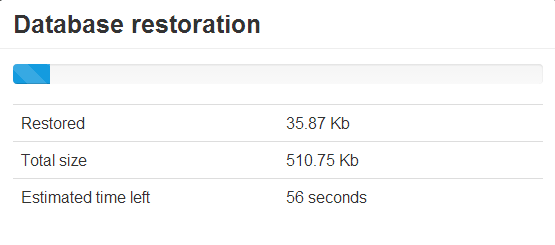
Here you will see your Database restoration progress bar.
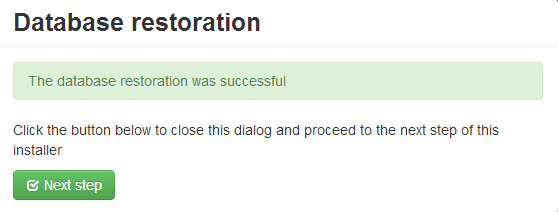
If everything goes well you should see the following window. The database restoration was successful, click Next step.
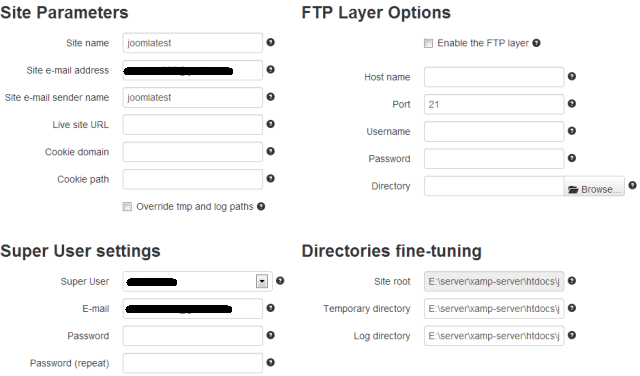
Here you will see your site setup information. Click Previous or Next.
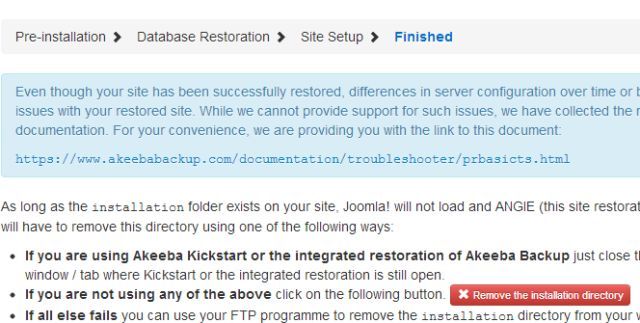
Now all you have to do is Remove the installation directory.
Installation directory deleted, click Visit your site’s front-end.
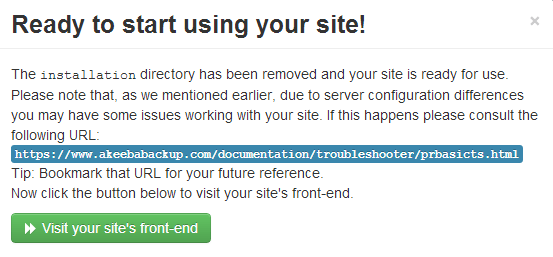
That’s it, your Joomla website should be up and running. It is as simple as that.
TIP: Make sure that you have access to your password and database name which you documented when you installed joomla for the first time and kept in a safe place. This is very important just in case something goes wrong and you need to add the username and password.
I Hope these instructions have helped you. If you have any questions send me an e-mail or post a message here.
Good luck