Create a Banner using Gimp tutorial teaches you how to create a banner using Gimp in a few simple steps.
Last Updated: May 21, 2023
Latest News: I have updated the wording in the document.
The following tutorial shows you how to create banners, editing banners or simply modifying banners using Gimp. There are many other options you can use this method for. These instructions shows you a very simple method to create banners. This can help those who are not yet familiar with Gimp.
What You Need:
Gimp Tutorial List:
- Gimp Image Editor Layout
- How to make an image background transparent
- Create a Banner using Gimp
- Create round corners using Gimp
- Create An Image Map For WordPress Using Gimp
Create a Banner using Gimp
Step 1 ) Click on the following link http://www.gimp.org/ to download the latest version.
Step 2 ) Down load the following image banner template. Open Gimp and locate the image hotel-banner-template.png you downloaded locally.
The dimensions are 342 x 86 pixels and 5.88 kb in size.
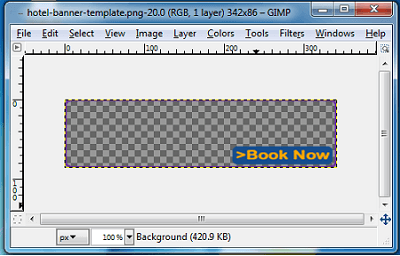
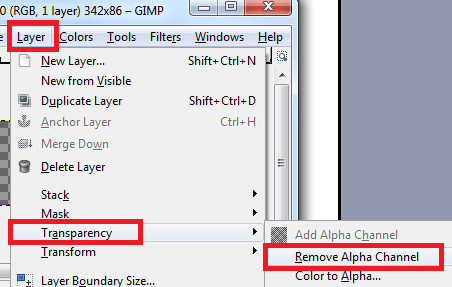
Step 3 ) The following image shows you how to remove the alpha channel, this will allow you to see a white background. It makes it easy to add and edit text.
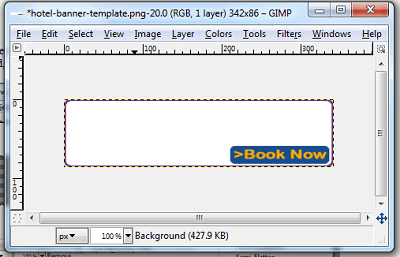
Step 3-a ) Once the alpha channel has been removed you will see a white background. See image below.
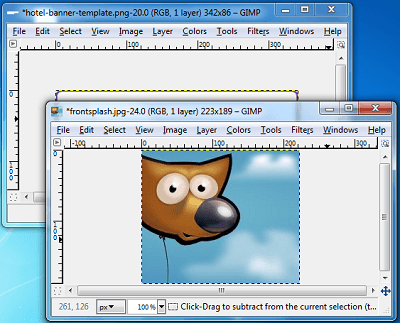
Step 4 ) Locate the image or photo you want to add and open it. In this example I have opened the gimp banner image and placed it side by side with the banner template for you to see. You can use any image you like. See image below.
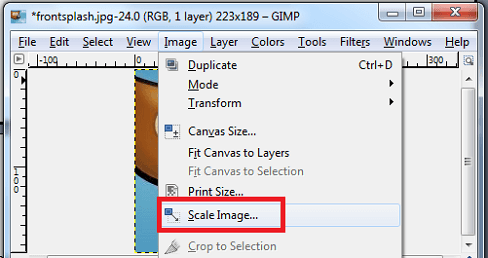
Step 5 ) You need to re-size the image so that you can insert it into the banner. Remember to keep in mind the height of the banner, which is 86 pixels. Re-size the image to 82 pixels to allow for the border width around the banner. In Gimp this is called Scale Image. See image below.
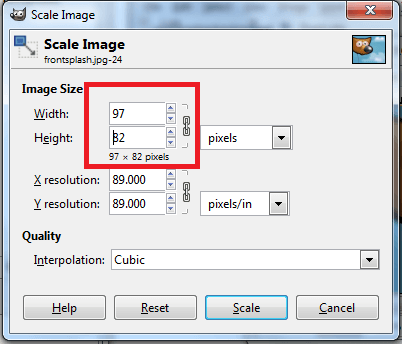
Step 5-a ) The following image shows you the image scaled to the following dimensions Width 97 and Height 82 pixels.
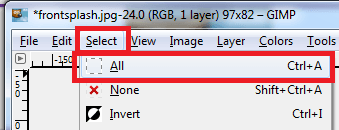
Step 6 ) Click on Select -> All to select the whole image, paste it into the template image. Alternative you can use the following keys on your keyboard Ctrl + A. See images below.
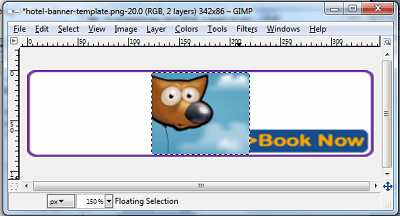
Step 6-a ) The following image shows you the image pasted into the banner, it is located in the center.
Step 7 ) Now you need to move the image to the left hand side.
Select the image and use the move tool to move it to the left side of the banner. You have an option to round the image corners before you move it; this will allow the image to sit nice on the already round corners on the template. I have added round corners to the image. See image below.
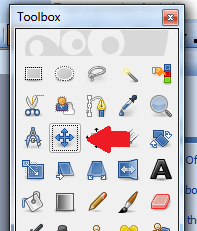
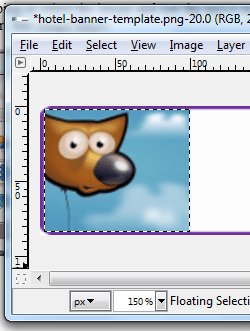
Step 8 ) Add some text using the Text tool. See image below.
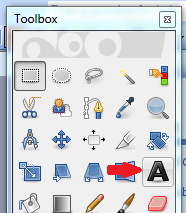
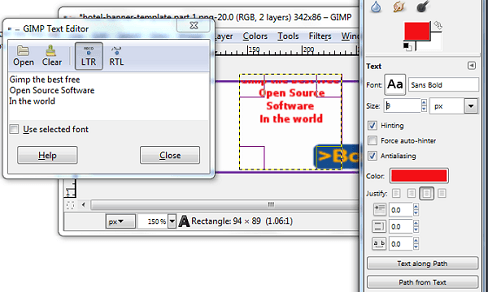
This is very important especially when you are describing what the banner is all about. In this case I am designing a banner for Gimp. Please notice that I have added the text and the settings on the right hand side for you to see. The text is aligned in the center, the font size is 9 pixels, font type is Sans Bold and the color is red. See image below.
Note: In your case you might decide to add different settings.
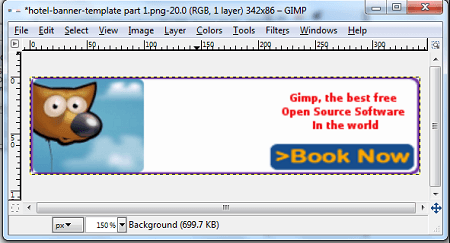
Step 9 ) The following image shows you the banner completed, the book now is for the pretend seminar coming up.
====================
That is how simple it is to create a banner in Gimp.
Click on the following URL Create round corners using Gimp to learn more.
I hope you enjoyed this very simple tutorial. If you have any questions please let me know.
Enjoy.
Hi Manuel, thank you for the lesson, it works well, how to do you round the photo? great job! can i also manipulate the frame? cheers
Hello cd, I have added on step 7 a link to a post that shows you exactly how to create round corners. I hope this helps you ;)
Thank you Chanan, if you feel that I can add more information just let me know. To round the photo please follow these simple instructions. Once you have the photo opened on your menu click on filters and then decor and you will see an option there to round corners
Hi Manuel,
Great post. May I know – does GIMP allow for making physical banners for banner stands? I can’t seem to find any tutorials on this on the web – where I can set the dimension e.g. 2 metres by 0.5 metres as how apparently you can in Photoshop.
Look forward to your reply and thanks!
Hello Sin Ning, thank you for your comment and your question. I had a look at the Gimp settings and you can increase the size of an image. However you have to be aware that it will use plenty of ram. So the answer to your question is yes it can make larger images as long as you have plenty of resources available.