WP Express Checkout Add New Product shows you how to add new products in your site using a shortcode and more.
Last Updated: June 14, 2024
Latest News: Updated the documentation and added force download option.
In this tutorial I will show you how simple it is to sell products in your site using a shortcode. There are a few settings and options you can enable and set up for the product. Some of these settings are optional.
What You Need:
WP Express Checkout Add New Product
Step 1 ) Go to WP Express Checkout -> Add New Product to start adding products in your site. The first action to take is to give your product a name and add a description to your product. This is similar to adding new pages and posts in your site.
Step 2 ) The following is a list of options available for each product you add to your site. Make sure you read and understand how each feature works.
Note: You can drag and drop each feature up or down in the new product page.
New Products Options List
- Price
- Variations
- Quantity & Stock
- Download URL
- Product Thumbnail
- Thank You Page URL
- Shipping & Tax
- Appearance Related
- Shortcode
Price
Step 3 ) The following image Price allows you to set up the following options.
Price Type
- One-time payment
- Price
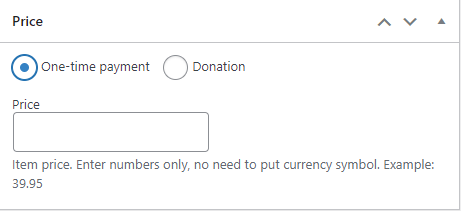
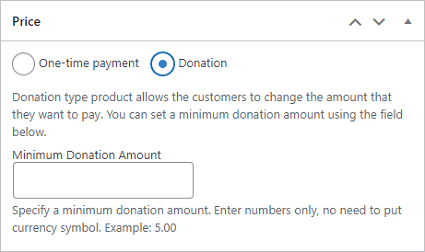
Donation
Step 3-a ) The following image allows you to set up the following options.
Donation Price
- Donation
- Minimum Donation Amount
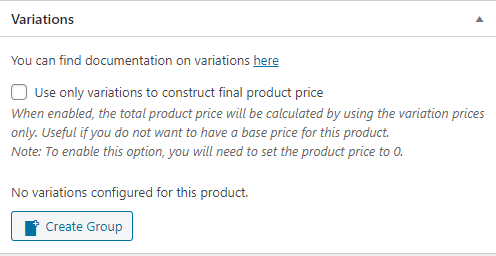
Variations
Step 4 ) The following image Variations allows you to set up the following options.
Note: Click on the following documentation creating-product-with-variations to learn more.
Variations Options
- Use only variations to construct final product price
- Click on Create Group button to start creating the price variations for your products.
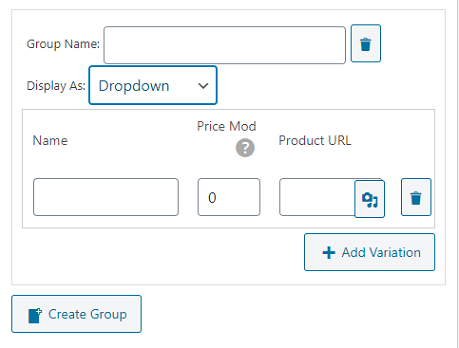
Step 4-a ) The following image allows you to set up and manage the following options.
Create Group Options
- Group Name:
- Display As:
- Name
- Price Mod
- Product URL = You can click on the Select from Media Library button.
- Click on Add Variation button to add new product variations.
- Click on Create Group button when you finish setting up your product variations.
Quantity & Stock
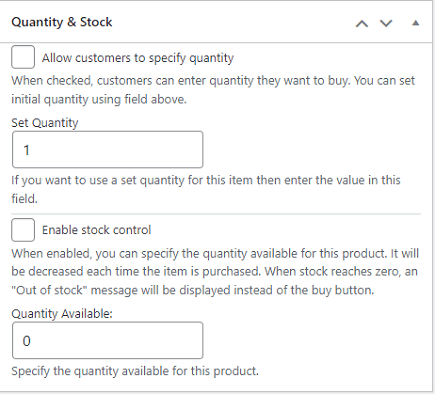
Step 5 ) The following image Quantity & Stock allows you to set up the following options.
Quantity & Stock
- Allow customers to specify quantity
- Set Quantity
- Enable stock control
- Quantity Available
Download URL
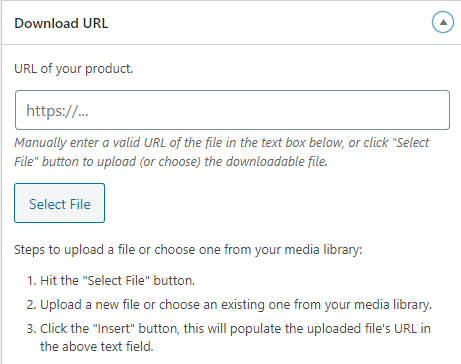
Step 6 ) The following image Download URL allows you to set up the following options.
Download URL
- URL of your product. = Note: If you are selling digital goods and you want to make sure the pdf file downloads instead of opening up on the browser, check the following link download-instead-of-showing-up-in-the-browser.
- Click on Select File button.
Note: If you want to add more than one type of download for a product, use variation control feature. The following documentation creating-product-with-variations can help you. You can also add all the different types of downloads in a zip folder to download.
Variations Options
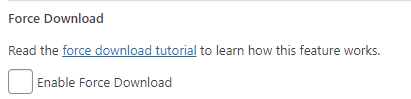
Step 6-a ) The following image allows you to set up the following option.
Note: Read the force download tutorial to learn how this feature works.
Force Download Option
- Enable Force Download
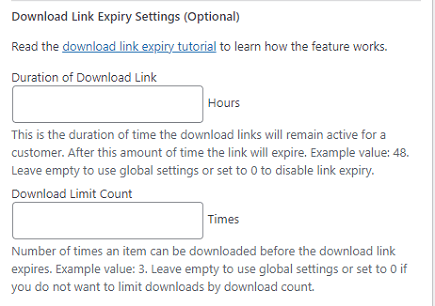
Step 6-b ) The following image allows you to set up the following options.
Download Link Expiry Settings (Optional)
- Duration of Download Link
- Download Limit Count
Troubleshooting Downloads
Q1 I am having issues with downloading links. They don’t work.
Solution 1: Someone provided a solution in the forum post.
===============
Product Thumbnail
Step 7 ) The following image Product Thumbnail allows you to set up the following options.
Product Thumbnail
- URL of your product thumbnail.
- Click on Select Image button. You can also click on Remove Image button to remove the image URL.

Thank You Page URL
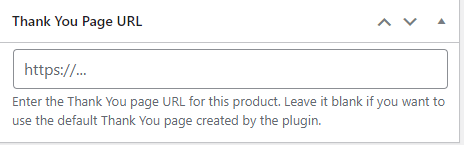
Step 8 ) The following image Thank You Page URL allows you to set up the following option.
Thank You Page URL
- Enter the Thank You Page URL for this product. Or leave it blank to accept the default Thank You Page created by the plugin.
Shipping & Tax
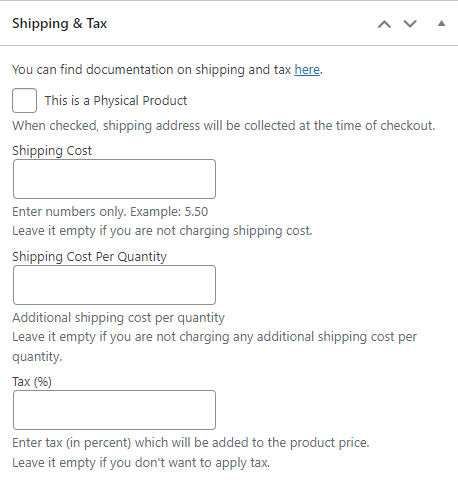
Step 9 ) The following image Shipping & Tax allows you to set up the following options.
Note: The following URL configuring shipping options has more information that can help you.
Shipping & Tax
- This is a Physical Product
- Shipping Cost
- Shipping Cost Per Quantity
- Tax (%)
Appearance Related
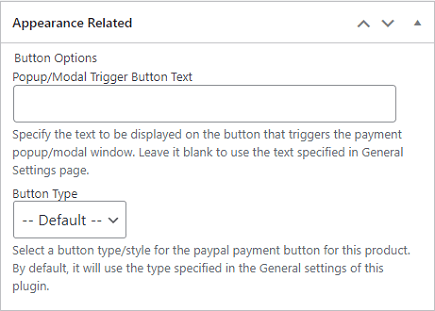
Step 10 ) The following image Appearance Related allows you to set up the following options.
Appearance Related
- Button Options
- Popup/Modal Trigger Button Text
- Button Type
- Checkout
- Pay
- PayPal
- Buy Now
Coupons Settings
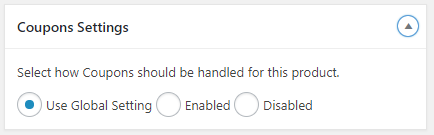
Step 11 ) The following image Coupons Settings allows you to set up the following options.
Coupons Settings Options
- Use Global Setting
- Enabled
- Disabled
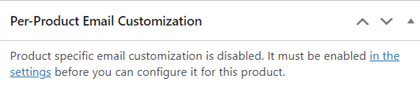
Per-Product Email Customization
Step 12 ) The following image Per-Product Email Customization allows you to set up the email customization on a per product basis. Note: You need to enable this feature in the settings before you can customize the emails per product. The following documentation per-product-email-customization-feature can help you further.
Shortcode
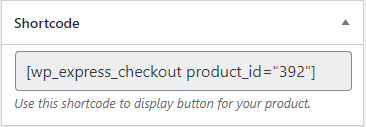
Step 12 ) The following image Shortcode provides the following information you can use to add the product to your page or post.
Shortcode
- Shortcode = Use this shortcode to display this product in a post or page. Note: Check the following link Selling a Product to learn more.
Note: The product_id=”” number will be different in your site.
Link URL
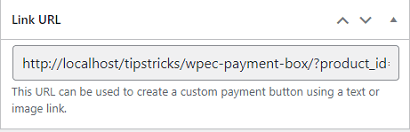
Step 13 ) The following image Link URL provides the following information you can use to add the product to your page or post.
Link URL
- Link URL = Use this URL to create a custom payment button using a text or image link. Note: Check the following link create a sharable payment link to learn more.
Note: The “?product_id=” number will be different in your site.
Publish
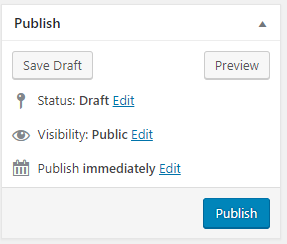
Step 14 ) The following image Publish allows you to manage when you will publish your product.
Note: Click the following URL Understand WordPress Posts Settings to learn how to set up and publish posts and pages.
Publish
- Click on Save Draft button. Or you can click on Preview button.
- Status:
- Visibility:
- Publish:
=================================
That is all you need to do to add a new product in your site using a shortcode.
I will be updating this post from time to time. So keep coming back for more.
Enjoy.
WP Express Checkout Plugin Tutorial List: