The following WP Express Checkout Email Settings tutorial shows you how to set up the emails settings for the buyer and seller and more.
Last Updated: April 3, 2025
Latest News: Updated the documentation.
This tutorial shows you how to customize the email for the seller and buyer. You can also use email tags to customize further the emails body content. There is a field that allows you to customize the subject and more.
What You Need:
WP Express Checkout Email Settings
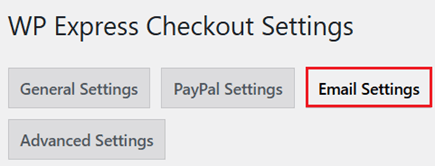
Step 1 ) Go to WP Express Checkout -> Settings -> Email Settings tab as illustrated in the following image to set up the email settings.
General Email Settings
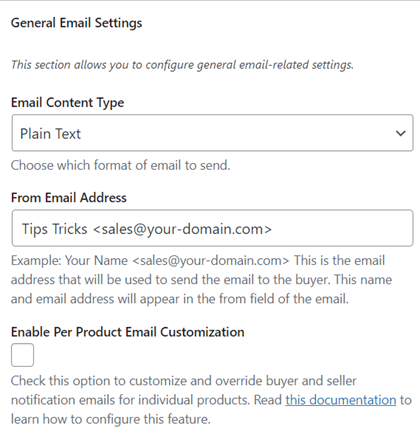
Step 2 ) The following image General Email Settings allows you to set up the following fields.
General Email Settings Options
- Email Content Type = You have two options Plain Text or HTML.
- From Email Address
- Enable Per Product Email Customization = Note: The following documentation per-product-email-customization-feature can help you further.
Send Emails to Buyer After Purchase Settings
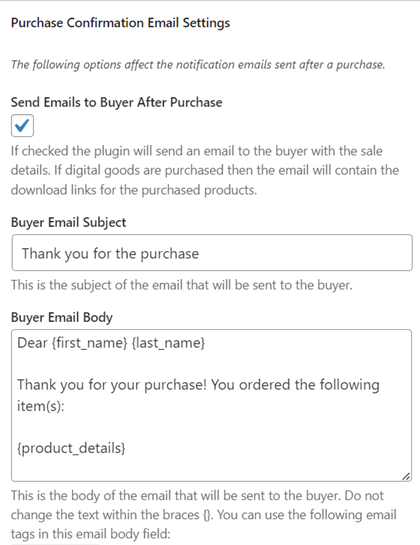
Step 3 ) The following image allows you to enable and customize the buyers email body with additional email tags.
Send Emails to Buyer After Purchase Options
- Send Emails to Buyer After Purchase
- Buyer Email Subject
- Buyer Email Body
Send Emails to Seller After Purchase Settings
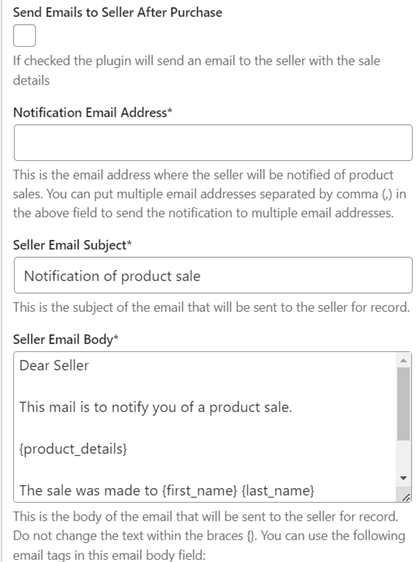
Step 4 ) The following image allows you to enable and set up the following fields.
Send Emails to Seller After Purchase Options
- Send Emails to Seller After Purchase
- Notification Email Address*
- Seller Email Subject*
- Seller Email Body*
- Finally when you are happy with your settings click on Save Changes button.
==============================
That is all you need to do to set up the email settings in the plugin.
I will be updating this post from time to time. So keep coming back for more.
Enjoy.
WP Express Checkout Plugin Tutorial List: