WP eMember Plugin Email Settings tutorial will show you how to set up your emails to notify the members and the administrators.
Last Updated: August 1, 2022
Latest News: Updated a link.
In this post you will learn how to manage and set up your email notifications sent to your members and administrators using WP eMember plugin. These instructions cover the following notifications.
Email Settings
- Email Settings (Prompt To Complete Registration)
- Email Settings (Registration Complete)
- Email Settings (“Account Upgrade” notification)
- Email Settings (“Forgot Password” notification)
- Email After the Account Gets Expired
- Email Before the Account Expires
- Email When User Account Gets Auto Upgraded
- Additional Email Related Settings
WP eMember Plugin Email Settings
Note: As I mentioned on the fist part of this tutorial, this is a very powerful plugin and has many features to configure. Please take your time to read and understand all the options available to avoid any issues.
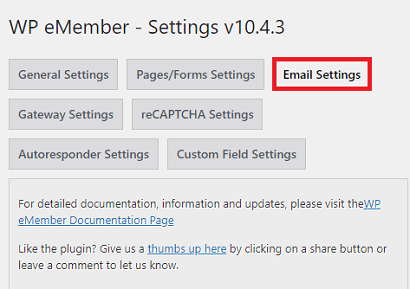
Step 1 ) Go to WP eMember -> Settings -> Email Settings tab as illustrated in the image below to start configuring your email settings.
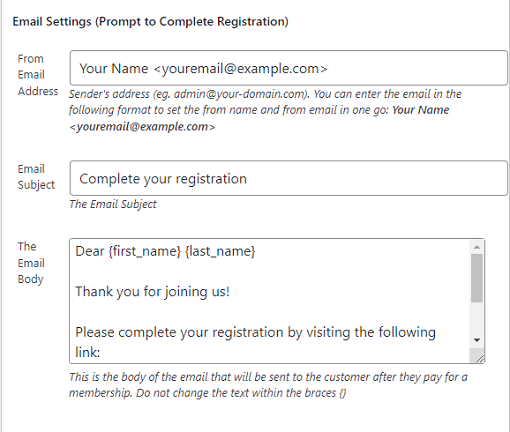
Email Settings (Prompt To Complete Registration)
Step 2 ) The following image Email Settings (Prompt To Complete Registration) allows you to set up the notification for the new members registration. You can setup and configure the following options.
Email Settings (Prompt To Complete Registration) Options
- From Email Address
- Email Subject
- The Email Body
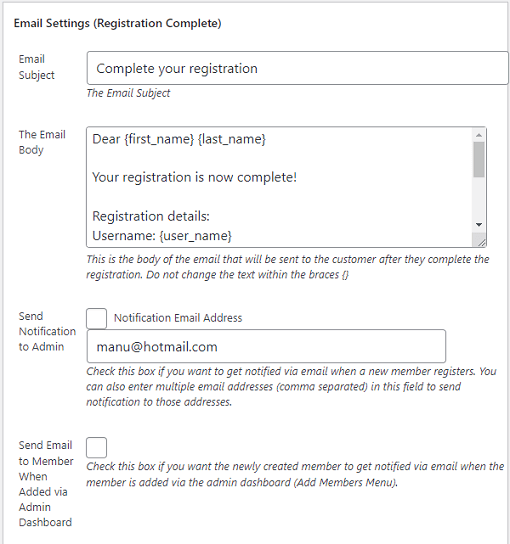
Email Settings (Registration Complete)
Step 3 ) The following image Email Settings (Registration Complete) allows you to set up the following options. After the new member has completed the registration they will receive a notification of their completion and if checked selected the admin user will receive one as well.
Email Settings (Registration Complete) Options
- Email Subject
- The Email Body
- Send Notification to Admin
- Send Email To Member When Added via Admin Dashboard
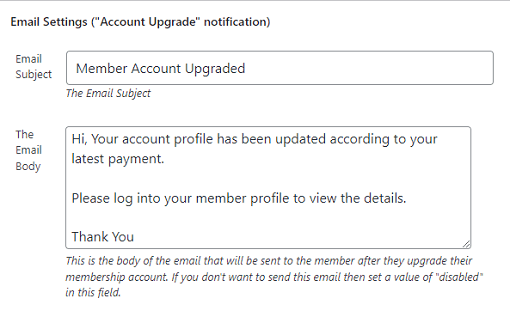
Email Settings (“Account Upgrade” notification)
Step 4 ) The following image Email Settings (“Account Upgrade” notification) lets the member know that their accounts has been upgraded after the payment was accepted. You can set up the following options.
Email Settings (“Account Upgrade” notification) Options
- Email Subject
- The Email Body
Email Settings (“Forgot Password” notification)
Step 4 ) The following image Email Settings (“Forgot Password” notification) allows you to set up the following options.
Email Settings (“Forgot Password” notification) Options
- From Email Address
- Email Subject
- The Email Body

Email After the Account Gets Expired
Step 6 ) The following image Email After the Account Gets Expired lets the member know when their account has expired if enabled in the plugins settings. This gives them the option to renew their membership account again. You can set up the following options.
Note: If you want to enable the Auto Expiry Email Notification click on the Settings Page link.
Email After the Account Gets Expired Options Part 1
- From Email Address
- Email Subject
- The Email Body

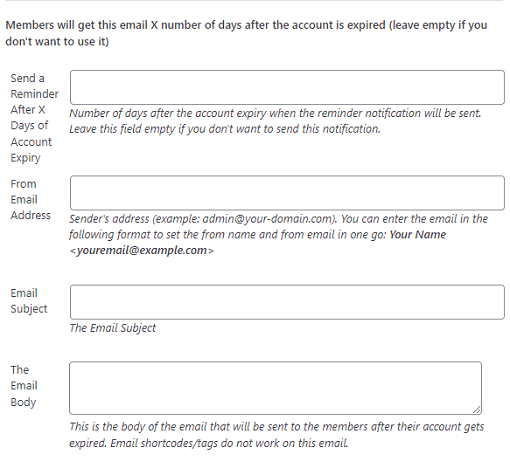
Step 6-a ) The following image allows you to set up a reminder to members to receive a notification e-mail after X amount of days has gone by. It provides an option to your members to renew their membership again. You can set up the following options.
Email After the Account Gets Expired Options Part 2
- Send a Reminder After X Days of Account Expiry
- From Email Address
- Email Subject
- The Email Body
Email Before the Account Expires
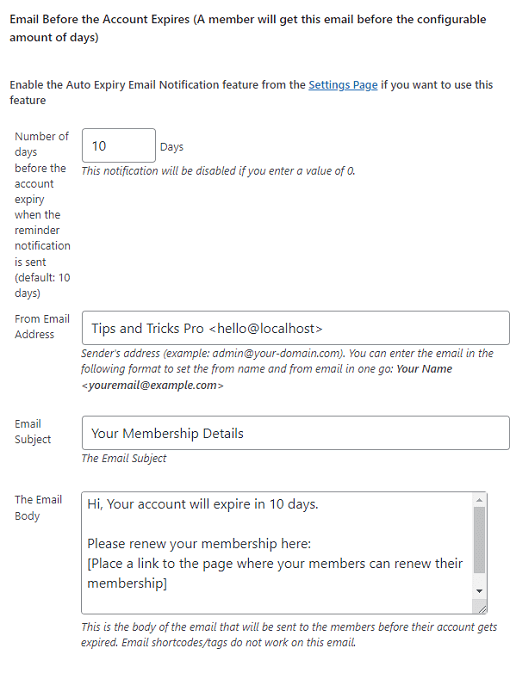
Step 7 ) The following image Email Before the Account Expires lets the member know in accordance to your settings, the amount of days before their account is due to expire. This is extremely important to set up correctly from day 1. It will allow your members to be notified and thus allowing your membership website to function efficiently. You can set up the following options.
Email Before the Account Expires Options
- Number of days before the account expiry when the reminder notification is sent (default: 10 days)
- From Email Address
- Email Subject
- The Email Body
Email When User Account Gets Auto Upgraded
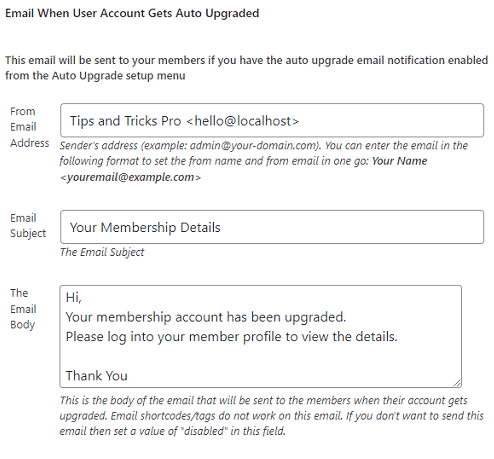
Step 8 ) The following image Email When User Account Gets Auto Upgraded allows the member to receive a notification when their account has been upgraded. You can set up the following options.
Note: The member will receive this e-mail if you have enabled the auto upgrade email notification settings found in WP eMember -> Members -> Auto Upgrade -> Auto Upgrade Related Settings.
Email When User Account Gets Auto Upgraded Options
- From Email Address
- Email Subject
- The Email Body
Email When User Account Gets Auto Upgraded
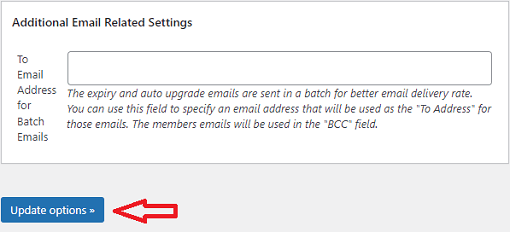
Step 9 ) The following image Additional Email Related Settings allows to set up the following options.
Additional Email Related Settings Options
- To Email Address for Batch Emails = Note: The expiry and auto upgrade emails are sent in a batch for better email delivery rate. You can use this field to specify an email address that will be used as the “To Address” for those emails. The members emails will be used in the “BCC” field.
- Remember to click on Update Options button after you have completed the settings.
================================
Click on the following link Gateway Custom Fields to complete the next tutorial.
I will be updating this post from time to time. So keep coming back for more.
Enjoy.
eMember Plugin Tutorial List: