WordPress eStore Plugin Advanced Addon Settings tutorial shows you how to set up the following advanced settings, price display settings and more.
Last Updated: September 18, 2021
Latest News: Updated the documentation.
This part of the plugin allows you to control how the prices are displayed in your shop. You can set up alternative redirect for a particular product. You will also find miscellaneous methods that can also be applied to your products.
What You Need:
- WordPress eStore (Note: This is an affiliated link = I get a small commission if you make a purchase.)
Remember: Check all your options before you save them. Run the sandbox settings for further testing before you publish your online store. This plugin has many features to setup.
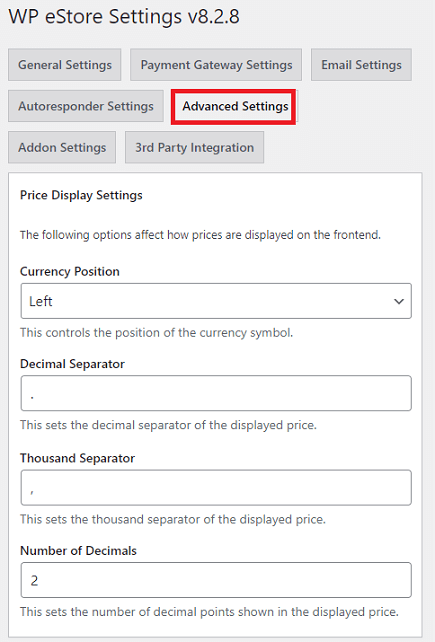
WordPress eStore Plugin Advanced Settings
- Currency Position.
- Decimal Separator
- Thousand Separator
- Number of Decimals
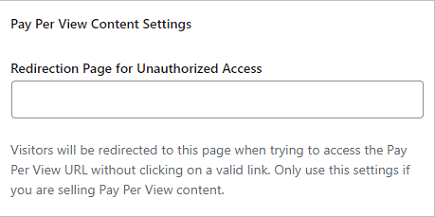
Pay Per View Content Settings
Step 2 ) The following image Pay Per View Content Settings allows you to set up the following.
Pay Per View Content Settings Option
- Redirection Page for Unauthorized Access
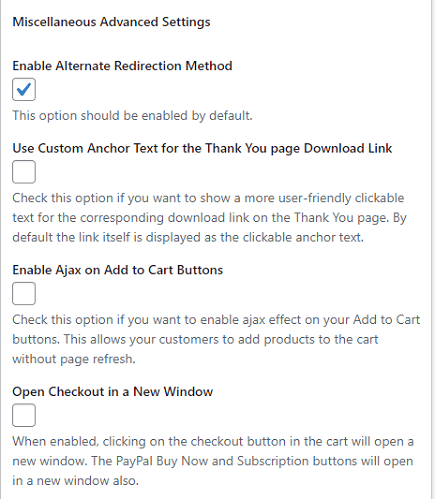
Miscellaneous Advanced Settings
Step 3 ) The following image Miscellaneous Advanced Settings allows you to set up the following options.
Miscellaneous Advanced Settings Options Part 1
- Enable Alternate Redirection Method
- Use Custom Anchor Text for the Thank You page Download Link
- Enable Ajax on Add to Cart Buttons
- Open Checkout in a New Window
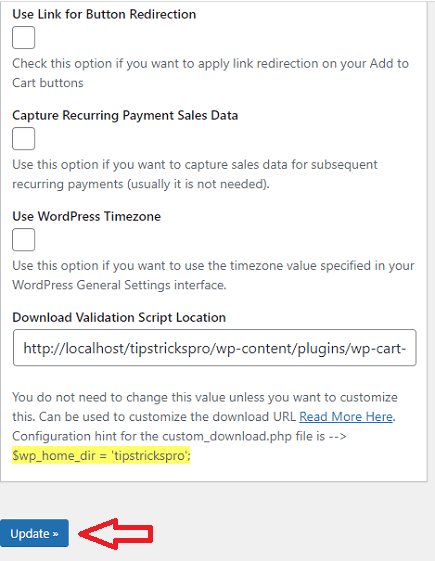
Step 3-a ) The following image allows you to set up the following options.
Miscellaneous Advanced Settings Options Part 2
- Use Link for Button Redirection
- Capture Recurring Payment Sales Data
- Use WordPress Timezone
- Download Validation Script Location
- Click on Update button when you finish with the settings.
==================================
Click on the following link Third Party Integration Admin Functions to continue with the set up.
I will be updating this post from time to time. So keep coming back for more. If you have any questions please let me know.
Enjoy.
WordPress eStore Plugin Tutorial List: