Setup WP Easy PayPal Payment Accept Widget shows you how to add the plugins widget to your themes sidebar and more.
Last Updated: March 27, 2024
Latest News: Updated the documentation.
WP Easy PayPal Payment Accept plugin adds a widget when you first install and activate the plugin. This widget is very simple to setup and add to the sidebar area assigned by your theme. Remember each theme has different sidebars added.
The following instructions shows you how to add the plugins widget to the sidebar in a few steps. This is simple and easy for anyone to achieve.
Requirements
WP Easy PayPal Payment Accept Tutorials
- Settings
- PayPal PPCP New API
- Widget Setup
- Shortcodes
Setup WP Easy PayPal Payment Accept Widget
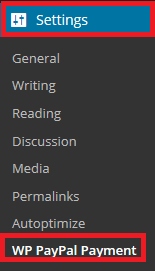
Step 1 ) Log into your website and navigate to Settings -> WP PayPal Payment as illustrated in the image below. Configure the settings for your product or service.

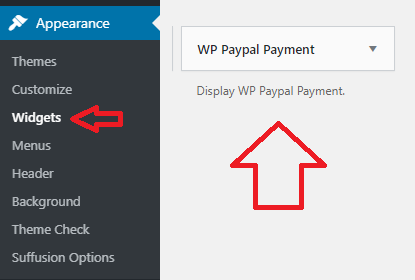
Step 2 ) Once you have completed the plugins configuration, navigate to WP Appearance -> Widgets. Then search for the plugins widget “WP PayPal Payment” as illustrated in the image below.

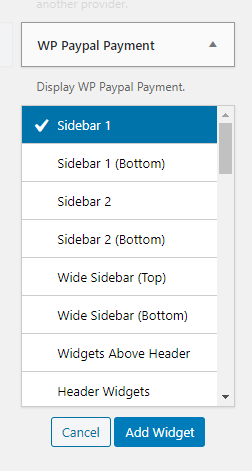
Step 3 ) The following image shows you the widget being added to the themes sidebar. All themes have a sidebar you can use to add widgets and menus.
Note: Your theme will have different sidebars.

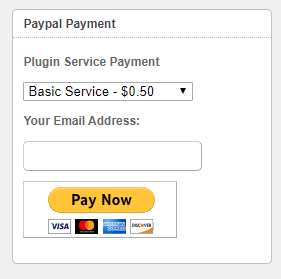
Step 4 ) The following image shows you the widget displayed on the homepage of the site. The same can be achieved if you add the following shortcode [wp_paypal_payment] to WordPress default text widget.
Note: The look and feel below is based on the theme’s layout used for this tutorial. Your theme’s layout will be different.

That’s how simple it is to add the plugins widget to your themes sidebar. I hope this simple tutorial helps you.
I will be adding more information soon.
Enjoy.