Add New Form Using MailPoet tutorial helps you to create a custom form and add some style. You can also choose from one of the many templates available.
Last Updated: August 11, 2022
Latest News: I have updated the documentation to reflect MailPoet version 3.
In this tutorial you will learn how to add a new custom form to your site. There are many tools available to help you customize the new form. Many of you will probable choose one of the templates available which makes your life much easier. You can also customize the templates using the tools available.
List of Available Template Types:
- Pop-up
- Slide-in
- Fixed bar
- Below pages
- Others (widget)
What you need:
- MailPoet plugin
- (Optional) This is an e-mail testing tool Mail Tester.
Add New Form Using MailPoet
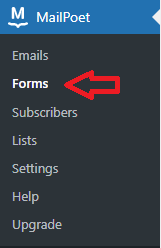
Step 1 ) Go to MailPoet -> Forms on the admin sidebar as illustrated in the image below to start adding new forms to your site.
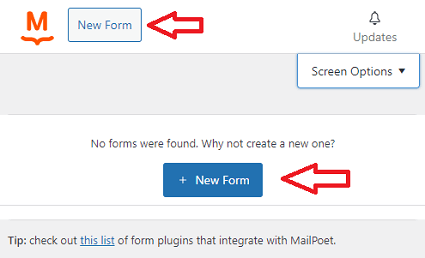
Step 2 ) The following image illustrates New Form buttons in two locations. Click this button to start adding your new form.
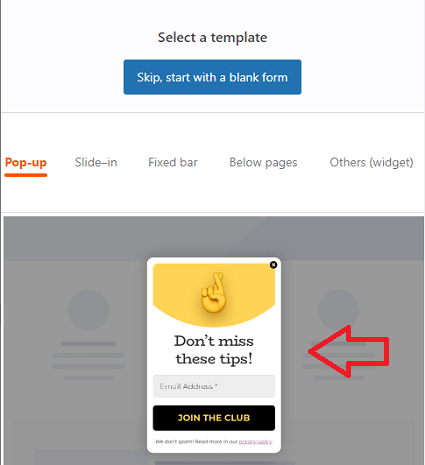
Step 3 ) Once you click on the New Form button from the image above you will see the following information as illustrated in the image below. Here you can choose what you want to do. Select a form from one of the available templates or start a new form altogether. For this tutorial Skip, start with a blank form button is selected.
Type of Templates to Choose From
- Pop-up = Here you see a sample template illustrated from the pop-up tab.
- Slide-in
- Fixed bar
- Below pages
- Others (widget)
Step 4 ) The following image allows you to select from the following options.
Black Form Default Fields
- Email address
- Subscribe! button
- Add new fields by clicking on the + sign
- Form Editing Options
- Settings
- Styles
- Form Placement
- Custom CSS

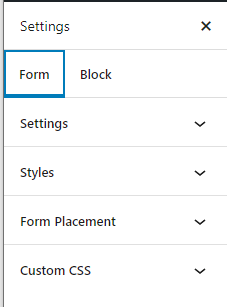
Step 5 ) The following image Settings illustrates the tools you can use to customize your personalized form. The following is a list of the tools you can use.
Form Settings Tools
- Settings
- Styles
- Form Placement
- Custom CSS
Form Settings
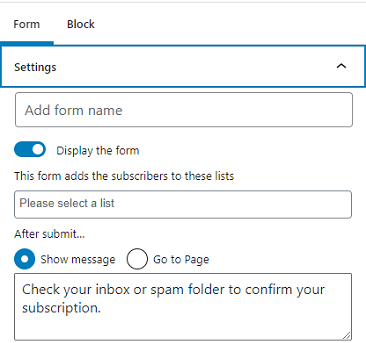
Step 6 ) The following image Settings allows you to setup the following options.
Form Settings Options
- Add form name
- Display the form
- Please select a list
- After submit…
- Show message
- Go to page
Form Styles
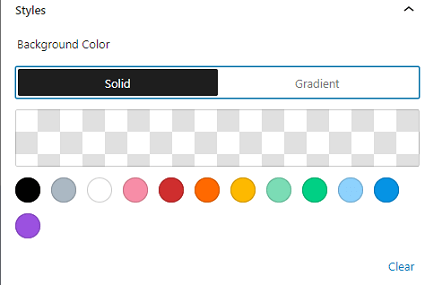
Step 7 ) The following image allows you to adjust the following options.
Form Styles Options Part 1
- Background Color
- Solid
- Gradient
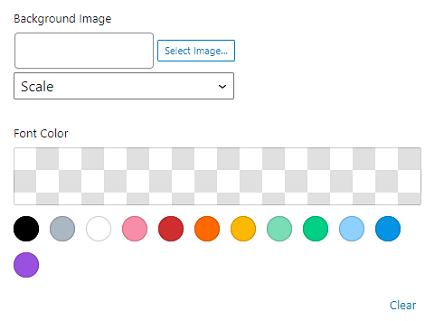
Step 7-a ) The following image allows you to adjust the following options.
Form Styles Options Part 2
- Background Image
- Select Image…
- Scale
- Font Color
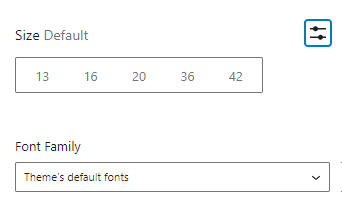
Step 7-b ) The following image allows you to adjust the following options.
Form Styles Options Part 3
- Size Default
- Font Family
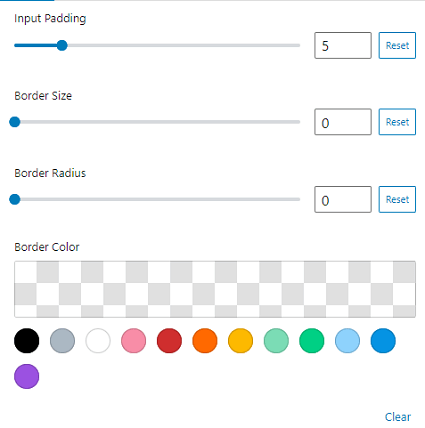
Step 7-c ) The following image allows you to adjust the following options.
Form Styles Options Part 4
- Input Padding
- Border Size
- Border Radius
- Border Color
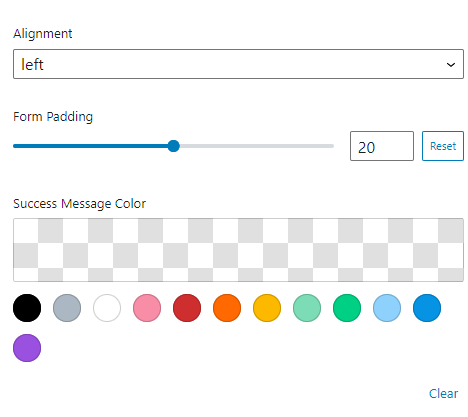
Step 7-d ) The following image allows you to adjust the following options.
Form Styles Options Part 5
- Alignment
- Form Padding
- Success Message Color
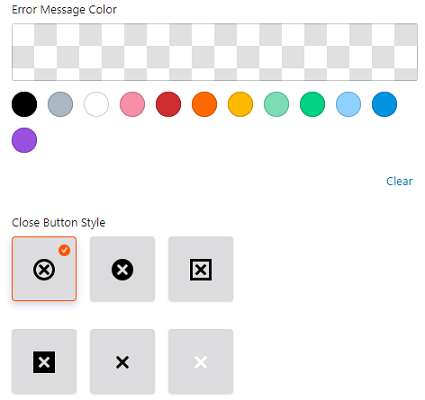
Step 7-e ) The following image allows you to adjust the following options.
Form Styles Options Part 6
- Error Message Color
- Close Button Style
Form Placement
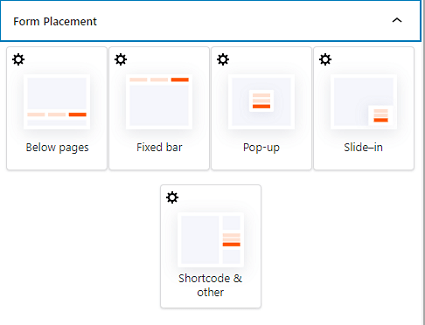
Step 8 ) The following image Form Placement allows you to adjust the following options.
Form Placement Options
- Below pages
- Fixed bar
- Pop-up
- Slide-in
- Shortcode & other
Step 9 ) The following Custom CSS allows you add you own custom style using CSS. It is important that you follow the proper CSS rules when adding your custom CSS styles to your site. If you don’t have any CSS knowledge then I recommend using one of the templates available. This can help you and guide you with your customization. If you are more daring and need some help, the following link can help you.
Recommended CSS Link:
======================
I will be updating this tutorial from time to time so keep coming back for the latest. If you have any questions please let me know.
Enjoy.
Go Back To MailPoet Tutorial List.