MailPoet Add Subscribers Settings shows you how to add, edit subscribers. It also helps you with importing and exporting subscribers and more.
Last Updated: August 10, 2022
Latest News: I have updated the documentation to reflect MailPoet version 3.
In this tutorial you are going to learn how to add new subscribers to your website. You will also lean how to import and export subscribers to and from your website. It is important to following the instructions when importing your subscribers. This will prevent issues popping when importing the subscribers incorrectly.
What you need:
- MailPoet plugin
- (Optional) This is an e-mail testing tool Mail Tester.
MailPoet Add Subscribers Settings
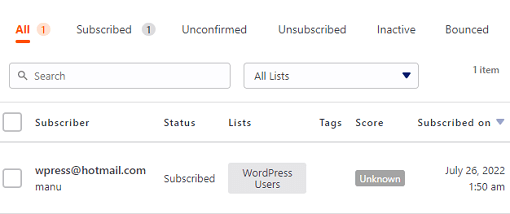
Step 1 ) Go to MailPoet -> Subscribers to start adding subscribers to your site as illustrated in the image below.
The following is a list of all the options you can carry out when you start adding subscribers to your site.
Subscribers Admin Menu Buttons
- Add Subscriber
- Import
- Export
List Subscribers Options
- Subscribed
- Unconfirmed
- Unsubscribed
- Inactive
- Bounced
Subscribers Status Options
- Subscriber
- Status
- Lists
- Tags
- Score
- Subscribed on
Add Subscriber
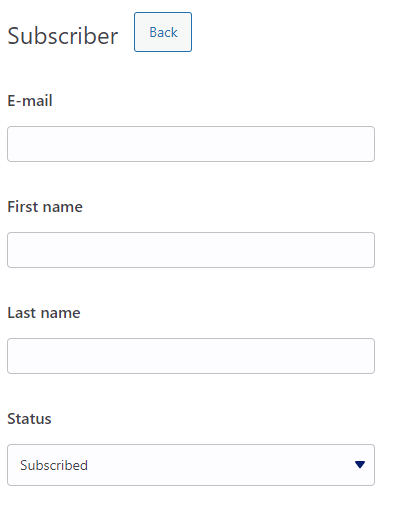
Step 2 ) Click on Add New button on the menu to start adding new subscribers to your site as illustrated in the image below.

Step 2-a ) The following image allows you to set up the following fields when adding new subscribers.
Add New Subscribers Part 1
- First name
- Last name
- Status
- Subscribed
- Unconfirmed
- Unsubscribed
- Inactive
- Bounced
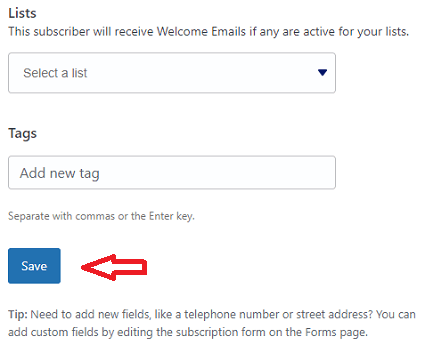
Step 2-b ) The following image allows you to set up the following fields when adding new subscribers.
Add New Subscribers Part 2
- Lists
- Tags
- Click on Add button when you finished setting up the new subscriber.
Import
Step 3 ) Before you begin to import your subscribers, make sure you read the following documentation illustrated in the image below.

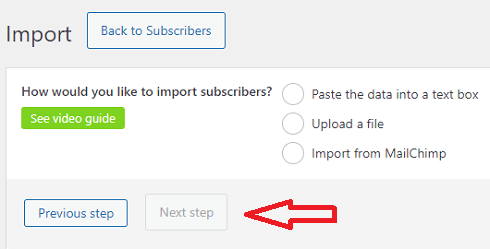
Step 3-a ) Click on Import button on the menu as illustrated in the image below to start importing subscribers into your site.

Step 3-b ) The following image allows you to select and set up the following options.
Note: Make sure the subscribers you are importing have agreed to be added to the list. Or else this is considered to be spamming.
Import Subscribers
- How would you like to import subscribers?
- Paste the data into a text box
- Upload a file
- Import from MailChimp
- Click on Previous step or Next step buttons when you finished setting up the import options.
Export
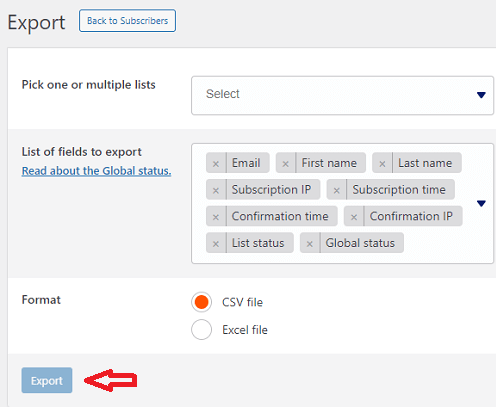
Step 4 ) Click on Export button on the menu as illustrated in the image below to start exporting your subscribers from your site.

Step 4-a ) The following image allows you to set up the following options.
Export Subscribers
- Pick one or multiple lists (These lists added are purely for this tutorial. You will have different list)
- List of fields to export = you have the following fields to choose from
- First name
- Last name
- Subscription IP
- Subscription time
- Confirmation time
- Confirmation IP
- List status
- Global status
- Format = choose between
- CSV file
- Excel file
- Click on Export button when you finished setting up the export options.
========================
That is how simple it is to add, export and import subscribers to your website.
I will be updating this tutorial from time to time so keep coming back for the latest. If you have any questions please let me know.
Enjoy.
Go Back To MailPoet Tutorial List.