MailPoet Add New List and Segment Settings tutorial shows you how to add and or edit a list or segment in your site.
In this tutorial you are going to learn how to add or edit a new list and segment. This is very straight forward to implement. Some features require a premium account. Creating the correct lists in your site is very important from the very beginning. I recommend you spend a bit of time analysing what lists are needed in your site before you begin creating random lists.
The default two lists are a start and in some cases you probably won’t need any more at the beginning. Of course as your site grows in popularity, then you will probably need to add more lists.
What you need:
- MailPoet plugin
- (Optional) This is an e-mail testing tool Mail Tester.
MailPoet Add New List and Segment Settings
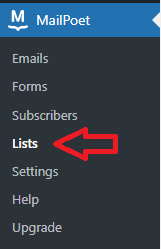
Step 1 ) Go to MailPoet -> Lists on the admin sidebar as illustrated in the image below to start adding new lists and segments to your site.
New List / New Segment Buttons
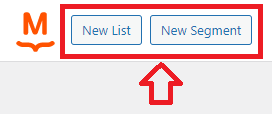
Step 2 ) The following image illustrates the two buttons New List and New Segment. Click these buttons to add or edit new lists or segments.
Add New List
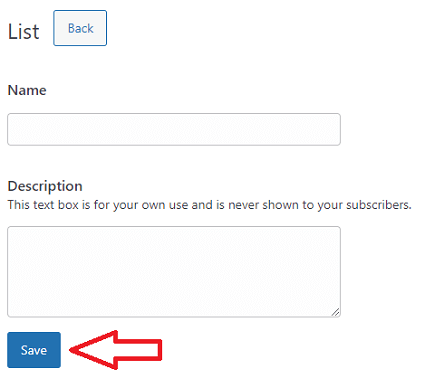
Step 3 ) The following image List allows you to set up the following options when adding new lists.
Adding New List Options
- Name
- Description
- Click on Save button when you finished setting up the new list.
Add New Segment
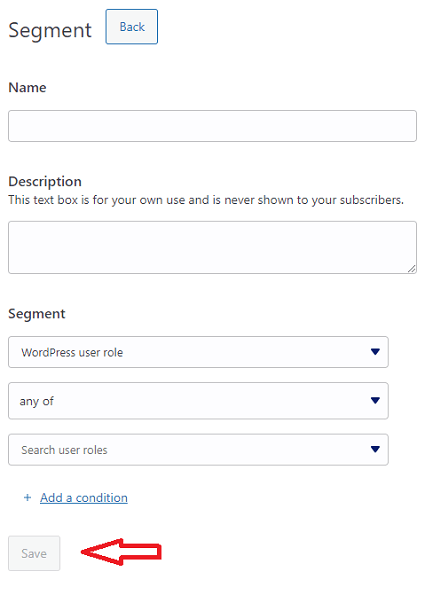
Step 4 ) The following image Segment allows you to set up the following options when adding new segments.
Adding New Segment Options
- Name
- Description
- Segment
- Add a condition = Note: This is a premium option.
- Click on Save button when you finished setting up the new list.
Edit List Options
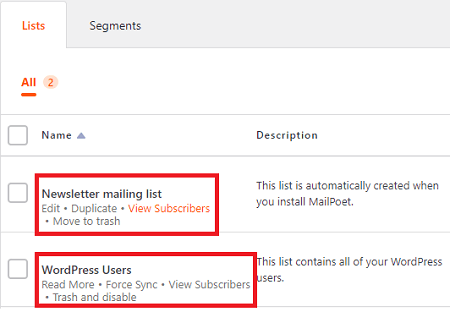
Step 5 ) The following image displays different tools to for the default list created by the plugin when you fist install it. Notice there are different options in each of the list below.
Edit Default Lists
- Newsletter mailing list = This list is automatically created when you install MailPoet.
- Edit
- Duplicate
- View subscribers
- Move to trash
- WordPress Users = This list contains all of your WordPress users.
- Read More
- Force Sync
- View Subscribers
- Trash and disable
==================
That is how simple it is to add, export and import subscribers to your website.
I will be updating this tutorial from time to time so keep coming back for the latest. If you have any questions please let me know.
Enjoy.
Go Back To MailPoet Tutorial List.