WordPress ClassiPress Theme Widgets Settings shows you all the different widgets added by ClassiPress and the different areas they control in your site.
Last Updated: March 12, 2019
Latest Update: I added a tutorial link to the homepage widget.
In this post you will learn about the widgets added by ClassiPress. You will also learn how to manage and edit the titles in the widgets and more. Each widget area in the admin back end allows you to add more widgets. These widgets are available by WordPress by default. ClassiPress also adds some widgets when you activate the theme.
WordPress ClassiPress Theme Widgets Settings
Step 1 ) To view and manage the widgets area go to Appearance -> Widgets in admin.
Note: It is very important to understand how each widget works, what area of the website it controls and how to edit the widget.
Step 2 ) WordPress comes with many default widgets for you to use. ClassiPress theme adds many more widgets for you to also use. The following is a list of ClassiPress widgets you can use to display ads and other information in your site.
ClassiPress Added Widgets
- ClassiPress Ad Categories
- ClassiPress Ads Tag Cloud
- ClassiPress Featured Ad
- ClassiPress Sold Ads
- ClassiPress Top Ads Today
- ClassiPress Ad Search Box
- ClassiPress Ad Sub Categories
- ClassiPress Recent Blog Posts
- ClassiPress Top Ads Overall
- and more…
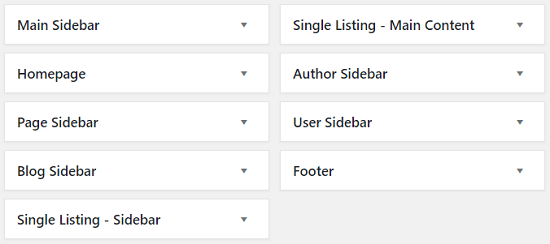
Step 3 ) The following image shows you a list of widgets areas controlled by ClassiPress after you install and activate the theme.
Widget Areas
- Main Sidebar
- Homepage
- Page Sidebar
- Blog Sidebar
- Single Listing – Sidebar
- Single Listing – Main Content
- Author Sidebar
- User Sidebar
- Footer
Main Sidebar
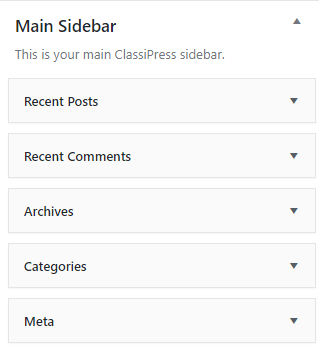
Step 4 ) The following image Main Sidebar shows you the widgets added. This is a sample list of the widgets added for this tutorial.
Main Sidebar Widgets
- Recent Posts
- Recent Comments
- Archives
- Categories
- Meta
Homepage
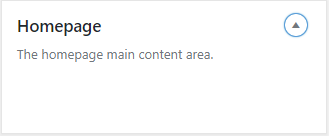
Step 5 ) The following image Homepage tells you what area of your site this widget controls.
Note: You might like to read the following URL Homepage Widget Settings to learn more about adding and managing widgets in the homepage widget.
Page Sidebar
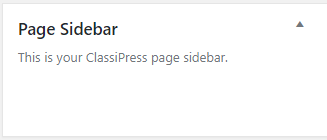
Step 6 ) The following image Page Sidebar tells you what area of your site this widget controls.
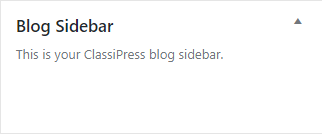
Blog Sidebar
Step 7 ) The following image Blog Sidebar tells you what area of your site this widget controls.
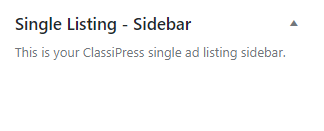
Single Listing – Sidebar
Step 8 ) The following image Single Listing – Sidebar tells you what area of your site this widget controls.
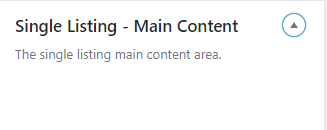
Single Listing – Main Content
Step 9 ) The following image Single Listing – Main Content tells you what area of your site this widget controls.
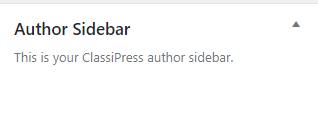
Author Sidebar
Step 10 ) The following image Author Sidebar tells you what area of your site this widget controls.
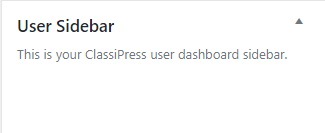
User Sidebar
Step 11 ) The following image User Sidebar tells you what area of your site this widget controls.
Footer
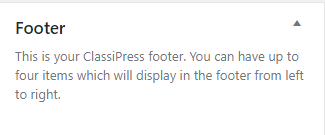
Step 12 ) The following image Footer tells you what area of your site this widget controls.
You might like to check the following URL Customize Footer Area to learn more about the footer area.
Note: Remember you can add up to 4 widgets in this area.
That is how simple it is to manage ClassiPress theme wdgets.
If you have any questions or suggestions please leave a comment.
There will be more tutorials coming soon. So make sure you keep coming back for the latest.
Enjoy.
ClassiPress Theme Tutorial List:
hey i have classipress 3.5 and what im trying to do is to add widget only on ad category not let them show on home page or not on all pages !?
please help with this
Hi Samy, can you clarify further what you are trying to achieve? For example: are you wanting to show widgets in some pages but at the same time not to show in the home page. Is this correct?
Regards