Twenty Twelve Full Width Visual Editor shows you how to adjust the visual editor to full width by changing one value.
Last Updated: July 15, 2019
Latest News: I added another tutorial to the list below.
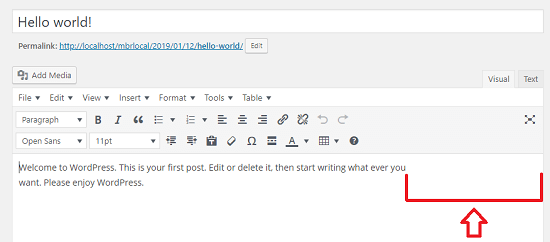
Twenty Twelve visual editor in not set to full width. It currently has a limitation of 625px. This is not good if your screen resolution is much higher. When this happens you see a huge gap on the right hand side of the visual editor while creating or editing posts and pages. Lucky for us there is only one small change you need to make in one file.
The following steps will show you how to achieve this.
Note: Make sure you have backed up the files you are working with.
Twenty Twelve Tutorials:
- Customize Twenty Twelve WordPress Theme
- Add Copyright Notice
- Full Width Visual Editor
- Change Theme Width
- Display Featured Image
- Reference Post
Twenty Twelve Full Width Visual Editor
Step 1 ) The following image illustrates the visual editor. You can see the huge gap towards the right hand side of the post. This is caused by the limit width set out in Twenty twelve. Lucky this can be edited very easily by altering one setting.

Step 2 ) Copy the editor-style.css file from the parent theme to Polished child theme. Open editor-style.css file and make the following changes.
Go to line 9 and edit the following entry.
html .mceContentBody {
max-width: 625px;
}
Change the above to.
html .mceContentBody {
max-width: 100%;
}
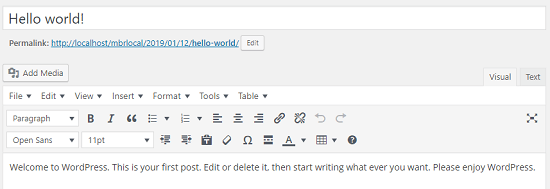
Step 3 ) The following image shows you to the visual editor. The post width is now full size. By changing the px to % above it allows the visual editor to adjust the width no matter the size of the screen of the device.

==============================
That is how simple it is to adjust the visual editor in Polished child theme.
If you have any questions please let me know. I will be updating this tutorial from time to time.
Enjoy