WP Photonic Generic Options Overlaid Popup Panel shows you how to configure the borders and the number of items to display and more.
Last Updated: June 15, 2020
Latest News: Updated the documentation.
Photonic has some very cool settings that allows you to manage the overlaid popup panel. These settings control the borders, panel width, background colors, background image and more. These settings makes your job much easier. Make sure you keep checking the frontend to make sure you are happy with your settings.
What You Need:
WP Photonic Generic Options Overlaid Popup Panel
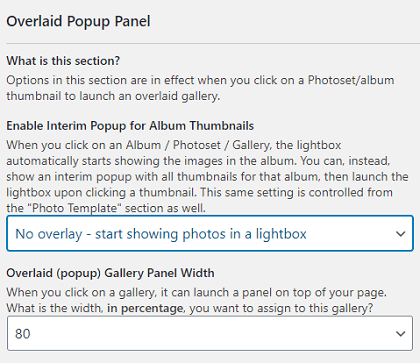
Step 1 ) Go to Photonic -> Settings -> Overlaid Popup Panel as illustrated in the image below to set up the following options.
Enable Interim Popup for Album Thumbnails
- When you click on an Album / Photoset / Gallery, the lightbox automatically starts showing the images in the album. You can, instead, show an interim popup with all thumbnails for that album, then launch the lightbox upon clicking a thumbnail.
Overlaid (popup) Gallery Panel Width
- You can select from 1 to 100.
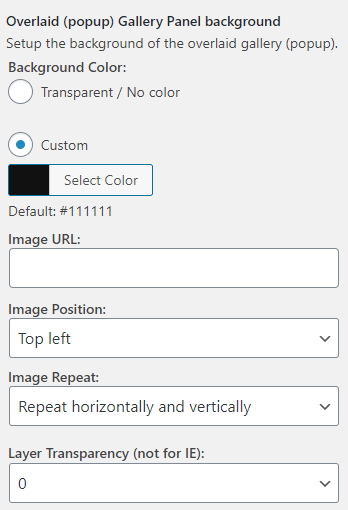
Overlaid (popup) Gallery Panel background
Step 2 ) The following image Overlaid (popup) Gallery Panel background allows you to set up the following options.
Overlaid (popup) Gallery Panel background Options
- Background Color
- Transparent / No color
- Custom
- Image URL
- Image Position
- Image Repeat
- Layer Transparency (not for IE)
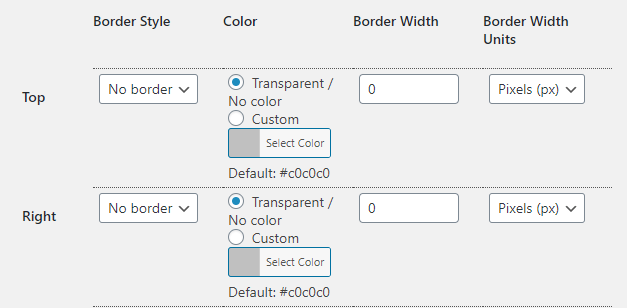
Overlaid (popup) Gallery Border
Step 3 ) The following image Overlaid (popup) Gallery Border allows you to set up the following options.
Top border
- Border Style
- Color
- Border Width
- Border width Units
Right border
- Border Style
- Color
- Border Width
- Border width Units
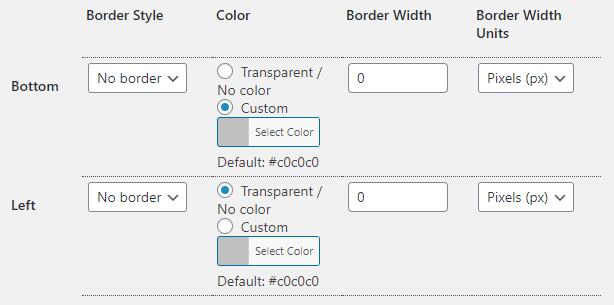
Step 3-a ) The following image allows you to set up the following options.
Bottom border
- Border Style
- Color
- Border Width
- Border width Units
Left border
- Border Style
- Color
- Border Width
- Border width Units
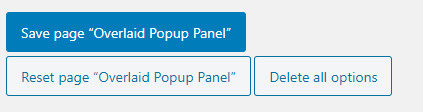
Step 4 ) The following image allows you to save and reset the settings for the overlaid popup panel.
Save and reset settings for Overlaid Popup Panel
- Once you have completed the Overlaid Popup Panel settings you have three options as illustrated in the image below.
- Save page “Overlaid Popup Panel”
- Reset page “Overlaid Popup Panel”
- Delete all options
Click on the following URL Add a Slideshow to Suffusion Theme Using Photonic .
This tutorial will be updated from time to time in accordance to any new changes made by Sayontan Sinha the developer.
If you have any questions please let me know.
Enjoy.
Photonic Plugin Tutorial List: