WP eMember Plugin General Settings tutorial will show you how to set up this membership plugin basic settings and much more.
Last Updated: September 25, 2020
Latest News: Updated the documentation.
This is a very powerful membership plugin. It has many options but don’t get intimidated by it. Most of the default settings are good to get you started (keep things simple at first). Remember to watch the video tutorials from eMember’s documentation page.
For detailed documentation, information and updates, please visit the WP eMember Documentation Page
WP eMember Plugin General Settings Steps
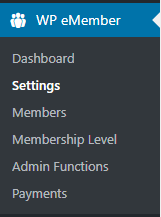
Step 1 ) Install the plugin like you normally do. Log into your website as the administrator and go to WP eMember -> Settings, to start enabling and editing the plugin settings. See image below.
- Dashboard
- Settings
- Members
- Membership Level
- Admin Functions
- Payments
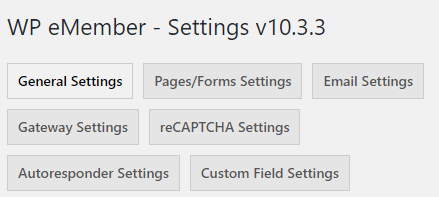
Step 2 ) The following image displays the top menu options under settings.
Settings Admin Menu
- General Settings
- Pages/Form Settings
- Email Settings
- Gateway Settings
- reCAPTCHA Settings
- Autoresponder Settings
- Custom Field Settings
General Settings
Step 3 ) Go to WP eMember -> Settings -> General Settings and select from the following options. See images below.
General Settings Part 1
- eMember Language:
- Allow Free Membership:
- Free Membership Level ID:
- Free Members Must Confirm Email Address:
- Entries Per Page:
- Enable More Tag Protection:
- Enable Public profile Listing:
Information: Remember that each option has a description next to it for you to read and choose if it is an option you wish to enable or not.
Warning: Please make sure that you read each option carefully before you enable that option. This plugin is very powerful and has a large number of features you can enable or disable. If it is not set up correctly from the beginning you will run into problems.

Step 3-a ) In the following image you can enable the following options.
General Settings Part 2
- Allow Account Deletion:
- Allow WordPress Account Deletion:
- Enable Secondary Membership:
- Use Gravatar Image in Profile:
- Use Profile Image in WordPress Comment Avatar:
- Enable Custom Fields:
- Enable Auto Expiry Email Notification:

Step 3-b ) In the following image you can enable the following options.
General Settings Part 3
- Manually Approve Member Registration:
- Protect Comments Separately:
- Members Must be Logged in to Comment:
- Enable Google First Click Free Feature:
- Format the Post/Page Protected Message:
- Turn Off Protected Message Formatting:

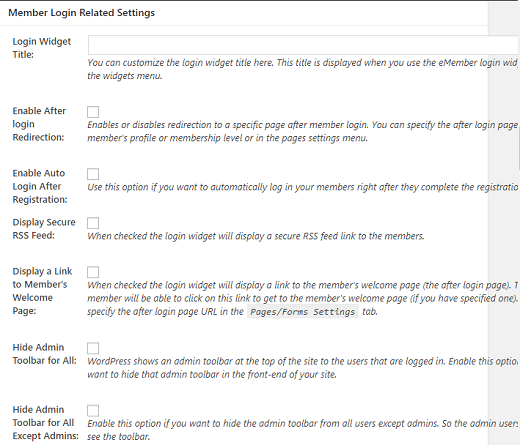
Member Login Related Settings
Step 4 ) In the following image Member Login Related Settings you can enable and adjust the following options.
Member Login Related Settings Part 1
- Login Widget Title:
- Enable After login Redirection:
- Enable Auto Login After Registration:
- Display Secure RSS Feed:
- Display a Link to Member’s Welcome Page:
- Hide Admin Toolbar for all:
- Hide Admin Toolbar for all Except Admins:
Step 4-a ) The following image allows you to enable and adjust the following options.
Member Login Related Settings Part 2
- Enable Fancy Login Widget/Popup:
- Disable Inline Login Widget Option:
- Login Restriction by IP Address:
- Logout the Member After xx Minutes of Inactivity
- Disable Simultaneous Member Login = You can also select to Keep only most recent login active or to Keep only current session active (This was added in version 8.8.8)

I will be updating this post from time to time. So keep coming back for more.
Enjoy.
eMember Plugin Tutorial List: