WordPress WooCommerce Plugin General Settings post will show you how to configure the general settings to suit your website or blog.
Last Updated: May 2, 2023
Latest News: Updated the information in this tutorial to stay current with the latest plugin version 7.6.1.
WooCommerce general settings is very simple and straight forward to understand and set up. Some of these settings have a question mark on the side to help you understand more about the option you are about to enable and or configure.
Important: It is always important to make sure to test all the options you enable before going live.
Note: Some of the steps below are enabled when you first install the plugin.
What You Need:
- WooCommerce wordpress plugin.
- WooCommerce website with access to all their products. (Note: This is an affiliated link. I get a small commission if you make a purchase.)
WordPress WooCommerce Plugin General Settings
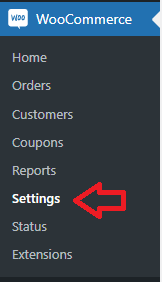
Step 1 ) Go to WooCommerce -> Settings to start configuring the plugins settings as illustrated in the image below.
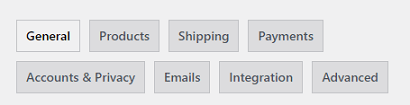
Step 2 ) The following image Settings menu, lists all the tabs you can configure and set up in the plugin for your online store.
- General
- Products
- Shipping
- Payments
- Accounts & Privacy
- Emails
- Integration
- Advanced
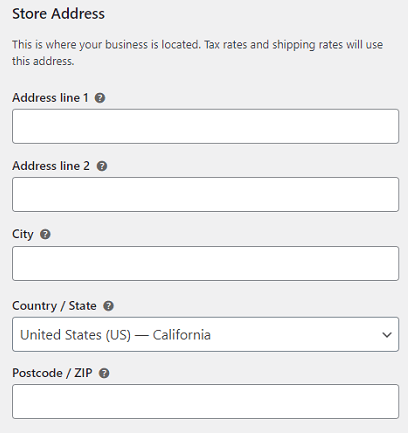
Store Address
Step 3 ) The following image Store Address allows you to set up the following options.
- Address line 1
- Address line 2
- City
- Country / State
- Postcode / Zip
General options
Step 4 ) The following image General options allows you to set up the following options.
- Selling location(s)
- Shipping location(s)
- Default customer location
- Enable taxes
- Enable coupons
- Calculate coupon discounts sequentially

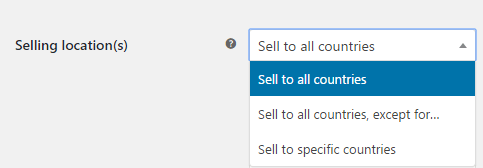
Step 4-a ) The following image Selling locations allows you to select from the following options.
- Sell to all countries
- Sell to all countries, except for…
- Sell to specific countries
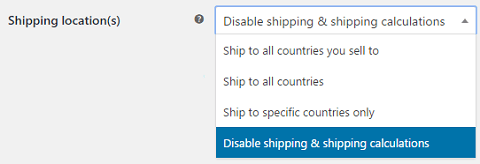
Step 4-b ) The following image Shipping locations allows you to select from the following options.
- Ship to all countries you see to
- Ship to all countries
- Ship to specific countries only
- Disable shipping & shipping calculations
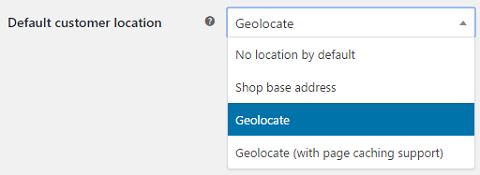
Step 4-c ) The following image Default customer location allows you to select from the following options.
- No location by default
- Shop base address
- Geolocate
- Geolocate (with page caching support)
Currency options
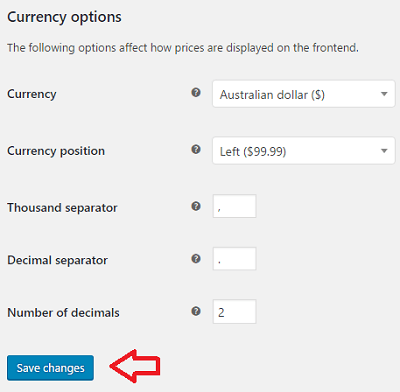
Step 5 ) The following image Currency options allows you to set up the following options.
- Currency
- Currecy positions
- Thousand separator
- Decimal separator
- Number of decimals
- Click on Save changes button after you finish configuring your settings.
================================
The above instructions are simple and easy to follow.
Click on the following URL Product Settings to learn more.
If you have any questions please let me know.
I will be updating this tutorial from time to time so make sure you come back for the latest.
Enjoy.
WooCommerce Plugin Tutorial List: