WordPress Posts Settings Advanced Options post helps you understand the extra settings available when you edit or add a new post.
Last Updated: May 16, 2023
Latest News: Updated the documentation.
Post are very important in a website especially if it is a blog. The following instructions helps you decide what extra information you want to show up in your post. Displaying the correct information in a post can help you attract more visitors to your site.
Post Settings Tutorials
- WordPress Posts Settings Options
- WordPress Posts Settings Advanced Options
WordPress Posts Settings Advanced Options
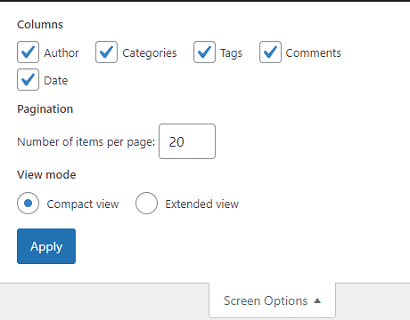
Step 1 ) Go to Posts to start adding or editing your posts. Click on Screen Options top right hand corner to select from the following options.
Columns
- Author
- Categories
- Tags
- Comments
- Date
Pagination
- Number of items per page:
View mode
- Compact view = Note: Check Step 1-a ) below for more information.
- Extended view = Note: Check Step 1-b ) below for more information.
Step 1-a ) The following image shows you the information displayed based on the Compact view option. Each post available only displays the title and date.
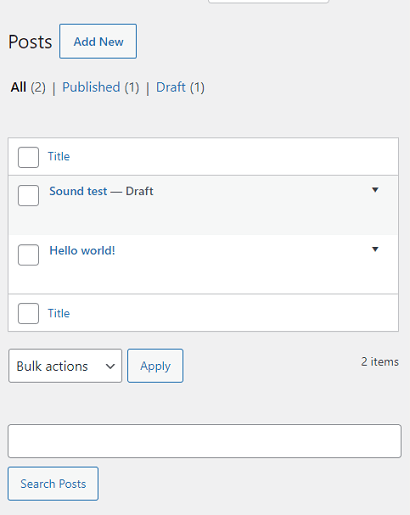
Step 1-b ) The following image shows you the information displayed based on the Extended view option. Each post available displays extra information including Edit, Quick Edit, Trash and Preview.

Excerpt
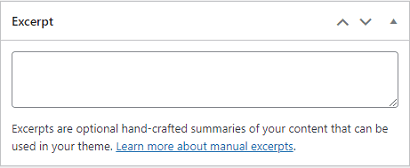
Step 2 ) The following image Exerpt allows you to add an excerpt entry for the post.
Note: Excerpts are optional hand-crafted summaries of your content that can be used in your theme. Learn more about manual excerpts.
Send Trackback
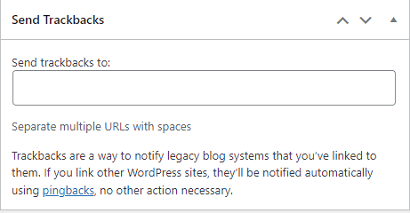
Step 3 ) The following image Send Trackback allows you to link to legacy blog systems that you’ve linked to them.
Note: The following link pingbacks has more information.
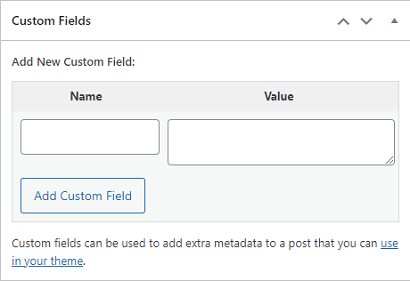
Custom Fields
Step 4 ) The following image Custom Fields allows you to add new custom fields to a post. This add extra metadata to the post.
Note: The following link assign custom fields has more information.
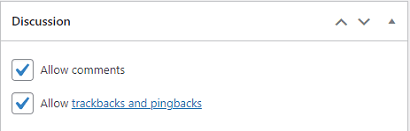
Discussion
Step 5 ) The following image Discussion allows you to enable the following options.
Discussion Options
- Allow comments
- Allow trackbacks and pingbacks
Slug
Step 6 ) The following image Slug display the post slug. It is a few words that describes the post or page.
Note: Click on the following link Slug to learn more.

Author
Step 7 ) The following image Author displays the name of the post’s author.

=======================
The above should help you understand how to manage what information you want to display in a post. You might also be interested in the following YouTube video How To Add A New Post.
If you have any questions please let me know.
I will be updating this tutorial from time to time so make sure you come back for the latest.
Enjoy.
WordPress Setup Tutorial List: