WordPress Plugin XCloner Backup Settings post will show you how to adjust and enable the general and advanced settings in the plugin.
Last Updated; June 8, 2020
Latest News: Updated the documentation.
The following information helps you manage the functionality of the settings in XCloner plugin. It is important to make sure that you configure the settings correctly or else you might run into issues while creating your backups. These steps can also help you troubleshoot some of the error messages you might run into when creating backups.
Note: It is important that you carefully read the help features of every option that you choose to enable and or set up.
What you need:
- Xcloner plugin.
WordPress Plugin XCloner Backup Settings
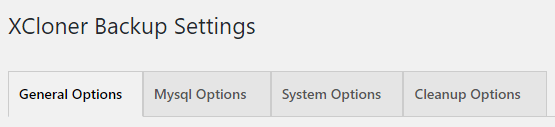
Step 1 ) The following image XCloner Backup Settings shows you the 4 menu tabs available in the plugin admin settings. The following are the settings you can configure.
- General Options
- Mysql Options
- System Options
- Cleanup Options
General Options
Step 2 ) Go to Site Backup -> Settings -> General Options to adjust and setup the following options.
General Options Part 1
- Backup Compression Level
- Backup Start Location
- Backup Storage Location
- Backup Encryption Key
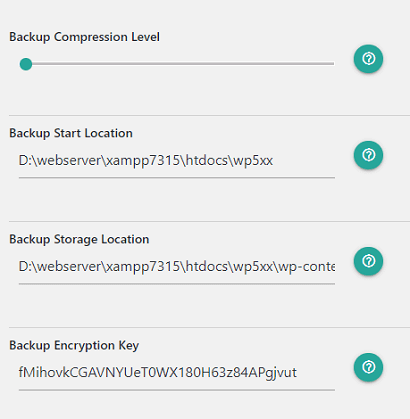
Step 2-a ) The following image allows you to adjust and setup the following options.
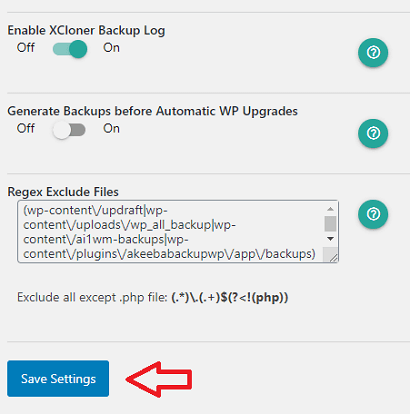
General Options Part 2
- Enable XCloner Backup Log
- Generate Backups before Automatic WP Upgrades
- Regex Exclude Files
- Click on Save Settings button when you finish with your settings.
Mysql Options
Step 3 ) Go to Site Backup -> Settings -> Mysql Options to adjust and setup the following options.
Mysql Options Part 1
- Enable Mysql Backup
- Backup only WP tables

Step 3-a ) The following image allows you to adjust and setup the following options.
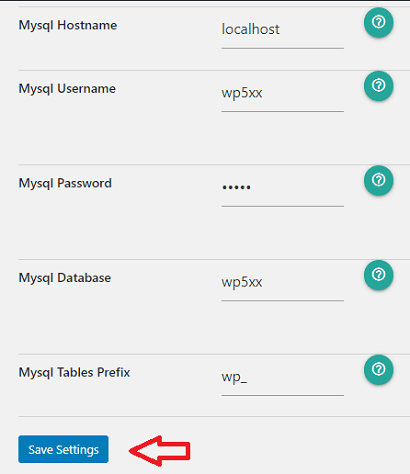
Mysql Options Part 2
- Mysql Hostname
- Mysql Username
- Mysql Password
- Mysql Database
- Mysql Tables Prefix
- Click on Save Settings button when you finish with your settings.
System Options
Step 4 ) Go to Site Backup -> Settings -> System Options to adjust and setup the following options.
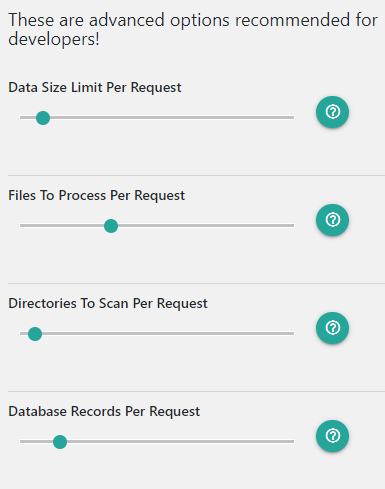
Note: These are advanced options recommended for developers. So make sure you know what you are doing before making any changes to these settings.
System Options Part 1
- Data Size Limit Per Request
- Files To Process Per Request
- Directories To Scan Per Request
- Database Records Per Request
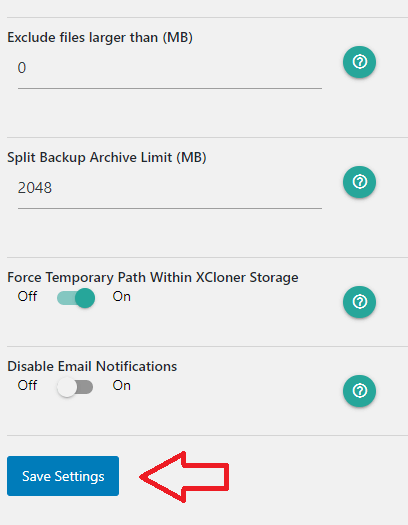
Step 4-a ) The following image allows you to adjust and setup the following options.
System Options Part 2
- Exclude files larger than (MB)
- Split Backup Archive Limit (MB)
- Force Temporary Path Within XCloner Storage
- Disable Email Notifications
- Click on Save Settings button when you finish with your settings.
Cleanup Options
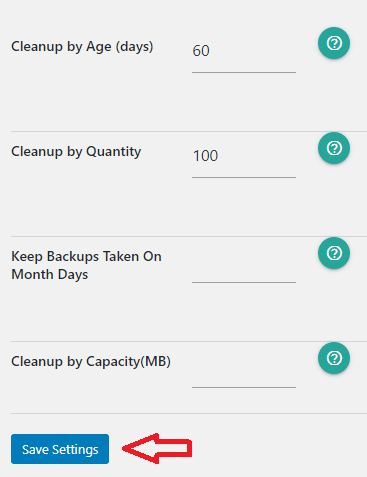
Step 5 ) Go to Site Backup -> Settings -> Cleanup Options to adjust and setup the following options.
Cleanup Options
- Cleanup by Date(days)
- Cleanup by Quantity
- Keep Backups Taken On Month Days
- Cleanup by Capacity(MB)
- Click on Save Settings button when you finish with your settings.
The above information is important when configuring XCloner settings. Make sure you revise your settings carefully before you start creating your backups. After you have completed the settings above you should carry out a backup test and a backup restoration test. This will help test whether the backup works or not.
Click on the following link Remote Storage Settings to continue with the settings.
If you have any questions please let me know.
Enjoy.
Go Back To XCloner Tutorials List