Very Simple Contact Form Plugin post helps you set up and configure this very simple contact form and more.
Last Updated; February 24, 2025
Latest News: Updated the document changelog.

VS Contact Form 16.9 Changelog
- Improved anti-spam features
- New: set the minimum time in seconds between page load and form submission
- In previous versions this “time trap” was a static value
- Updated settings page
======================
WordPress has many different contact forms available for you to download. However some of them a very complex and heavy in resources for sites and servers. This contact form on the other hand is lightweight and helps you create simple contact forms. After all not everyone requires a complex contact form in their site. If you are looking for a simple contact form then look no further, this is the contact form plugin for you.
All you need to do after configuring the plugins setting is add the following shortcode [contact] to a page. If you don’t want to add a page, you can use the widget to display your contact form on the sidebar. Alternative you can use both methods to display your contact forms.
The form has the following fields available for your contact forms.
Contact Fields:
- Name
- Subject
- Message
- It also has a privacy consent checkbox and a simple numeric captcha.
What you need:
- Very Simple Contact Form plugin
Very Simple Contact Form Tutorials:
- Very Simple Contact Form Plugin
- Contact Form Widget
Very Simple Contact Form Plugin
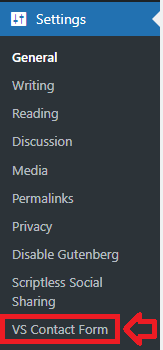
Step 1 ) Go to Settings -> VS Contact Form as illustrated in the image below, to start setting up the simple contact form.
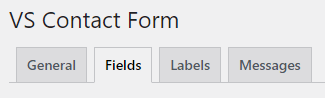
Step 2 ) The following image illustrated the different tabs available in the plugins admin menu for you to set up.
Very Simple Contact Form Settings Tabs
- General
- Fields
- Labels
- Messages
General Settings
Step 3 ) Go to Settings -> VS Contact Form -> General tab to start making changes to the plugins general settings. The following is a list of options you can manage under the General tab.
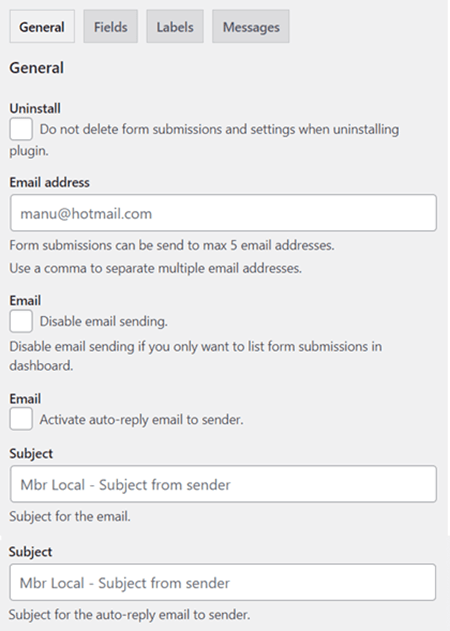
General Settings Tab Part 1
- Uninstall = Do not delete form submissions and settings.
- Email address = Enter your email address. The form submission can be sent to a maximum of 5 email addresses.
- Email = Disable email sending.
- Email = Activate auto-reply email to sender.
- Subject = Subject for the email.
- Subject = Subject for the auto-reply email to sender.
Step 3-a ) The following image allows you to edit the following fields.
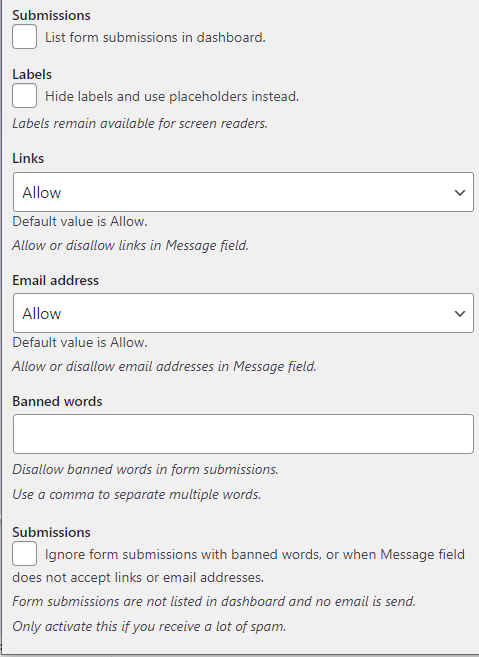
General Settings Tab Part 2
- Submissions = List form submissions in dashboard.
- Labels = Hide labels and use placeholders instead. Labels remain available for screen readers.
- Links = Default value is One. Allow or disallow links in Message field.
- One
- Allow
- Disallow
- Email address = Allow or disallow email addresses in Message field.
- Allow
- Disallow
- Banned words = Disallow banned words in form submissions. Use a comma to separate multiple words.
- Submissions = Ignore form submissions with banned words, or when Message field does not accept links or email addresses. Form submissions are not listed in dashboard and no email is send. Only activate this if you receive a lot of spam.
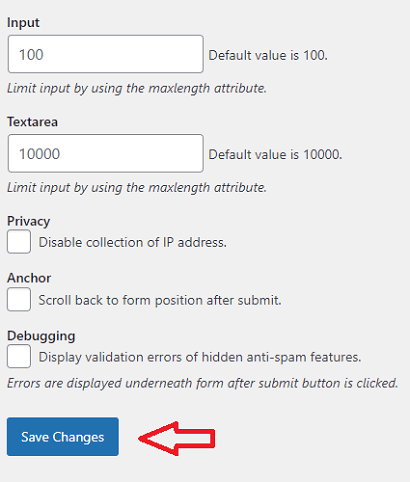
Step 3-b ) The following image allows you to edit the following fields.
General Settings Tab Part 3
- Input = Default value is 100. Limit input by using the maxlength attribute.
- Textarea = Default value is 10000. Limit input by using the maxlength attribute.
- Privacy = Disable collection of IP address.
- Anchor = Scroll back to form position after submit.
- Debugging = Display anti-spam errors underneath form.
- Click on Save Changes button when you complete the settings.
Fields Settings Tab
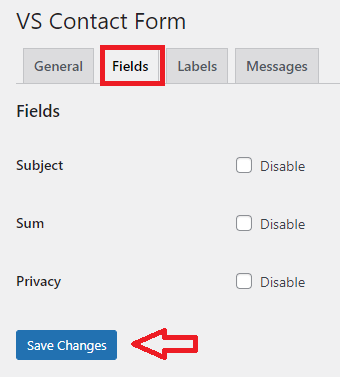
Step 4 ) Go to Settings -> VS Contact Form -> Fields tab to edit the following fields.
Fields Settings Tab
- Subject
- Sum
- Privacy
- Click on Save Changes button when you complete the settings.
Labels Settings
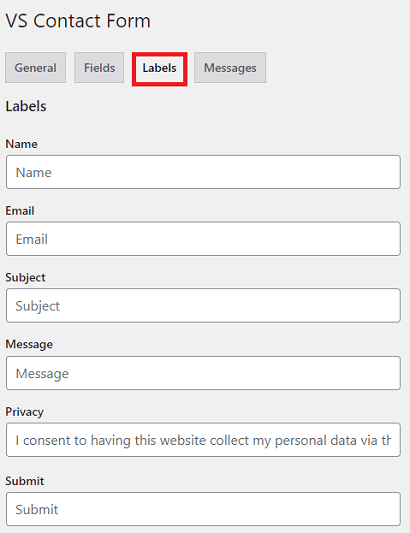
Step 5 ) Go to Settings -> VS Contact Form -> Labels tab to edit the following fields.
Labels Settings Part 1
- Name
- Subject
- Message
- Privacy
- Submit
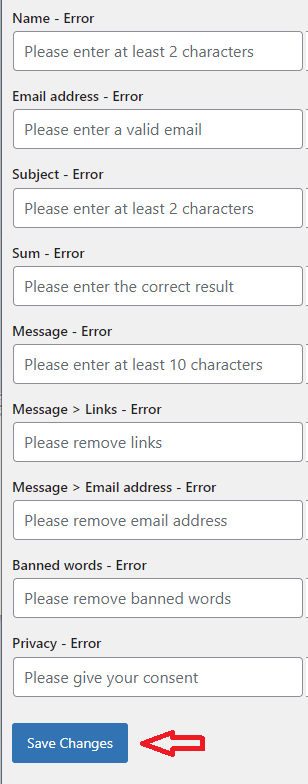
Step 5-a ) The following image allows you to edit the following fields.
Labels Settings Part 2
- Name – Error
- Email – Error
- Subject – Error
- Sum – Error
- Message – Error
- Message > Links – Error
- Message > Email address – Error
- Banned words – Error
- Privacy – Error
- Click on Save Changes button when you complete the settings.
Messages Settings
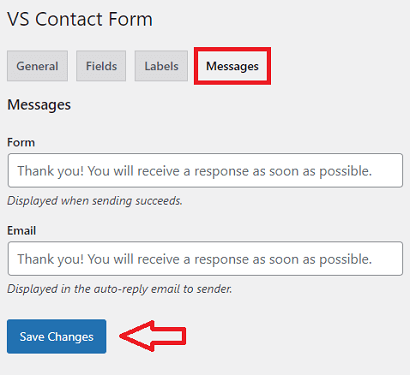
Step 6 ) Go to Settings -> VS Contact Form -> Messages tab to edit the following fields.
Messages Settings
- Form
- Click on Save Changes button when you complete the settings.
==============================
If you have any questions please let me know.
Enjoy.