The following Stripe Payments Plugin Advanced Settings tutorial shows you how to set up price display settings, custom field settings and more.
Last Updated: March 19, 2025
Latest News: Updated additional settings.
This tutorial shows you how to customize the following plugin settings.
- Price Display Settings
- Custom Field Settings
- Additional Settings
- Terms and Conditions
- Experimental Settings
There are a few settings to configure, but this area is slowly growing. Stripe Payments is becoming a very popular plugin and developers continue to add more features based on user request.
What You Need:
- Stripe Payments
- Addons available.
Stripe Payments Plugin Advanced Settings
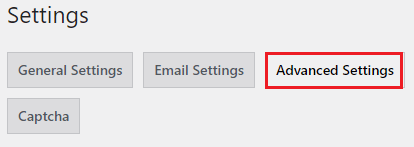
Step 1 ) Go to Stripe Payments -> Settings -> Advanced Settings as illustrated in the following image to start configuring the advanced settings.
Price Display Settings
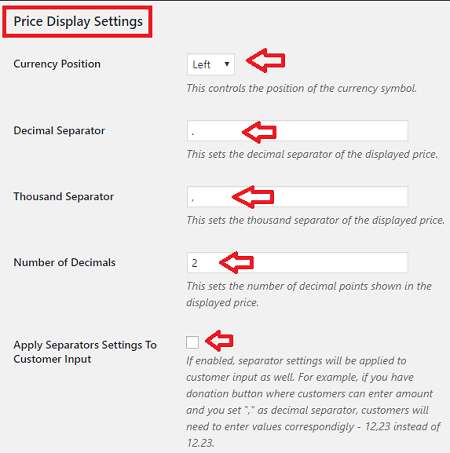
Step 2 ) The following image Price Display Settings allows you to set up the following options.
Price Display Settings
- Currency Position
- Left
- Right
- Left with space
- Right with space
- Decimal Separator
- Thousand Separator
- Number of Decimals = Note: This setting only supports price amount up to 2 decimal places (which is standard for a price value).
- Apply Separators Settings To Customer Input
Payment Popup Related
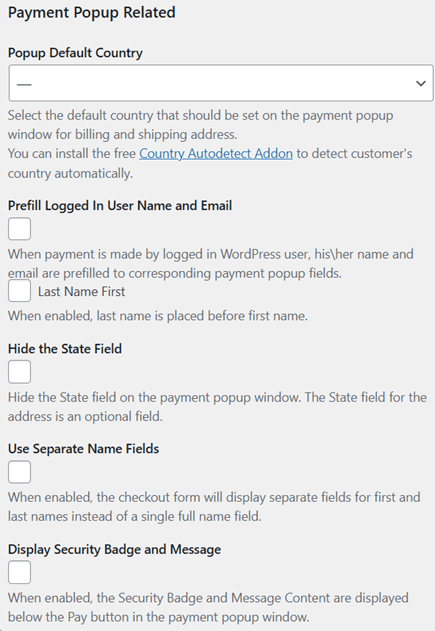
Step 3 ) The following image Payment Popup Related allows you to set up the following fields.
Payment Popup Related Part 1
- Popup Default Country
- Prefill Logged In User Name and Emai
- Hide the State Field
- Use Separate Name Fields
- Display Security Badge and Message
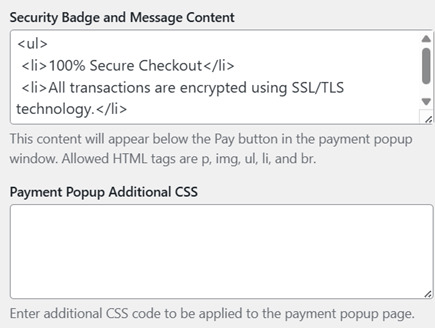
Step 3-a ) The following image allows you to set up the following fields.
Payment Popup Related Part 2
- Security Badge and Message Content
- Payment Popup Additional CSS
Custom Field Settings
Step 4 ) The following image Custom Field Settings allows you to set up the following fields.
Custom Field Settings Part 1
- Enable For All Buttons and Products
- Field Name
- Field Description
- Test Field Description Location
- Placeholder
- Below Input

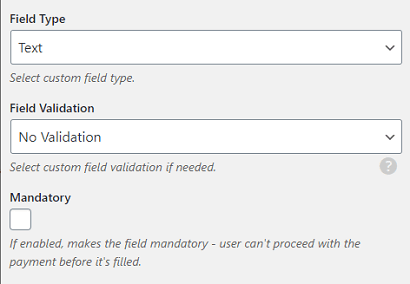
Step 4-a ) The following image allows you to set up the following fields.
Custom Field Settings Part 2
- Field Type
- Text
- Checkbox
- Field Validation
- No Validation
- Numbers Only
- Custom Validation
- Mandatory
Terms and Conditions
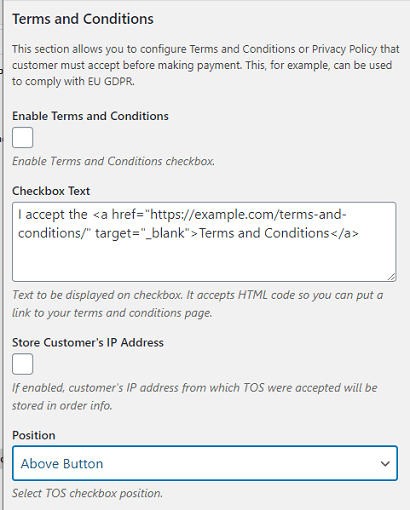
Step 5 ) The following image Terms and Conditions allows you to set up the following fields.
Terms and Conditions
- Enable Terms and Conditions
- Checkbox Text = You can see an example of the text you can add to your site including some HTML tags.
- Store Customer’s IP Address
- Position
- Above Button
- Below Button
Additional Settings
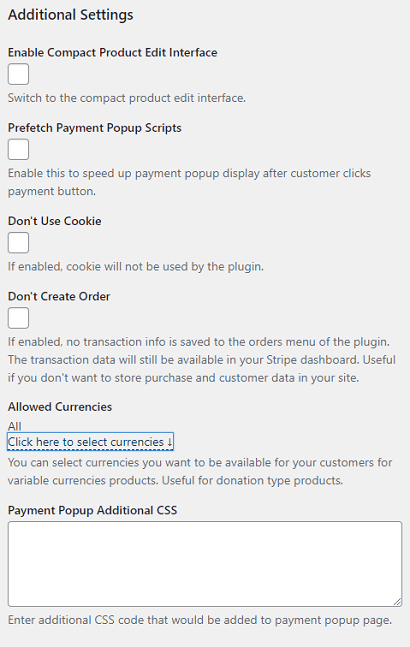
Step 6 ) The following is a list of Additional Settings you can activate in the plugin.
Additional Settings Options
- Enable Compact Product Edit Interface
- Prefetch Payment Popup Scripts = Note: This feature adds a cache key to every payment popup. The key is regenerated every time you make a change to your product or general plugin settings. The following forum post has more information.
- Don’t Use Cookie
- Don’t Create Order
- Allowed Currencies
- Payment Popup Additional CSS
Experimental Settings
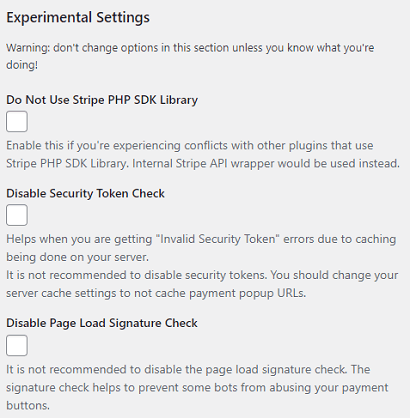
Step 7 ) The following image Experimental Settings allows you to set up the following fields.
Experimental Settings Part 1
- Do Not Use Stripe PHP SDK Library
- Disable Security Token Check
- Disable Page Load Signature Check
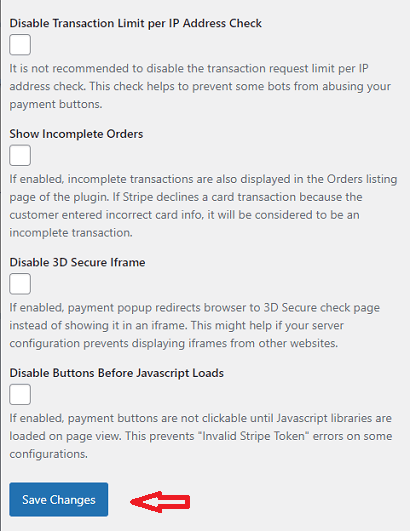
Step 7-a ) The following image allows you to set up the following fields.
Experimental Settings Part 2
- Disable Transaction Limit per IP Address Check = Note: The following support thread has more information about this security check by one of the developers.
- Show Incomplete Orders
- Disable 3D Secure Iframe
- Disable Buttons Before Javascript Loads
- Click on Save Changes button when you complete your settings.
Troubleshooting
Q1 I receive the following error message Error! Transaction Request limit reached for this IP Address Stripe. How do I fix this issue?
Answer: Disable the following feature Disable Transaction Limit per IP Address Check. (Note: This is not recommended.) The following support thread has more information about this security check by one of the developers.
==============================
That is all you need to do to set up the advanced settings in the plugin.
I will be updating this post from time to time. So keep coming back for more.
Enjoy.
Stripe Payments Plugin Tutorials: