The following Setup Donation Buttons Using Stripe Payments tutorial shows you how to setup different donations buttons in your site.
This tutorial shows you how to setup two types of donation buttons. A fix amount and a custom amount button. There are times that you might want to add a few buttons in your site with different donation amounts for different purposes. There are other times that you might allow your visitors to have a choice and enter how much they want to donate. Both options are great and server their purpose. It is up to you to choose what best suits your site.
Stripe Payments plugin allows you the flexibility to create these two different types of donation buttons by adjusting a couple of options in the settings.
What You Need:
- Stripe Payments
- Addons available.
Setup Donation Buttons Using Stripe Payments
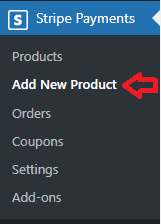
Step 1 ) Click on Stripe Payments -> Add New Product admin menu as illustrated in the image below.
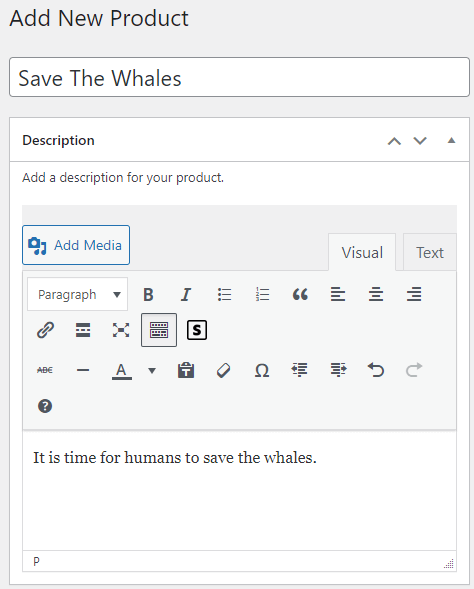
Step 2 ) Add a title and a description for your donation button as illustrated in the image below.
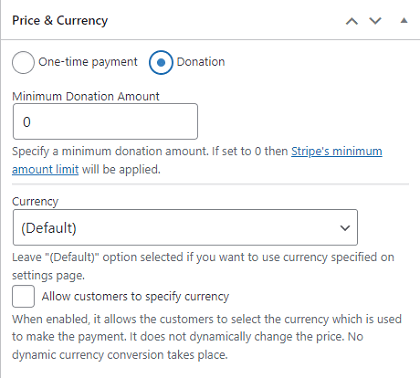
Price & Currency
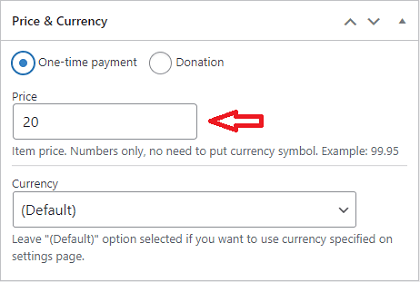
Step 3 ) For this donation button a fix price of 20 is entered in the Price field as illustrated in the following image. Remember to select One-time payment option. This step can be used to add as many fix amount donation buttons as you like to your site. For example: You might want 4 different donations buttons added to your site for various reasons. A 5$, 10$, 20$ or a 30$ donation button.
Note: For each fix price donation button you create a new shortcode will be created.
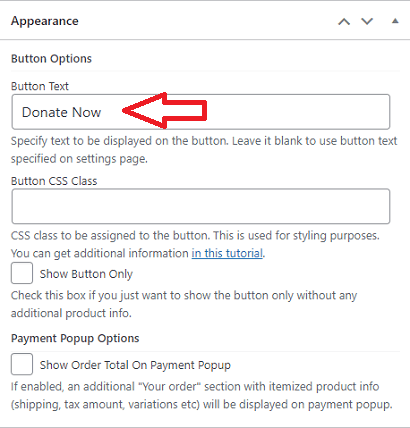
Step 4 ) Scroll further down the Add New Products settings page and type Donate Now in the Button Text field as illustrated in the image below (Of course you can enter the button text name of your choice). This is important because you are setting up a donation button and in the plugins admin panel settings you might have a different button text name entered.
Step 5 ) Once you have added your donation button shortcode to a WordPress page or post and you have published that page, you should see a “Donate Now” button for 20.00$ with a title and a small description on the front of your website as illustrated in the image below.
Note: The display of your donate now button, product title and description will appear differently in your site based on your settings and theme.

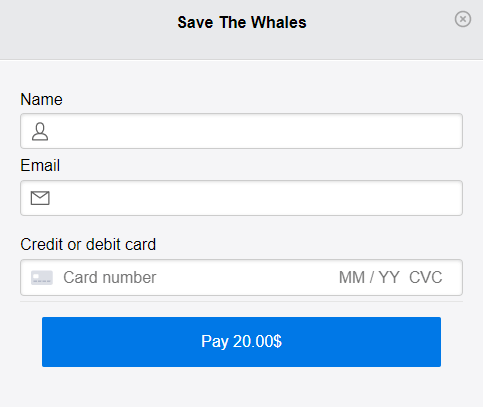
Step 6 ) When you click on the Donate Now button above, you should see a popup window displayed as illustrated in the image below. In this example the visitor will pay 20.00$ to a great cause “Save The Whales”.
Donate Popup Window Information
- Product Title
- Name
- Credit or debit card
- Pay 20.00$ button
Donation
Step 7 ) For this donation button the visitor can choose to enter a donation amount of their choice. This option is commonly found in donation sites. For this option select Donation and leave Minimum Donation Amount set to 0. Note: If set to 0 then Stripe’s minimum amount limit will be applied.
Step 8 ) For this step follow the same instructions as Step 4 ) above.
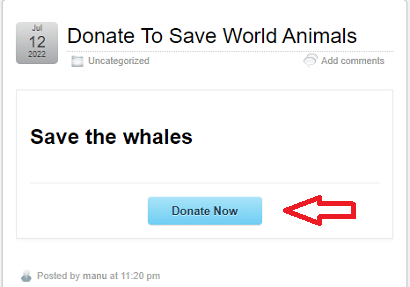
Step 9 ) Once you have added your donation button shortcode to a WordPress page or post and you have published that page, you should see a “Donate Now” button with a title and this time no description on the front of your website as illustrated in the image below. Also the button does not have an amount value displayed above the button like in Step 5 ) above.
Note: The display of your donate now button, product title will appear differently in your site based on your settings and theme.
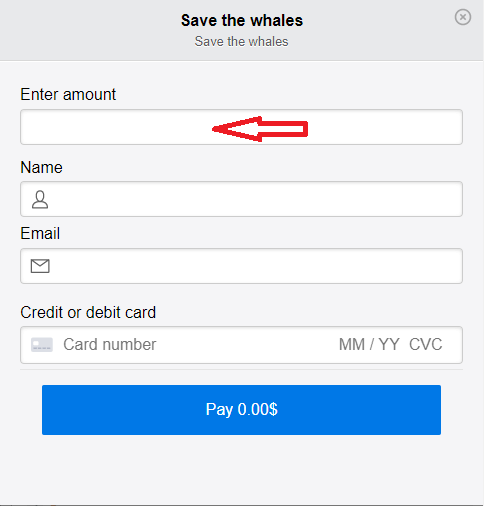
Step 10 ) When you click on the Donate Now button above, you should see a popup window displayed as illustrated in the image below. In this example the visitor can enter in the Enter amount field what ever amount they wish to donate to the great cause “Save the whales”.
Donate Popup Window Information
- Product Title
- Enter amount
- Name
- Credit or debit card
- Pay 0.00$ button
============================
That is all you need to do to set up different donation buttons in your site using Stripe Payments plugin.
I will be updating this post from time to time. So keep coming back for more.
Enjoy.
Stripe Payments Plugin Tutorials: