Create New MailPoet Newsletter shows you how to create a standard simple newsletter using templates and more.
Last Updated: August 4, 2022
Latest News: I have updated the documentation to reflect MailPoet version 3.
In this post you will learn how to create a new simple newsletter for your site using MailPoet plugin. The instructions are simple and easy to follow. There are a lot more options for you to use to customize your newsletter in comparison to the previous MailPoet version 2.
What you need:
- MailPoet plugin
- (Optional) This is an e-mail testing tool Mail Tester.
Create New MailPoet Newsletter
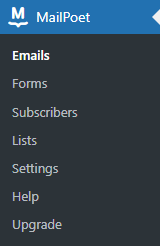
Step 1 ) Go to MailPoet -> Emails to start setting up your new newsletter as illustrated in the image below.
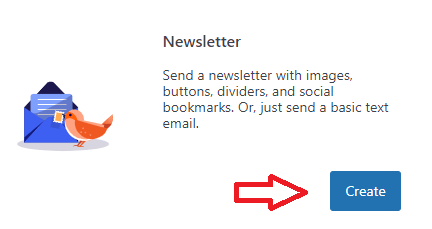
Step 2 ) Go to MailPoet -> Emails -> Newsletter and click on Create button as illustrated in the image below.
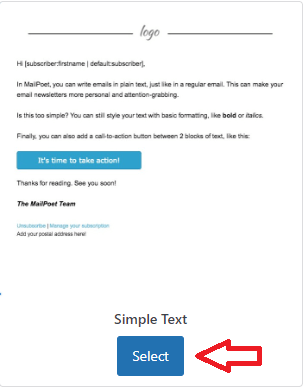
Step 3 ) The following image illustrated the template Simple Text used for this tutorial. Click on Select button to start configuring the template.
Step 4 ) The following image illustrates the template Simple Text ready to be edited. Sometimes this might not be the best option for you, however most of you will this template as a guile to customize your own newsletter template.

Customizing The Newsletter Template
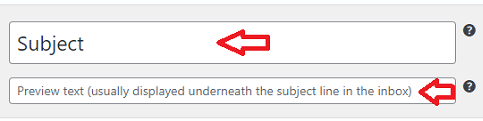
Step 5 ) The following image shows you the title and the preview text fields. This allows you to edit the title and add a small preview text.
Step 5-a ) The following image shows you the logo and the tools used to edit the logo and the image block.
Logo Block Options
- 1 allows you to update the image.
- 2 allows you to edit the column.
- 3 allows you to expand the logo image by dragging the image.
![]()
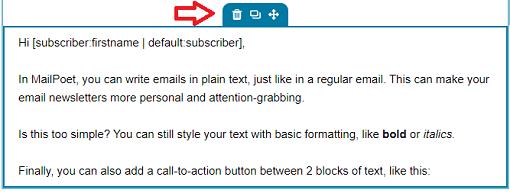
Step 5-b ) The following image allows you to edit the text block.
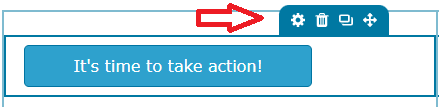
Step 5-c ) The following image allows you to edit the button block.
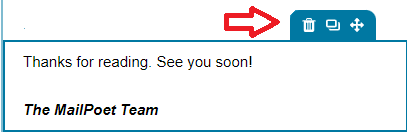
Step 5-d ) The following image allows you to edit the text block.
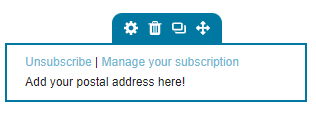
Step 5-e ) The following image allows you to edit the footer.
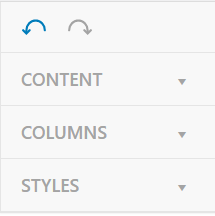
Step 6 ) The following image allows you to configure the following options.
- Content
- Columns
- Styles
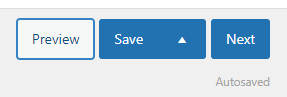
Step 7 ) The following image allows you to carry out the following options.
- Click on Preview button to view a preview of your customized template.
- Click on Save button to save the changes or click on the upper arrow to:
- Save as new template
- Export as template
- Click on Next to keep on going to the next step.
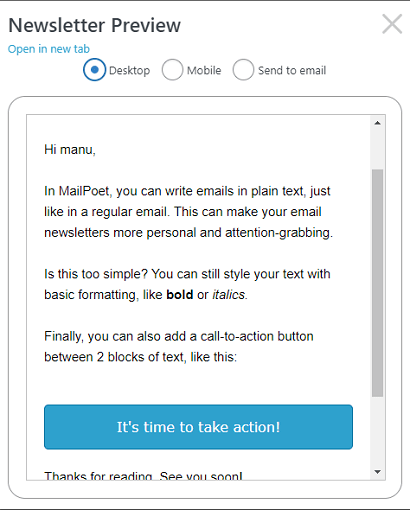
Step 8 ) The following image Newsletter Preview displays the customized newsletter template for you to test in Desktop and Mobile view. You can even send yourself an email to see how it looks.
Final Steps
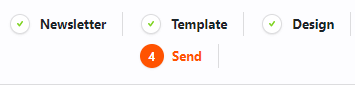
Step 9 ) The following image displays the 4th and final step ready to be carried out. You can see the previews 3 steps marked with a tick. This lets you know that you have completed the following steps.
Steps Completed:
- Newsletter
- Template
- Design
- Send = Currently configuring.
Step 9-a ) The following image displays the following information.
Final Step Information Part 1:
- The title
- The preview text
- Subscription lists
- Lists of subscription
- Schedule it

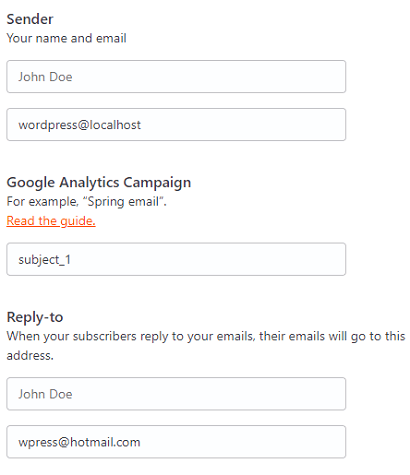
Step 9-b ) The following image displays the following information.
Final Step Information Part 2:
- Sender
- Google Analytics Campaign
- Reply-to
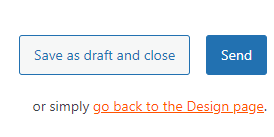
Step 9-c ) The following image displays the following options.
- Click on Save as draft and close button.
- Click on Send button.
- Click on go back to the design page link.
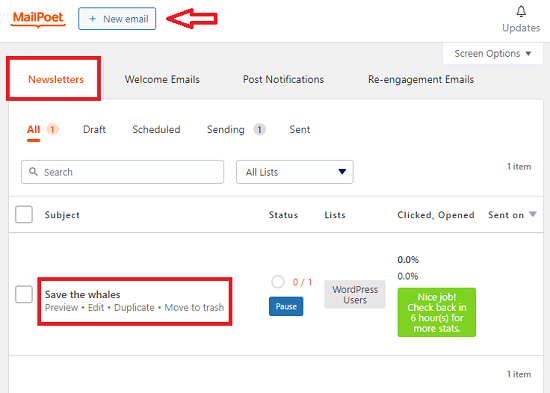
Step 10 ) The following image shows you the new added newsletter. This information will be displayed from now on when you go to MailPoet -> Emails.
============================
I will be updating this tutorial from time to time so keep coming back for the latest. If you have any questions please let me know.
Enjoy.
Go Back To MailPoet Tutorial List.