MailPoet Emails And Newsletters Design Settings shows you how to edit your newsletters using the tools provided with the plugin.
Last Updated: August 4, 2022
Latest News: I have updated the documentation to reflect MailPoet version 3.
When it comes to designing your newsletters you always want a design that matches your theme and or your services. This post will show you where you need to go to make these changes. The plugin also has many templates for you to choose from.
Most of the times the templates available will be enough for you to start your newsletters. However in some cases you might want to customize the templates and create your own design. All it takes is a bit of imagination and trial and error to configure your newsletters to design them with the tools available.
The following steps should help you get started.
What you need:
- MailPoet plugin
- (Optional) This is an e-mail testing tool Mail Tester.
MailPoet Emails And Newsletters Design Settings
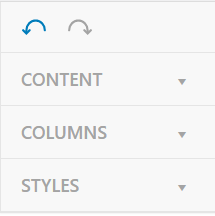
Step 1 ) Go to MailPoet -> Emails and select or create your newsletter. If you already have one created simply click on Edit or you can Duplicate it as well. Once your newsletters is displayed you will see the following tabs on the right side of the newsletter as illustrated in the image below.
Editing Tabs:
- Content
- Columns
- Styles
Content
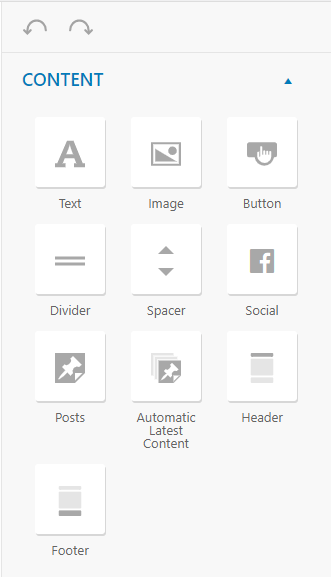
Step 2 ) The following Content tab in the tools controls what you want to display. Remember these are drag and drop blocks you can add to your newsletter. This function provides a lot of flexibility and customization when it comes to displaying the content in your newsletter. The content tab has the following widgets as illustrated in the image below ready to be added to your newsletter content.
Content Block List:
- Text
- Image
- Button
- Divider
- Spacer
- Social
- Posts
- Automatic Latest Content
- Header
- Footer
Columns
Step 3 ) The following Columns tab in the tools controls the number of columns you can add to your newsletter. The following is a lists of all the different columns allowed as illustrated in the image below.
Number of Columns:
- 1 column
- 2 columns
- 3 columns
- 1:2 columns
- 2:1 columns

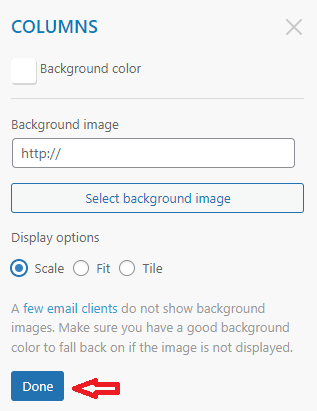
Step 3-a ) The following image allows you to design and adjust the columns settings options. You can carry out the following options as illustrated in the image below.
Columns Design Options:
- Background color
- Background image
- Display options
- Scale
- Fit
- Tile
- Click on Done button when you complete these options.
Image
Step 4 ) The following image Image allows you to configure some image settings. You can setup and adjust the following options as illustrated in the image below.
Image Configuration Options:
- Link (Optional)
- Image address
- Alternative text
- Width
- No padding
- Alignment
- Left
- Center
- Right
- Click on Done button when you complete these options.

Styles
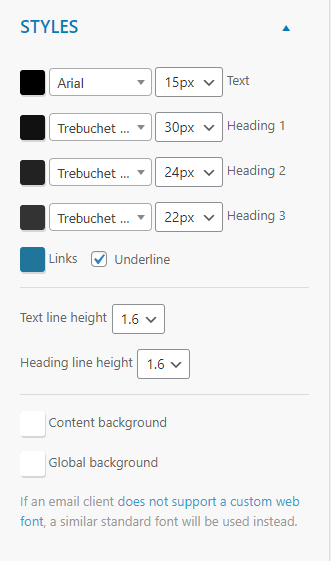
Step 5 ) The following Styles tab allows you to add some color and also choose different fonts and sizes for your newsletter heading, background color and more. The following is a list of styles you can configure in your newsletter as illustrated in the image below.
Styles Configuration Options:
- Text
- Heading 1
- Heading 2
- Heading 3
- Links
- underline
- Text line height
- Heading line height
- Content background
- Global background
Button
Step 6 ) The Button settings allows you to customize different features of the button as illustrated in the image below. The following is a list of the settings you can adjust for the button.
Button Configuration Options:
- Label
- Link
- Alignment
- Left
- Center
- Right
- Text
- Bold
- Background
- Border
- Rounded corners
- Width
- Height
- Click on Apply style to all buttons button, if you wish to apply the same style to all your buttons.
- Click on Done button when you complete these options.

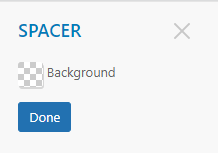
Spacer
Step 7 ) The Spacer block allows you to add a space or spaces in your newsletter as illustrated in the image below. This can be very handy.
Spacer Configuration Options:
- Background
- Click on Done button when you complete these options.
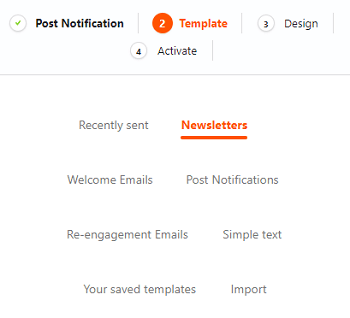
Template
Step 8 ) The Template tab allows you to select from a list of templates available as per the list below.
Template List:
- Recently sent
- Newsletters
- Welcome Emails
- Post Notifications
- Re-engagement Emails
- Simple text
- Your saved templates
- Import
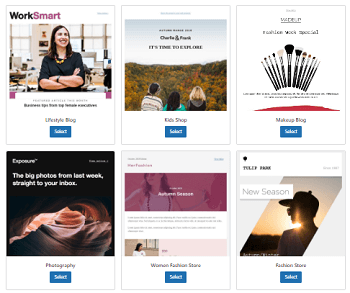
Step 8-a ) The following image illustrates a sample of some of the templates available for you to choose from. The list is huge, I am sure you will find a template to suite your needs.
======================
You can see how much work has gone into the templates added in MailPoet plugin.
I will be updating this tutorial from time to time so keep coming back for the latest. If you have any questions please let me know.
Enjoy.
Go Back To MailPoet Tutorial List.