MailPoet Emails and Newsletters Basics Settings shows you how to set up the basic settings like reply to, from, manage subscription and much more.
Last Updated: August 4, 2022
Latest News: I have updated the documentation to reflect MailPoet version 3.
In this tutorial you will learn how to configure the basic settings for emails and newsletters in the admin panel. These are very straight forward instructions to follow. It is important to configure these settings correctly from the beginning to avoid issues later on.
What you need:
- MailPoet plugin
- (Optional) This is an e-mail testing tool Mail Tester.
MailPoet Emails and Newsletters Basics Settings
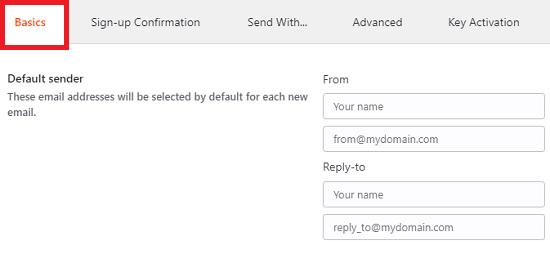
Step 1 ) Go to MailPoet -> Settings -> Basics tab to set up the following options as illustrated in the image below.
Basics Settings
- Default sender
- From
- Reply-to
- Your company’s address
- Email notifications
- Sender of notifications
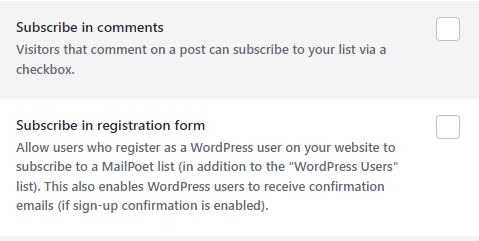
Step 2 ) The following image allows you to set up the following options as illustrated in the image below.
Basics Settings Part 2
- Subscribe in comments
- Subscribe in registration form
Manage Subscription page
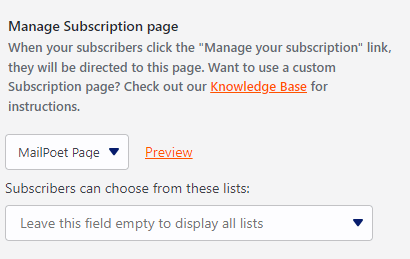
Step 3 ) The following image Manage Subscription page allows you to set up the following options as illustrated in the image below.
Basics Settings Part 3
- Manage Subscription page
- Subscribers can choose from these lists:
Unsubscribe page
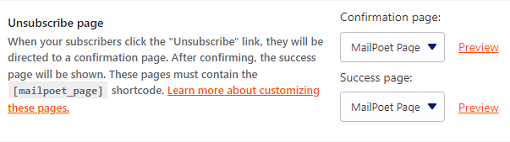
Step 4 ) The following image Unsubscribe page allows you to set up the following options as illustrated in the image below.
Basics Settings Part 4
- Unsubscribe page
- Confirmation page:
- Success page:
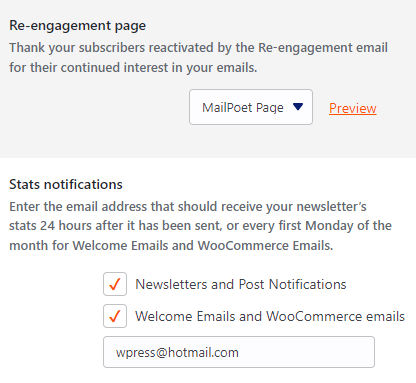
Step 5 ) The following image allows you to set up the following options as illustrated in the image below.
Basics Settings Part 5
- Re-engagement page
- Stats notifications
- Newsletters and Post Notifications
- Welcome Emails and WooCommerce emails
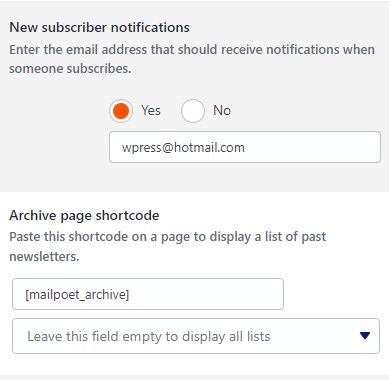
Step 6 ) The following image allows you to set up the following options as illustrated in the image below.
Basics Settings Part 6
- New subscriber notifications
- Yes
- No
- Archive page shortcode
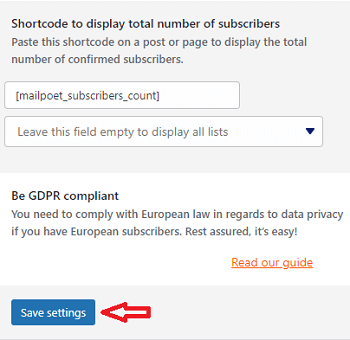
Step 7 ) The following image allows you to set up the following options as illustrated in the image below.
Basics Settings Part 7
- Shortcode to display total number of subscribers
- Be GDPR compliant
- Click on Save Settings button once you have completed your settings.
=========================
I will be updating this tutorial from time to time so keep coming back for the latest. If you have any questions please let me know.
Enjoy.
Go Back To MailPoet Tutorial List.