How To Make A WordPress Blog Private shows you a very simple trick to make your blog privately with one or two plugins and more.
Last Updated: January 5, 2020
Latest News: Updated the documentation.
There are times when you want to make your blog private. This can be because you want to create a family blog, a blog for friends, a blog for colleagues and or a private membership website. The method described in this post is very simple and it works for me. However you might have a better method than mine.
What’s good about this method is the fact that you are installing a security plugin. There is also an optional plugin you might want to install. But that is entirely up to you.
What you need:
How To Make A WordPress Blog Private
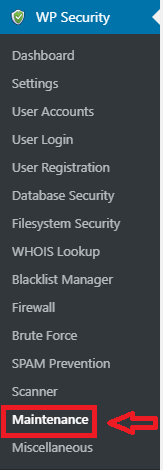
Step 1 ) Install and activate All In one WP Security and Firewall plugin and go to WP Security -> Maintenance as illustrated in the image below.
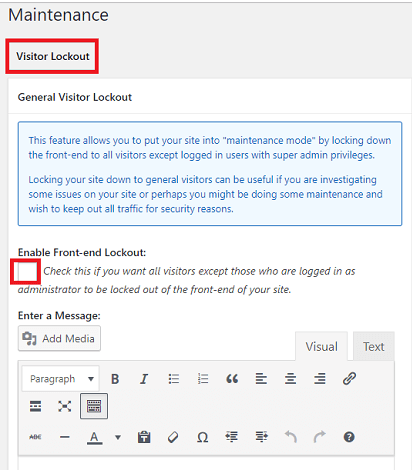
Step 2 ) Check the following feature Enable Front-end Lockout as illustrated in the image below. Type your custom message and include a link to the login page if you want or you might want to add a link to the contact form. This allows them to contact you to ask to become a member of your private site. Make sure you click on Save Site Lockout Settings button when you complete the settings.
Note: You can enter a custom message and even add HTML code to it.
Admin Member Settings
Step 3 ) Go to Settings -> General as illustrated in the image below and make sure you don’t enable the following feature Anyone can register.

Step 4 ) Go to Settings -> Reading as illustrated in the image below and make sure you enable Discourage search engines from indexing this site. Make sure you click on Save Changes button when you finish with your settings. You don’t want your site to be indexed in the search databases of search engines like Google, Bing etc.

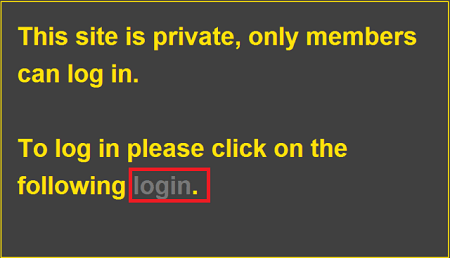
Step 5 ) The final result might look something similar to the following image. I have added a login link for the members to log into my private blog. This is part of the default information displayed by AIOWPS plugin. As mentioned in the previous step, you can edit and add any message you want, you can even add a logo and or other images. It is up to you.
Custom message added:
This site is private, only members can log in.
Click on the following <a href=”http://localhost/tipstricks/wp-login.php”>link</a> to log in.
The developers added the following filters to help you customize the message using CSS and HTML.
Maintenance Filters
- aiowps-site-lockout-msg
- aiowps-site-lockout-body
- aiowps-site-lockout-box
- aiowps-site-lockout-body-content
Peter’s Login Redirect Plugin (Optional)
The following steps are optional and it suits your site if you want to display or give different access to your site depending on the members profile level.
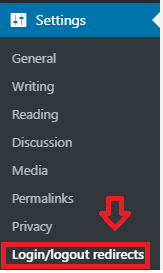
Step 6 ) Install and activate Peter’s login redirect plugin as illustrated in the image below and go to Settings -> Login/logout redirects. (Remember this step is optional)
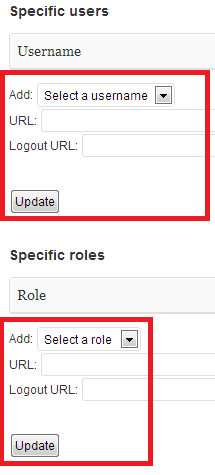
Step 6-a ) You can select Specific users and or Specific roles. Make sure you click on Update button to save your changes. There are other options in the plugin you can play around with if you want. (Remember this step is optional)
Step 7 ) The final result will give you a private blog no one has access except those you sign up yourself.
That is all you need to do to make your blog private. I have only used two plugins and one of them is optional.
If you have any questions please let me know. I keep updating this post from time to time so keep coming back.
Enjoy.