Create Facebook Album tutorial shows you how simple it is to create an album and add some photos.
Last Updated: October 30, 2016
Latest News: I have removed the menu structure.
What You Need:
Create Facebook Album Steps
Step 1 ) Log into your Facebook account. Locate on the left hand side the following menu and click on Photos. See images below.
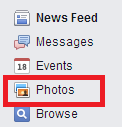
On the right hand side of Photos click on Create Album.

Step 2 ) Locate on your computer or laptop the photos you want to upload to your new album. The image below shows you 3 images selected. Once you are happy with your selection click on Open. See images below.
Hint: You can select more than one at the same time to upload to your Facebook album.
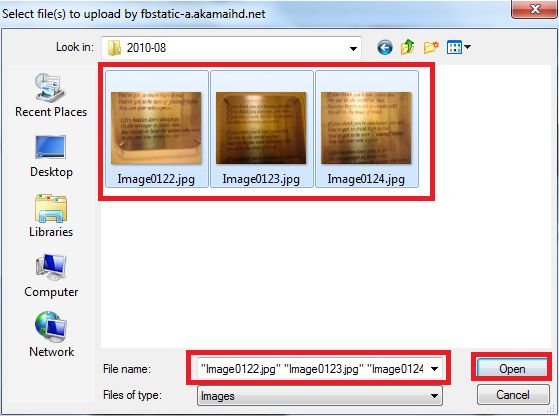
The image below shows you the 3 images selected above being uploaded to your album.

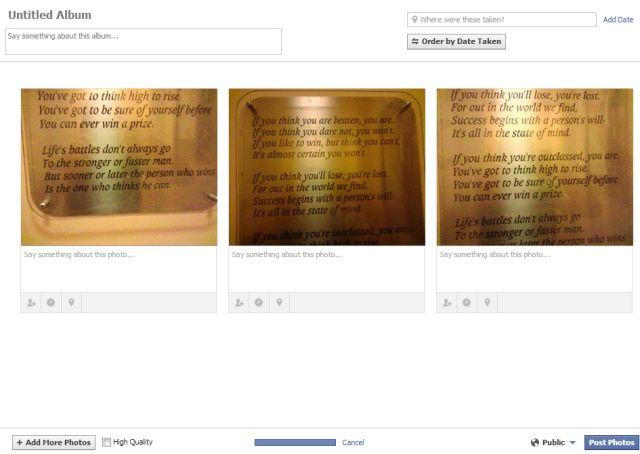
Once your images have been uploaded you will see a screen similar to the following image. This is were you will start to organize your new album.
Album Name And Description
Step 3 ) The first part to organize is the Album Name add some description and change the Order By Date Taken. You can even add Where were the images taken and Add a Date. See images below.

At the bottom of your album you have the option to Add More Photos, select if they are High Quality. You can even Cancel your album if you change your mind and wish to start all over again.

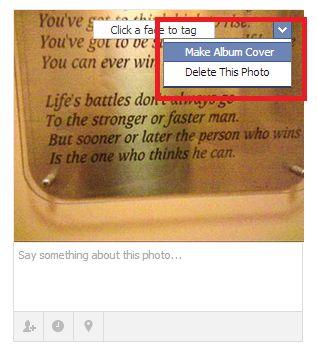
If you select a photo it allows to set up some options. On the following image if it had people you could Click a face to tag.
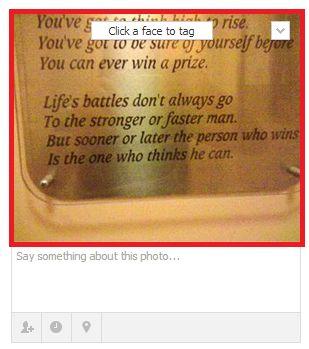
You can also click on the down arrow and select the following, Make Album Cover and or Delete This Photo.
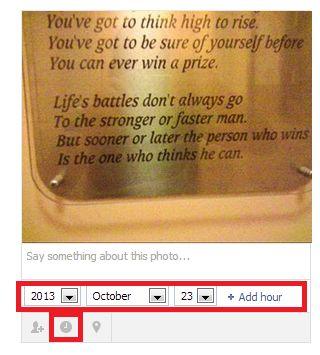
Add a date and time by selecting the clock icon
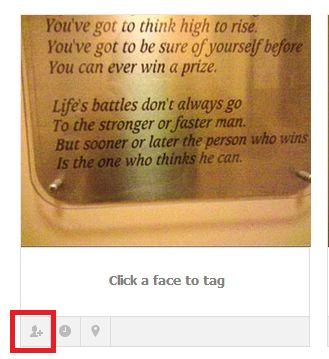
You also have another option to tag a face by clicking on the tag icon.
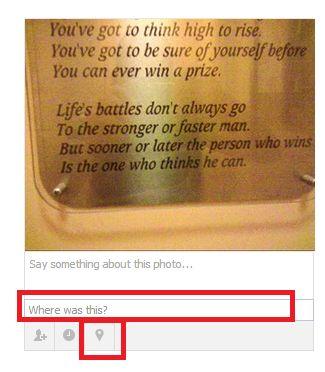
You have another option here to add where this photo was taken. This is slightly different to the option above for the album. Here you can be more specific about where each photo was taken.
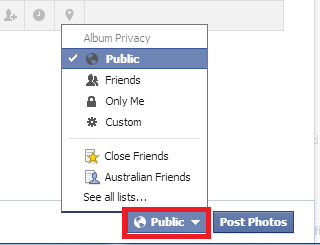
Step 4 ) Finally you can select how you want your new album to be displayed from the menu found on the bottom right hand corner.
That is how simple it is to create an album and add some photos.
Click on the following URL How To Untag Old Facebook Photos to learn more.
I hope you enjoyed this little tutorial. I will be updating this tutorial from time to time. So keep coming back for the latest. If you have a questions please let me know.
Enjoy
More Facebook Tutorials:
You say, “On the top right hand side click on Create Album,” but “Create Album” is not visible on the top right hand side.
Hi Tekla Lewin, thank you for your question. I checked again just to make sure that it is correct and if you click on Photos you will see Create Album. Do you feel that I should worded differently?
Kind regards