The following tutorial Set PHP Version Per Domain VPS Server, shows you how to set up the php version to each domain added in your vps server.
Last Updated: January 3, 2022
Latest News: Updated the documentation.
The following instructions shows you how simple it is to assign a php version to each domain added to your vps server. This is much easier now in EasyApache 4. You don’t have to restart the server or use command line in the backend anymore to change the php version.
VPS Server PHP Tutorials
- Update PHP Version
- Set PHP Version
- MultiPHP Ini Editor
Note: Make sure you notify your clients about any downtime that may occur if you are hosting other accounts in your VPS or Dedicated server.
Set PHP Version Per Domain VPS Server
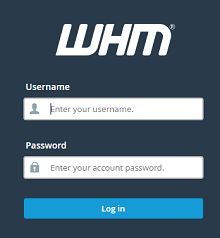
Step 1 ) Log into WHM (Web Host Manager) as illustrated in the image below. Make sure you log in using https. This is a more secure way of logging in.

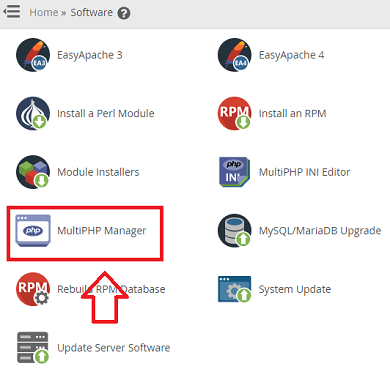
Step 2 ) Click on MultiPHP Manager as illustrated in the image below.

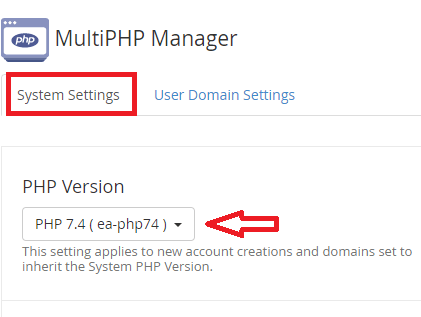
Step 3 ) Click on System Settings tab as illustrated in the image below. The following image allows you to edit the default PHP version you want to assign by default when adding a new domain. In this example ea-php74 is set as default.

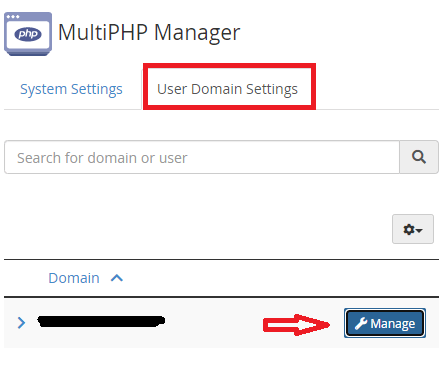
Step 4 ) The following image User Domain Settings, allows you to select and edit one or more domains from the list and set the php version per domain. This is a great opportunity to carry out some test. It is always a good idea to have a site for testing a new php version just in case something goes wrong.

===================================
That is all it takes to set up a php version per domain in your server.
If you have any questions please let me know. I will be updating this tutorial from time to time. Come back to read the latest updates.
Enjoy.