The following tutorial How To Update PHP Version in a VPS Server, shows you how to update the PHP Version in EasyApache 4 and more.
Last Updated: October 7, 2020
Latest News: Moved the post from mbrsolutionhost to mbrsolution.
The following instructions refer to Justhost VPS or Dedicated servers. Changing the PHP versions, loading custom Apache mods, and other Apache/PHP customization are all performed in the Web Host Manager (WHM). Nowadays updating the PHP version in EasyApache 4 has become very easy. During the process your server might be down for a period of time.
VPS Server PHP Tutorials
- Update PHP Version
- Set PHP Version
- MultiPHP Ini Editor
Note: You should make sure you have a backup just in case something goes wrong. Make sure you notify your clients of the downtime if you are hosing other accounts in your VPS or Dedicated server.
How To Update PHP Version in a VPN Server
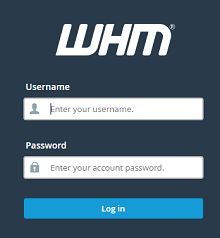
Step 1 ) Log into WHM (Web Host Manager) as illustrated in the image below. Make sure you log in using https. This is a more secure way of logging in.
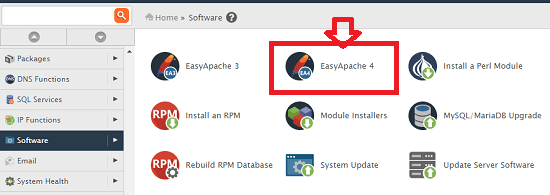
Step 2 ) Go to the search field, in the upper left hand corner, search for EasyApache. Or you can scroll down until you see Software. Select EasyApache 4 as illustrated in the following image.
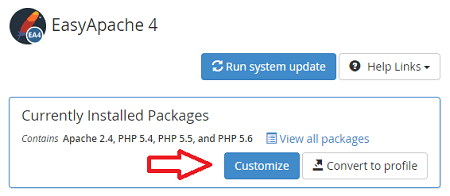
Step 3 ) Click on Customize button as illustrated in the following image. This allows you to begin customizing EasyApache 4 in your server.
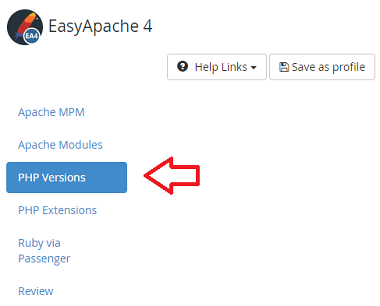
Step 4 ) The following image shows you a list of the steps needed to build the profile. Click on PHP Versions as illustrated in the image below. This allows you to select all the different PHP versions you might decide to include in the profile.
Profile Build Steps
- Apache MPM
- Apache Modules
- PHP Versions
- PHP Extensions
- Ruby Via Passenger
- Review
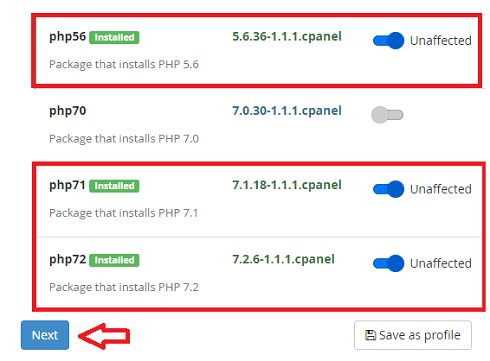
Step 4-a ) The following image shows you the PHP versions selected to be added to the profile.
PHP Versions Selected
- php56 = Currently the php version is updated to version 5.6.36
- php71 = Currently the php version is updated to version 7.1.18
- php72 = Currently the php version is updated to version 7.2.6
- Click on Next button to continue with the profile update.
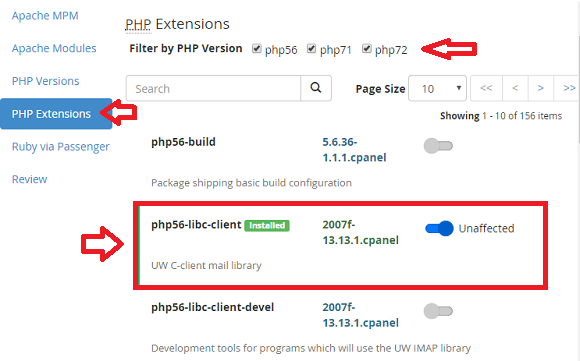
Step 4-b ) Once you have completed selecting the different PHP versions to the profile, click on PHP Extensions as illustrated in the following image. Start to add the extensions you want per PHP version selected previously.
Note: If you are running WordPress as it is in this case, make sure you select the minimum required extensions to run WordPress for all PHP versions. Or else you will run into all sorts of issues. Another option is to install the same extensions you have running in the current PHP version installed.
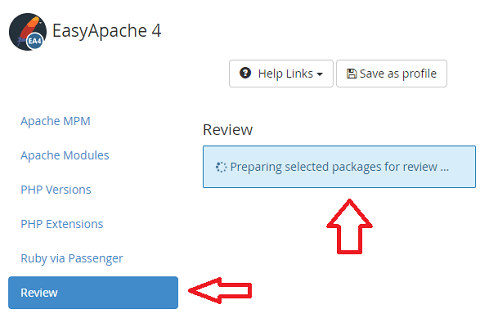
Step 4-c ) The following image Review, shows you the server preparing to review the selected packages.
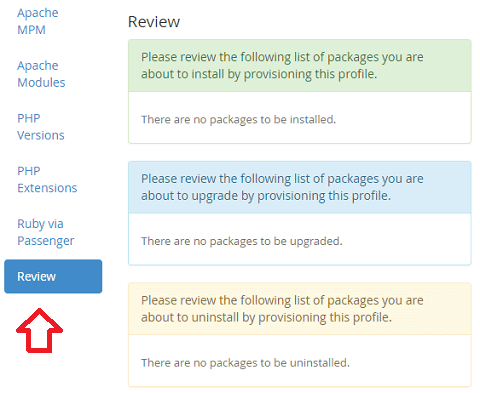
Step 5 ) The following image shows you the review process completed. If everything goes well you will not have to carry out any more actions. As you can see below, there is nothing to do for this profile build.
PHP Packages Reviewed
- Please review the following list of packages you are about to install by provisioning this profile. There are no packages to be installed.
- Please review the following list of packages you are about to upgrade by provisioning this profile. There are no packages to be upgraded.
- Please review the following list of packages you are about to uninstall by provisioning this profile. There are no packages to be uninstalled.
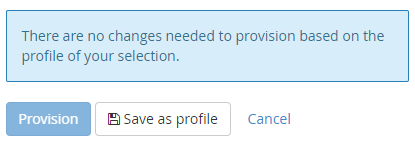
Step 5-a ) Once you are happy with your selection, click on Provision button as illustrated in the image below. You can also click on Save as profile button, if you wish to save the profile for future usage. Alternative you can also click on Cancel button to cancel the profile build. If you update or add new extensions, you will the option to download a log file to your computer.
That is all it takes to build or rebuild an Apache profile through WHM. The next step is to associate the profile built to the sites running in your server. This will be included in another tutorial.
If you have any questions please let me know. I will be updating this tutorial from time to time. Come back to read the latest updates.
Enjoy.