WP Simple Shopping Cart General Settings shows you how to setup the general settings in the cart and much more.
Last Updated: November 8, 2024
Latest News: Updated the documentation.
This simple shopping cart plugin allows you to sell products and even digital media. This is not a full e-commerce shopping plugin. This plugin is kept simple and easy to mange. The developers have started to develop addons at the request of users and to give it more power and flexibility.
It is simple to setup, not too many options to enable but at the same time powerful enough to sell online.
What you need:
Premium addons:
(Note: The 3 links below are affiliated link. I get a small commission if you purchase this product.)
Note: For premium addons support, please click on the following link contact.
WP Simple Shopping Cart General Settings
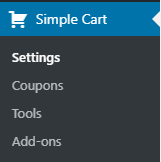
Step 1 ) Go to Simple Cart to start setting up the shopping cart plugin. The following image shows you the cart admin menu. This allows you to set up and configure the following options.
Simple Cart
- Settings
- Coupons
- Tools
- Add-ons
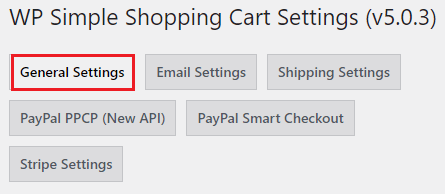
Step 2 ) Go to Simple Cart -> Settings -> General Settings tab as illustrated in the following image to start reading the guide and start setting up the following options.
General Settings
- Quick Usage Guide
- PayPal Standard Settings
- Shopping Cart Settings
- Terms and Conditions Settings
- Testing and Debugging Settings
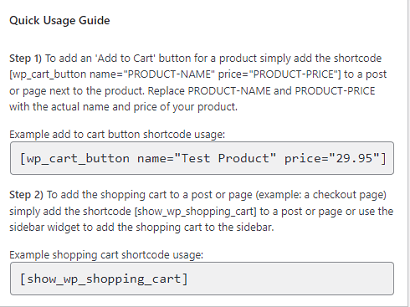
Quick Usage Guide
Step 3 ) The image below illustrates the basic shortcodes you need to use to display your shopping cart and start selling.
Basic Shortcodes
[wp_cart_button name="Test Product" price="29.95"][show_wp_shopping_cart]= This shortcode will only show the cart if there are any items in the cart. The 2nd one will always show the cart (even if the cart is empty).[always_show_wp_shopping_cart]= This shortcode will always show the cart (even if the cart is empty).
Information: The following shortcode [wp_cart_display_product] allows you to display a product box on the fly. Click on the following URL how-to-show-a-product-display-box. to learn more.
Example shortcode:
[ wp_cart_display_product name=”Add the name of the product here” price=”add a value here” thumbnail=”Full product URL here” description=”Add a product description here” ]
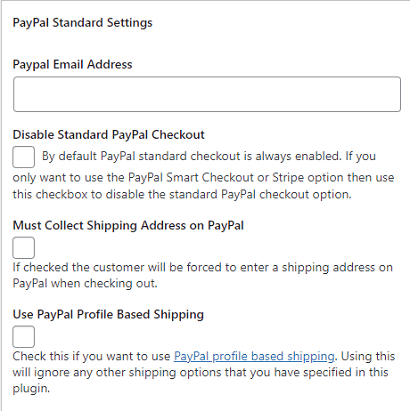
PayPal Standard Settings
Step 4 ) The following image allows you to set up the following options.
PayPal Standard Settings Part 1
- PayPal Email Address = If you don’t add your PayPal e-mail address your shopping cart will not function.
- Disable Standard PayPal Checkout
- Must Collect Shipping Address on PayPal
- Use PayPal Profile Based Shipping
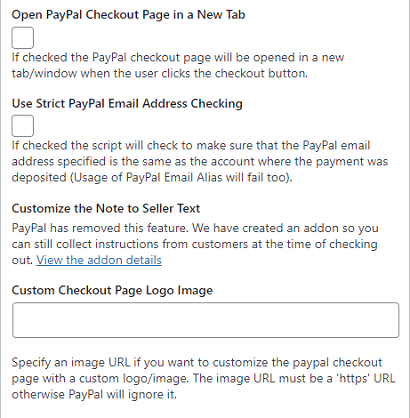
Step 5 ) The following image allows you to set up the following options.
PayPal Standard Settings Part 2
- Open PayPal Checkout Page in a New Tab
- Use Strict PayPal Email Address Checking
- Customize the Note to Seller Text = Note: PayPal has removed this feature. An addon has been created so you can still collect instructions from customers at the time of checking out. View the addon details
- Custom Checkout Page Logo Image = Note: Specify an image URL if you want to customize the paypal checkout page with a custom logo/image. The image URL must be a ‘https’ URL otherwise PayPal will ignore it.
Shopping Cart Settings
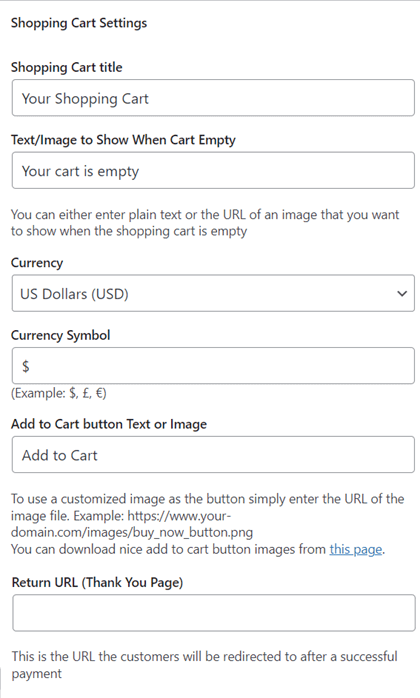
Step 6 ) The following list allows you to set up the following options.
Shopping Cart Settings Part 1
- Shopping Cart title
- Text/Image to Show When Cart Empty = You can use the following parameter (button_text) for the add to cart button shortcode. Check the following documentation for instructions. Note: You can’t use markup language in this field.
- Currency = The currency option below now has a drop down menu with all available currencies.
- Currency Symbol
- Add to Cart button text or Image = Note: You can download nice add to cart button images from this page.
- Return URL (Thank You Page) = Note: Check the following documentation for instructions.
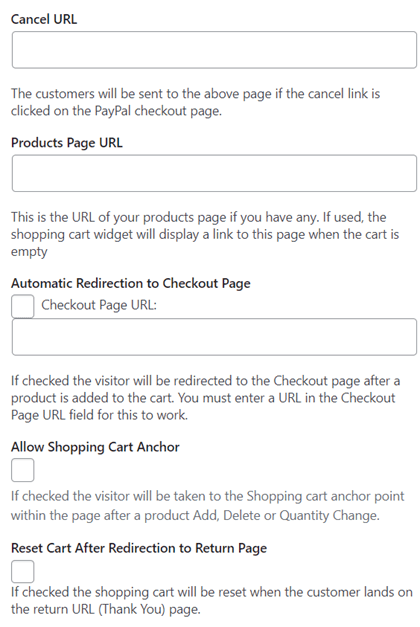
Step 7 ) The following image allows you to set up the following options.
Shopping Cart Settings Part 2
- Cancel URL
- Products Page URL
- Checkout Page URL = Enter a URL for the page if selected.
- Allow Shopping Cart Anchor
- Reset Cart After Redirection to Return page
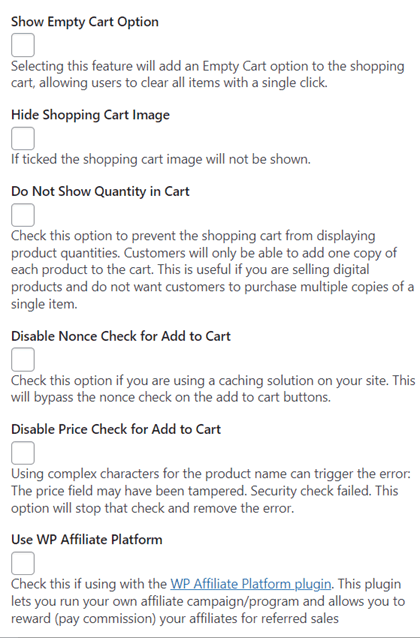
Step 8 ) The following image allows you to set up the following options.
Shopping Cart Settings Part 3
- Show Empty Cart Option
- Hide Shopping Cart Image
- Do Not Show Quantity in Cart
- Disable Nonce Check for Add to Cart
- Disable Price Check for Add to Cart = Note: Check the following forum post to learn more about when to enable this feature.
- Use WP Affiliate Platform = Note: Click on the following link WP Affiliated Platform to learn more.
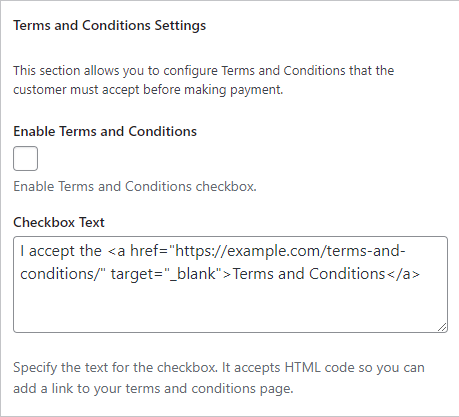
Terms and Conditions Settings
Step 9 ) The following image Terms and Conditions Settings allows you to set up the following options.
Terms and Conditions Settings options
- Enable Terms and Conditions
- Checkbox Text
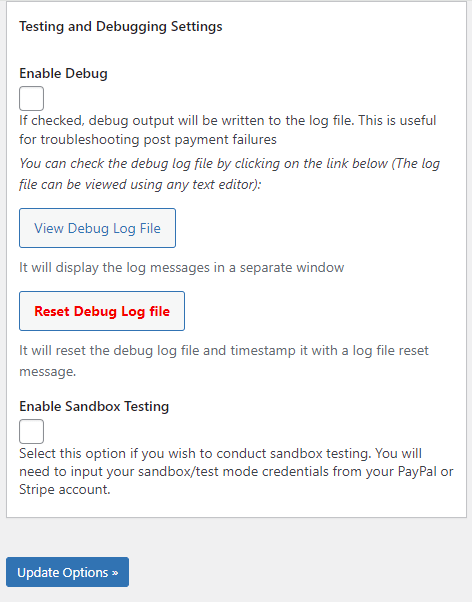
Testing and Debugging Settings
Step 10 ) The following image Testing and Debugging Settings allows you to set up the following options.
- Enable Debug
- Click on ipn handle debug.txt link to view the log entries.
- Click on Reset Debug Log file button to reset the log file.
- Enable Sandbox Testing
- Click on Update Options button when you finish setting up the general settings.
========================================
That is all you need to do to set up the general settings in the plugin.
I will be updating this post from time to time. So keep coming back for more.
Enjoy.
WordPress Simple Shopping Cart List