Managing WordPress Core Files Updates shows you how to control your WordPress core files updates, control administrators rights and more.
Last Updated: February 12, 2025
Latest News: Updated the documentation.

Many know how important updates are in WordPress. But at the same time you know how challenging it is to make sure that all other update like plugins and themes are compatible with the latest version of WordPress.
To make things more easy WordPress introduced Automatic background updates in WordPress 3.7. This was done in order to help those that don’t have the time to manage all their websites WordPress core updates. At the same time it also promotes better security. Security is extremely important nowadays with so many websites been hacked everywhere in the world.
In this post you will learn how to control which updates you want to allow and or maybe not allow any updates. This decision would be made because you are not yet ready to update all of your plugins or theme. Other reasons might be the developers are not ready with the patching, need more time testing or other reasons. The bottom line is you want to control what is happening on the back-end.
You can manually change the code in wp-config.php file. You can read more about it in the following URL Configuring_Automatic_Background_Updates. Or you can use the following plugin BusinessPress.
Information: This tutorials is based on version 0.9.12
Business Press changelog 1.1
- Tested up to: 6.7
- Require Email Address for Login: Do not show email address requirement on wp-login.php
- WAF – More .git/ folder rules
- Bugfix – Front-end Login Check: Improve browser back button detection
- Bugfix – Require Email Address for Login: Fix for Easy Digital Downloads
- Bugfix – Enhance wp-admin Dropdowns: Avoid max-width for select boxes
Note: Maintaining your website and keeping it up to date is one of the most important part of securing your WordPress website.
Managing WordPress Core Files Updates
What You Need:
- BusinessPress plugin for this tutorial.
- FTP access to your site if you choose to manually edit the wp-config.php file. (Optional)
Step 1 ) Install BusinessPress plugin and go to Settings -> BusinessPress -> Updates to enable and start configuring the plugin.
Note: Check the following URL how-to-install-wordpress-plugins if you need to learn how to install a plugin or addon.
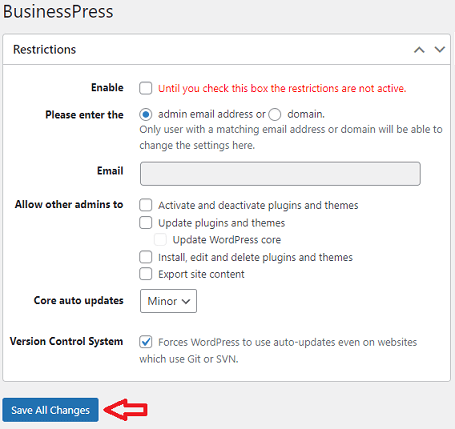
Step 2 ) The following image Restrictions allows you to enable the following options.
Restrictions Options
- Enable = You need to enable the plugin before the options selected take over.
- Please enter the
- admin email address
- domain.
- Allow other admins to
- Activate and deactivate plugins and themes
- Update plugins and themes
- Update WordPress core
- Install, edit and delete plugins and themes
- Export site content
- Core auto updates
- None
- Minor
- Major
- Version Control System
- Forces WordPress to use auto-updates even on websites which use Git or SVN.
- Click on Save All Changes button when you finish with your settings.
Note: Remember to enable the plugin so the new settings start working.
Preferences
Step 3 ) Go to Settings -> BusinessPress -> Preferences to start managing the plugin preferences.
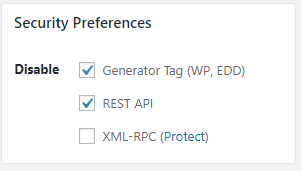
Step 4 ) The following image Security Preferences allows you to enable the following options.
Disable Security Preferences
- Generator Tag (WP, EDD)
- REST API
- XML-RPC (Protect)
Performance Preferences
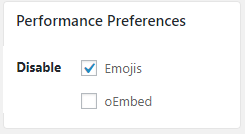
Step 5 ) The following image Performance Preferences allows you to enable the following options.
Disable Performance Preferences
- Emojis
- oEmbed
Email Preferences
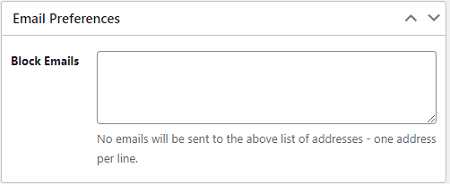
Step 6 ) The following image Email Preferences allows you to manage email sent option.
Email Preferences
- Block Emails
Tweaks
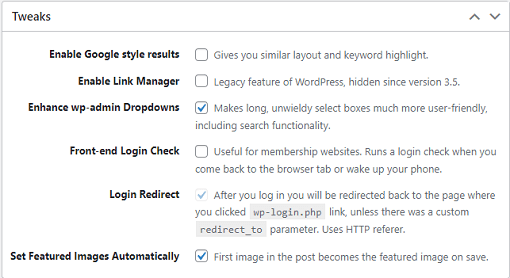
Step 7 ) The following image Tweaks allows you to enable the following options.
Tweaks
- Enable Google style results
- Enable Link Manager
- Enhance wp-admin Dropdowns
- Front-end Login Check
- Login Redirect
- Set Featured Images Automatically = (This feature is enabled by default.)
Admin Notices
Step 8 ) The following image Admin Notices allows you to enable the following option.
Admin Notices
- Hide Admin Notices

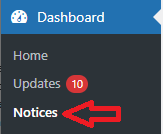
Step 8-a ) After you check the above box, you will see Notices tab under the Dashboard menu.
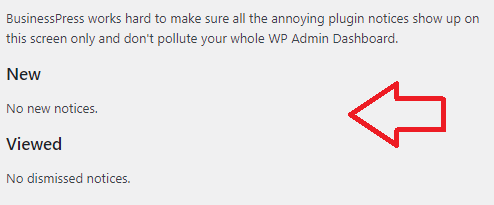
Step 8-b ) The following image displays the information for any available notices if there are any.
Login Protection
Step 9 ) The following option Login Protection allows you to enable the following options.
Login Protection
- You can setup fail2ban on your server = (Make sure you read the instructions.)
- The recommended plugin is Login LockDown.
CDN
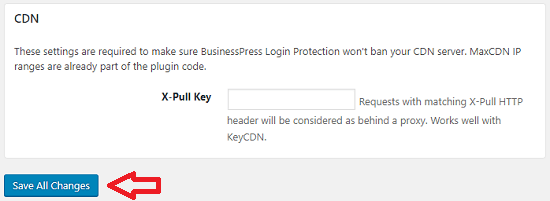
Step 10 ) The following image CDN allows you to enable the following options.
CDN
- X-Pull Key
- Click on Save All Changes button when you finish setting up the preferences.
Branding
Step 11 ) Go to Settings -> BusinessPress -> Branding to manage the following options as illustrated in the images below.
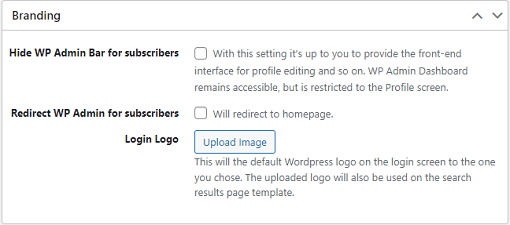
Branding
- Hide WP Admin Bar for subscribers
- Redirect WP Admin for subscribers
- Login Logo
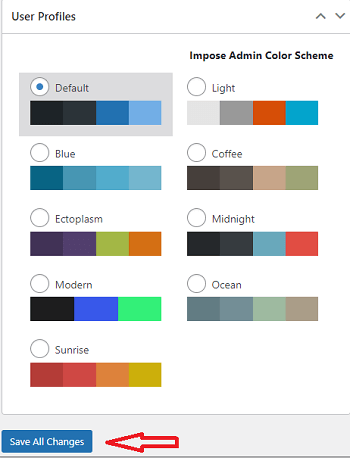
User Profile
- Impose Admin Color Scheme
- Click on Save All Changes button when you have completed your settings.
Step 12 ) Once you have completed the above, go to Dashboard -> Updates to view the plugins features displayed under updates. See image below.
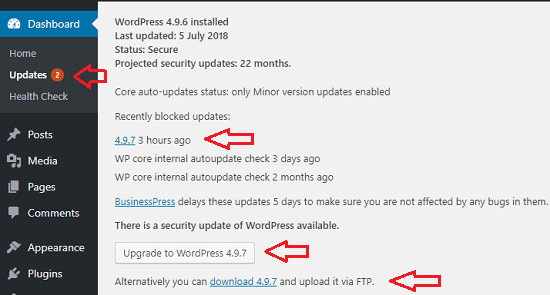
The following information is an example of what you might see in your admin dashboard updates section depending on your settings and site circumstances. (Note: Your information will be different.)
Dashboard Update Information
- Current WordPress version installed 4.9.6.
- Last updated: 5 July 2018
- Status: Secure
- Projected security updates: 22 months.
- Core auto-updates status: only Minor version updates enabled.
- Recently blocked updates: 4.9.7 3 hours agon
- WP core internal autoupdate check 3 days ago.
- WP core internal autoupdate check 2 months ago.
- BusinessPress delays these updates by 5 days to make sure you are not affected by any bugs in them.
- There is a security update of WordPress available = You can click on Upgrade to WordPress 4.9.7 button to upgrade WordPress. Or you can click on download 4.9.7 link and upload it via FTP.
- If you did not have any updates available then you will see the following message You have the latest version of WordPress.
============================
That is how simple it is to manage your WordPress core files update and add some more security with other enabled options in the BusinessPress plugin.
If you have any questions please let me know. I will be updating this from time to time. So keep coming back for the latest post.
Enjoy.