CataBlog Add New Library shows you how to upload new images to your library and edit the details and more.
Last Updated: November 24, 2019
Latest News: Updated the documentation.
The following post shows you how to upload new images to your library. It also shows you how to edit the new images added to your library. You can group your images by categories, add them to a gallery and even create a shopping cart.
CataBlog Add New Library
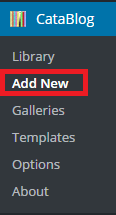
Step 1 ) Go to CataBlog -> Add New as illustrated in the image below to start adding new files to your library.
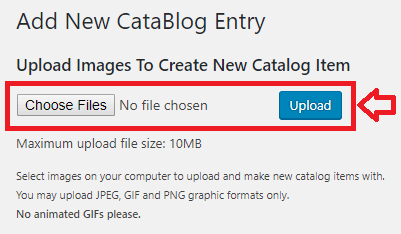
Step 2 ) CataBlog allows you to upload multiple files at the same time. The following image shows you the steps to take to start uploading files to your library.
Add New Steps
- Click on Choose Files button to select the files you want to upload to your library.
- Once you have selected the files to upload, click on Upload button.
Note: Make sure you pay attention to the Maximum upload file size allowed for your website. In this example 10MB is the maximum allowed.
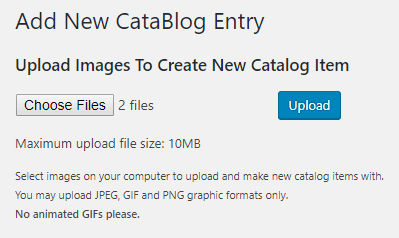
Step 3 ) The following image shows you 2 files ready to be uploaded to your site and added to your library.
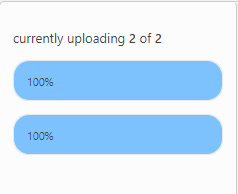
Step 4 ) The following image shows your 2 images uploaded 100%. The reason why I am showing this step is because if the bar is not moving or showing up then you know that your images exceed the upload limit, you have selected a file type that is currently not supported or you have some other issue in your website or server.
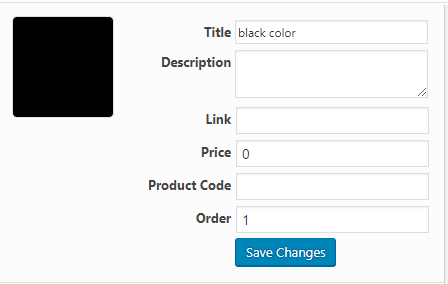
Step 6 ) The following image allows you to edit the following image description fields.
Image Information
- Title
- Description
- Link
- Price = Remember do not add a currency symbol like i.e. $
- Product Code
- Order
- Click on Save Changes button when you finish editing the image.
I hope this tutorial has helped you. Click on Gallery Basic Tutorial to continue.
If you have any questions or suggestions please let me know.
Enjoy.
CataBlog tutorials list: