Last Updated: June 18, 2016
KompoZer Padding Tutorial shows you how to add padding to your website. This tutorial also shows you how to add a HTML paragraph tag to align the text.
Latest News: I have added another link to the menu below.
In this lesson you will learn how to add padding and set up a <p> </p> HTML tag. When you write online you normally assign the <p> </p> tag to paragraphs and you align the text in between.
KompoZer Padding Tutorial Steps
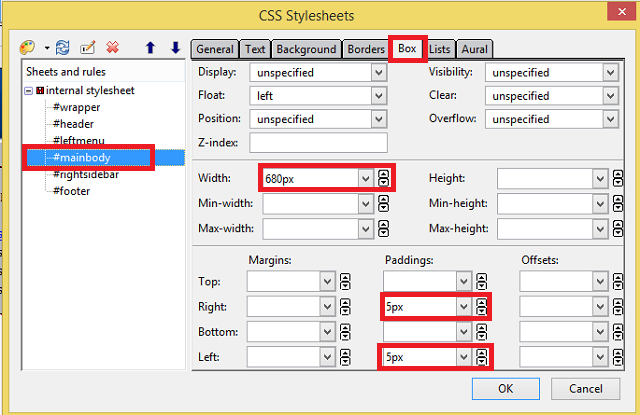
Step 1 ) The following image Css Stylesheets -> Box tab shows you to set up the Padding’s options.
- Width = changed to 680px (This value had to be adjusted because of the following 5px padding.)
- padding-right: 5px;
- padding-left: 5px;
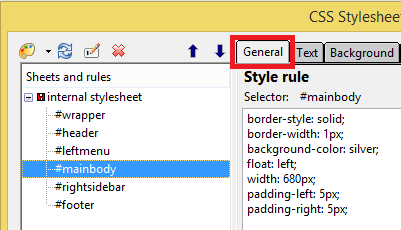
Step 1-1 ) The following image shows you the Style rule for #mainbody id.
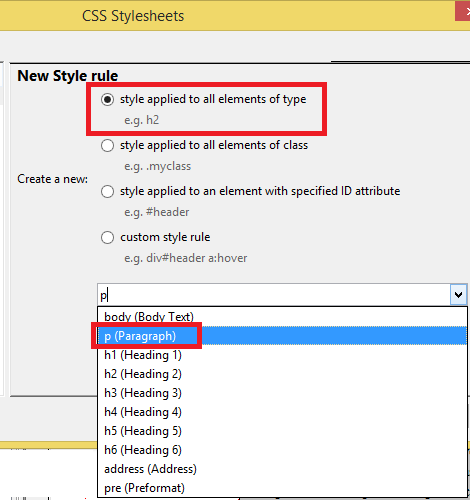
Step 2 ) Click on the CSS Editor icon to create a <p> paragraph rule. The following image CSS Stylesheets shows you what you need to select to create a paragraph rule.
In this example I selected style applied to all elements of type. In the drop down menu I selected p (Paragraph) type.
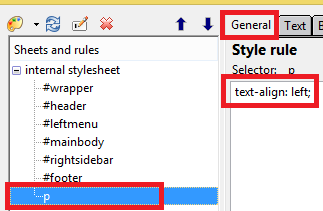
Step 3 ) The following image CSS Stylesheet -> General shows you the new P element added with the CSS code. This element works in the same manner as an id.
What this means is as follow, from now on when ever you add a paragraph to your website it will be formatted according to the following CSS style.
P css style code:
p{

text-align: left;

}
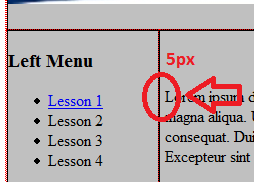
Step 4 ) The following image illustrates the 5px padding added to the div tag. You can see the 5px gap between the border and the words.
Note: You can add this padding to all the other div tags by following the same instructions as above.
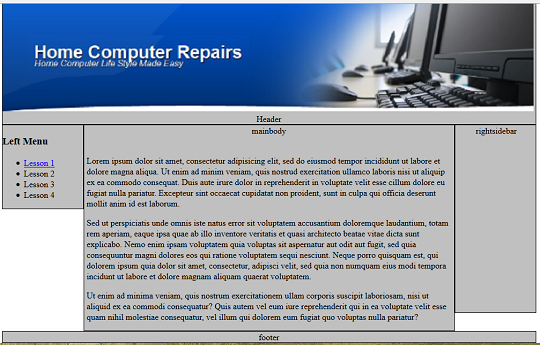
Step 5 ) The following image shows you the final results with padding and paragraphs aligned to the left. Notice how I added some dummy text for you to view the results. The template is starting to take shape.
Click on the following URL Right Sidebar Style to continue.